The BEST Christmas Chocolate Chip Cookies
These are the BEST Christmas Chocolate Chip Cookies! This recipe produces soft, chewy, melty chocolate chip cookies that are absolutely delicious and perfect for the holiday season!
If you’ve been around here for a while, you may remember that I went on a whole chocolate chip cookie recipe journey back in 2020, trying to nail down the *perfect* recipe…that doesn’t require chilling the dough.
After tons and tons of recipe trials, I finally landed on this chocolate chip cookie recipe, and it’s been my go-to ever since! This year, it’s getting a very slight makeover to dress up for the holidays. With the addition of Christmas M&Ms, you’ve got yourself one of the easiest (and BEST) Christmas cookies you’ll make all season long!
Same great recipe with a Christmas twist!
This post contains affiliate links for your convenience. You can read my full disclosure policy here.
Here’s why I know you’ll love these Christmas chocolate chip cookies:
- SUCH an easy recipe. It’s a classic chocolate chip cookie recipe + Christmas M&Ms. No fuss, and they come out perfectly soft, baked, and delicious every time.
- No chill time. No need to wait for butter to get to room temp. When you want chocolate chip cookies, you want chocolate chip cookies, right?! (Basically, you can make this recipe pretty quickly! I’ll show you how!)
- The recipe purposely helps you avoid flat cookies. I’ve tested, tested, and tested the original chocolate chip recipe dozens (and DOZENS) of times. These cookies come out beautifully – no flat cookies here, friend! (Also, baking pans matter – see my note on that in the tips section!)
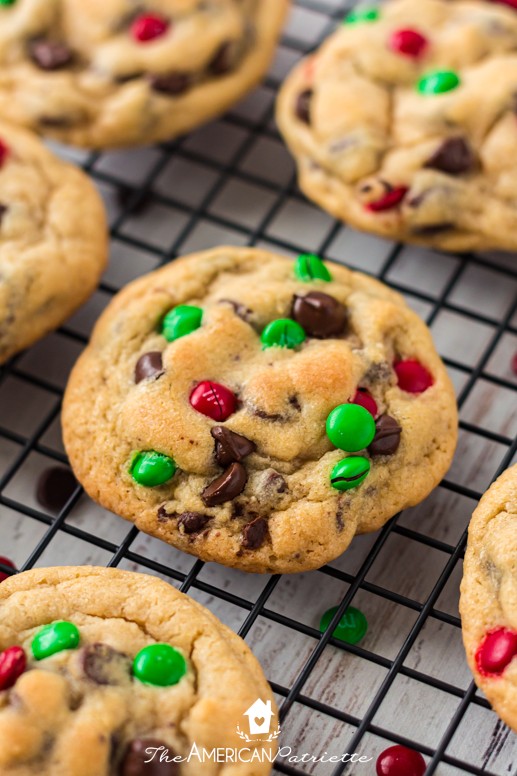
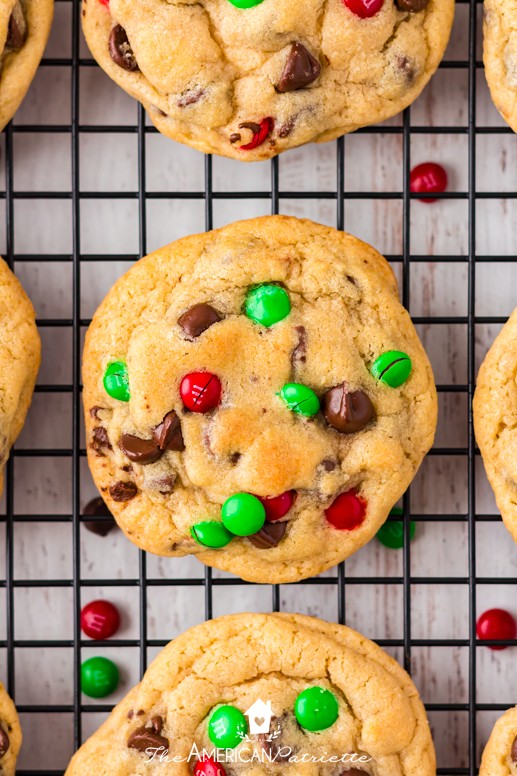
- Love a chewier cookie vs. puffy or crunchy? THIS IS YOUR RECIPE.
- Slightly crisp edges with an oh-so-soft, chewy, and melty middle. And who doesn’t love that?!
- You can easily halve (or double!) the recipe – want a small batch? The ingredient ratios in here make it easy to split down the middle and just make a half batch of 12 cookies. Or, if you want more cookies, you can easily double the recipe if your mixer is large enough. Since these freeze well, you can double the batch and freeze all of the ones you don’t need right away. They’ll taste just as good several weeks later as long as you freeze them while they’re still fresh!

Ingredients:
- 2 sticks of unsalted butter – just slightly softened. Butter that’s been sitting out on the counter for an hour or two, or just slightly softened in the microwave. I’ll often zap mine for about 10 seconds and that does the trick.
- Brown sugar – for chewiness, flavor, and to keep them from spreading. (I would not recommend using light brown sugar; I always use my store brand of brown sugar, but when they were out, I reverted to another brand’s light brown sugar, and they came out pretty…bland. I would just try to find brown sugar that doesn’t have “light” on the package.)
- Granulated sugar
- Vanilla extract – for great flavor! (I use more than most chocolate chip cookie recipes!)
- 2 large eggs – I always bake with large eggs. I’d recommend large ones just to ensure there’s enough moisture in the cookies.
- All-purpose flour – unbleached, if you can.
- Baking soda
- Salt – don’t skimp! This helps drive home the flavor!
- Semisweet chocolate chips. And lots of ’em! You can also use dark chocolate chips and those are *delish* too. As much as I love milk chocolate, milk chocolate chips make these a little too sweet. I’d stick with semisweet or dark.
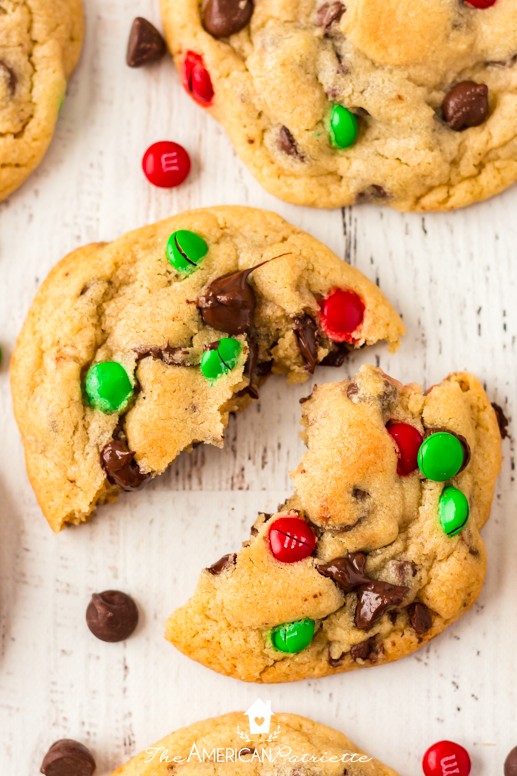
- Christmas M&Ms – you can use either regular or mini. I like using the mini ones when I bake sometimes, but if I can’t find them, the regular ones are fine!
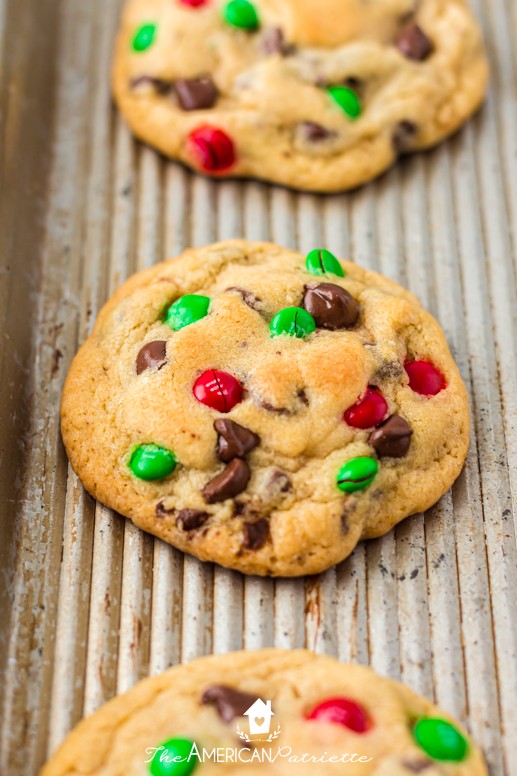
BAKING PANS: I have to include this with the ingredients, simply because I think that the baking pans make a *huge* difference when it comes to all of the cookies I make: I always, always, always bake cookies using my USA Pans. I’ve been using these same baking sheets for over a decade, and they’re phenomenal. I’ve recommended them to SO many people!
And, when you use the USA Pans, you don’t need parchment paper OR silpat baking mats. I’m telling you, the cookies bake perfectly evenly and pop RIGHT off the pan. They’re magical!
Let’s make those Christmas cookies!
How to make Christmas Chocolate Chip Cookies
It should only take you about 10 minutes to prep the dough from start to finish!
Prep the oven & the butter
Preheat the oven to 375.
If you forget to remove your butter from the fridge ahead of time, you can slightly soften it in the microwave. You don’t want it super soft or melted, so make sure not to over-cook it! I put the two sticks in my microwave for 10-15 seconds and that gets them slightly soft (which is perfect!). If your microwave cooks hot, you may want to try a little less time if you’re going this route to soften the butter.
Cream butter & sugar
Using the paddle attachment of your stand mixer, cream butter & sugar together on medium speed for 2-3 minutes.
Whisk dry ingredients together
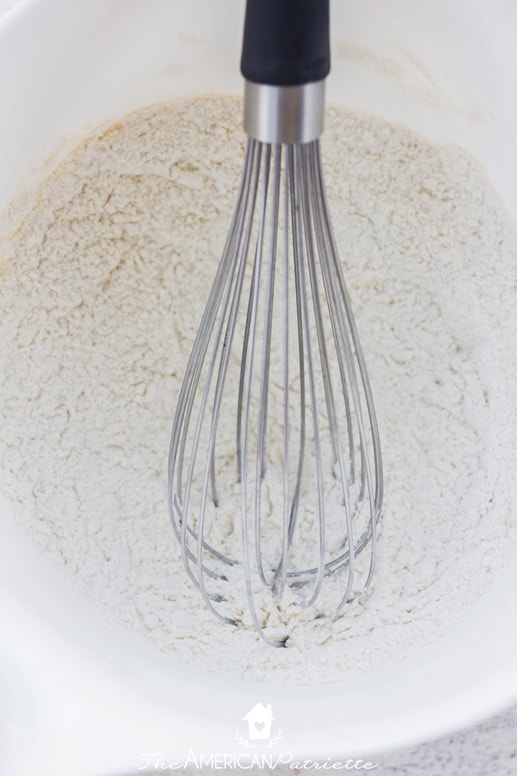
While the butter & sugars are creaming together, pour 3 c flour (leave that other 2 tbsp for later), baking soda, and salt in a separate bowl and gently mix together with a whisk, and then set aside.
Add vanilla & egg, then slowly add in dry ingredients
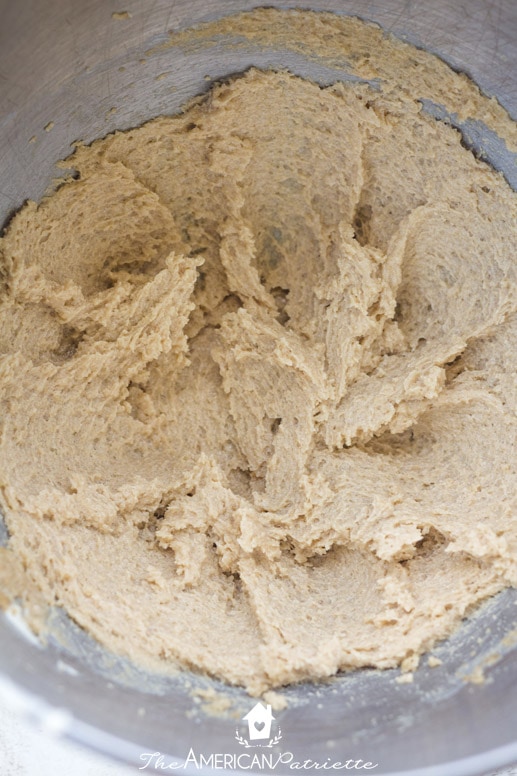
Add in vanilla & egg to the creamed butter and sugar until egg is combined (about 15-20 seconds), scraping the bowl to make sure everything evenly mixes together.
With the mixer on low, slowly add in the flour mixture to the creamed butter, and mix together until just combined. Scrape the sides of the bowl.
Add chocolate chips (and then my little trick to help prevent the cookies from spreading)
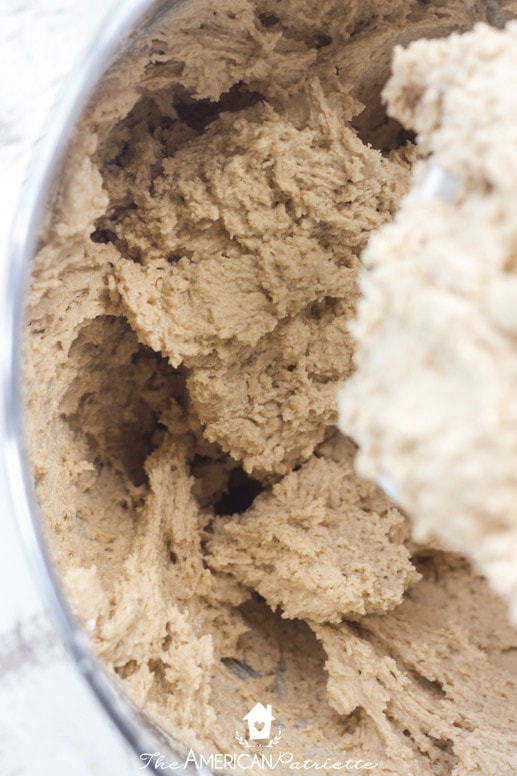
With the mixer on low, add in chocolate chips and mix just for a few seconds.
Now, for a silly-but-always-works trick for helping those cookies not to spread: sprinkle in the remaining 2 tbsp of flour into the cookie dough and quickly mix together – just a few rotations around the bowl!
(TIP: If you’re making this dough to freeze, OR, if you’re making this dough ahead of time to chill in the fridge for a couple of days until you’re ready to bake it, I don’t think you need to add the extra flour. The chilling will probably be enough to keep your dough from spreading.)
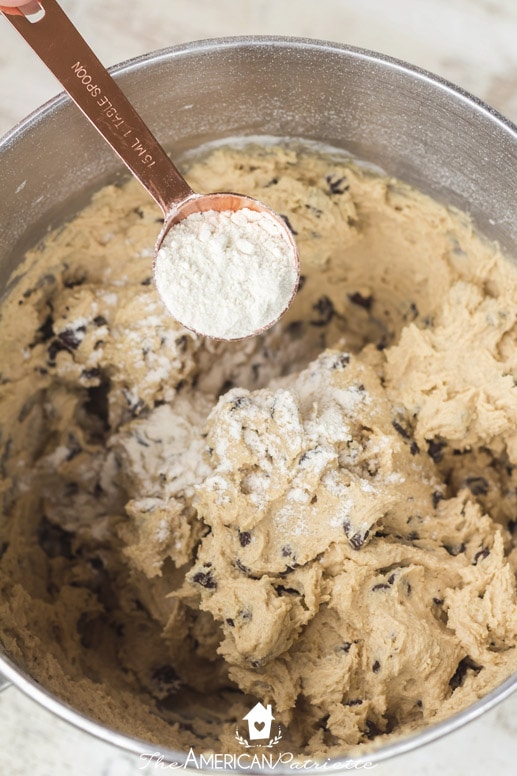
Gently mix in the flour, but you don’t need to worry about it being fully incorporated – it’s ok if you see a little flour powder around the dough.

Roll the dough & add the M&Ms
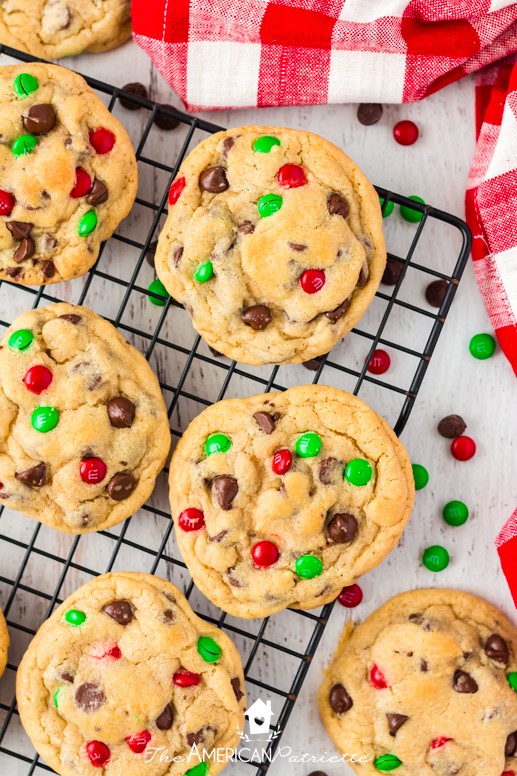
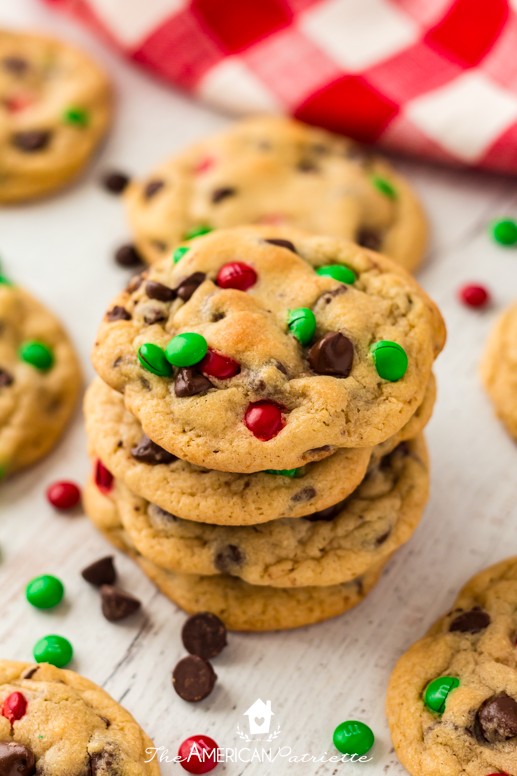
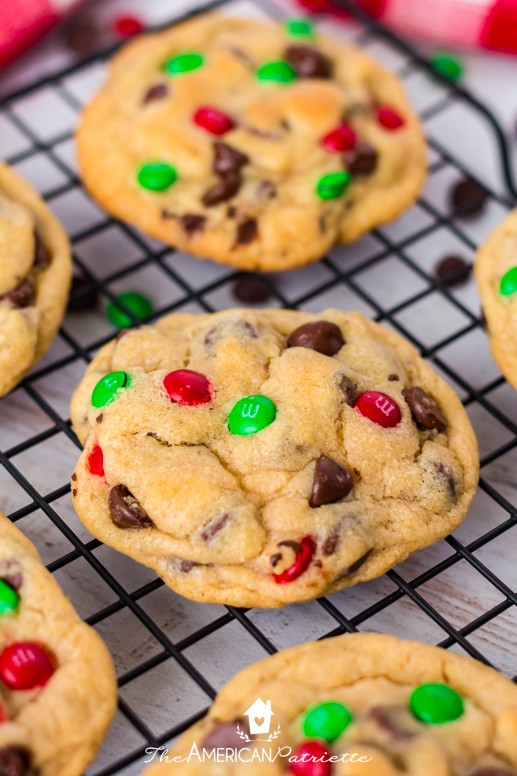
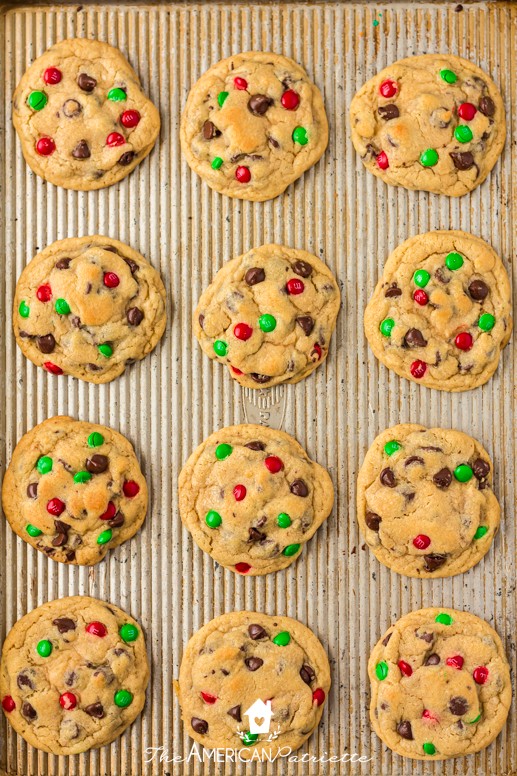
Roll out your cookie dough – the dough balls should be about 2 inches in diameter. After you roll each one, add some Christmas M&Ms to the top and sides of the dough ball – maybe 6-8 M&Ms. I like to do this instead of adding the M&Ms into the dough and then mixing it, simply because they tend to hide in the dough, and then they don’t look as obviously “Christmas-y.”
Bake one pan at a time
Once you’ve rolled out 12 and placed them on your baking pan (BEST baking pans EVER), bake on the center rack in the 375 degree preheated oven for 9 minutes.
While those cookies are baking, roll out the other half of the dough, add M&Ms, and place on a second baking sheet.
Cool on a wire rack
Remove the baked cookies from the oven, and allow them to sit on the baking pan for 5-10 minutes before transferring them on a cooling rack. Place the second pan of cookie dough balls in the oven & bake.
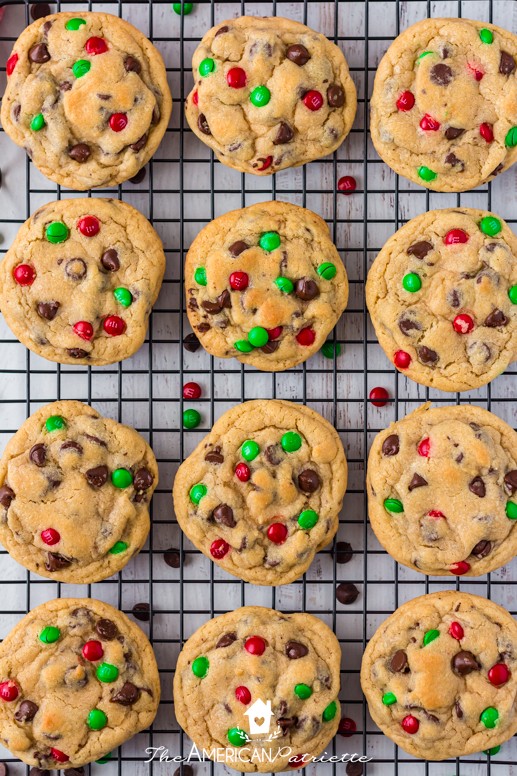
Remove from oven, allow to cool on wire rack, and then enjoy!
Pretty basic recipe that doesn’t taste basic at ALL!
Tips for making these chocolate chip M&M cookies:
To store the cookies:
Store them in an airtight container at room temp for 2-3 days, or store in the freezer for up to 3 months. If you are making these ahead of time for a Christmas party or to give away as gifts, I’d store them in your freezer soon after you bake them. Let them cool and then transfer them to the freezer.
To freeze the cookies:
As long as they’re completely cool, you can just put them in a large airtight container and not worry about wax paper between cookie layers. I hardly ever use wax paper to separate mine, and I freeze chocolate chip cookies pretty often. You can also consider “flash freezing” them where you place the cookies on a large pan (flat and not touching each other), place that in the freezer for an hour or so, and then transfer those cookies to a large gallon bag. This is helpful if you don’t have many large containers to spare!
Change up the chips!
I almost always use semisweet, but dark chocolate chips in this recipe are DELISH. I’ve made them with milk chocolate, but they’re not quite as good. But, that’s also just a personal preference!
Use fewer chips if you don’t like them as chocolate-y
If you’re a crazy person like my husband and prefer your chocolate chip cookies to not be so chocolate-y (weirdo 😜), then you can use about 1/2 c less of chocolate chips in the recipe. No hard feelings, but I still think that’s crazy. 😆
You can easily halve the recipe
If you just need a small batch of cookies, you can easily halve the recipe since it calls for 2 eggs. All of the other ingredients also split nicely down the middle. I make half batches of this recipe very regularly!
ENJOY these classic chocolate chip cookies! Perfect for cookie exchanges, Christmas parties and potlucks, and any Christmas gathering!
More Christmas Cookie Recipes:
- Triple Chocolate Peppermint Christmas Cookies
- Delicious Cut-Out Sugar Cookie Recipe
- SUPER Chewy & Moist Christmas M&M Brookies
- Award-Winning Triple Dark Chocolate Cookies (SO GOOD!)

The BEST Christmas Chocolate Chip Cookies
Ingredients
- 2 sticks 1 c unsalted butter, slightly softened
- 1 1/2 c packed brown sugar
- 1/2 c granulated sugar
- 2 large eggs
- 3 tsp vanilla extract
- 3 c + 2 tbsp all-purpose flour
- 1 tsp baking soda
- 1 tsp salt
- 2 c semisweet chocolate chips
- About 1/2 c mini Christmas M&Ms
Instructions
- Preheat the oven to 375.
- If you forget to remove your butter from the fridge ahead of time, you can slightly soften it in the microwave. You don't want them super soft or melted, so make sure not to over-cook them! I put the two sticks in my microwave for 10-15 seconds and that gets them slightly soft (which is perfect!). You just want to make sure your butter isn't too soft or else the dough is more likely to spread.
- Using the paddle attachment of your stand mixer, cream butter & sugar together on medium speed for 2-3 minutes.
- While the butter & sugars are creaming together, pour 3 c flour (leave that other 2 tbsp for later), baking soda, and salt in a separate bowl and gently mix together with a whisk, and then set aside.
- Add in vanilla & egg to the creamed butter and sugar until egg is combined (about 15-20 seconds), scraping the bowl to make sure everything evenly mixes together.
- With the mixer on low, slowly add in the flour mixture to the creamed butter, and mix together until just combined.
- Gently add in the chocolate chips.
- Now, for a silly-but-always-works trick for helping those cookies not to spread: sprinkle in the remaining 2 tbsp of flour into the cookie dough and quickly mix together - just a few rotations around the bowl!*
- Roll out your cookie dough - the dough balls should be about 2 inches in diameter. After you roll each one, add some Christmas M&Ms to the top and sides of the dough ball - maybe 6-8 M&Ms.
- Once you've rolled out 12 and placed them on your baking pan, bake on the center rack in the 375 degree preheated oven for 9 minutes. (See my note on baking pans)
- While those cookies are baking, roll out the other half of the dough, add M&Ms, and place on a second baking sheet.
- Remove the baked cookies from the oven, and allow them to sit on the baking pan for 5-10 minutes before transferring them on a cooling rack. Place the second pan of cookie dough balls in the oven & bake.
- Remove from oven, allow to cool on wire rack, and then enjoy!
Notes
- A note on baking pans: they really make all the difference. I've been using USA Pans for years now (over a decade), and they're the only baking pans I EVER use - for anything that requires a baking pan! They produce the best cookies. They don't stick, they bake really evenly, and they turn out so wonderfully chewy. I've been recommending these pans for years, and I just cannot recommend them enough!
- As long as your butter isn't too soft & you add in that extra bit of flour (as directed), you should end up with thick, soft, chewy, melty-on-the-inside, not-spready, delicious chocolate chip cookies without having to chill the dough ahead of time! Now, if you want to make this dough ahead of time, you can absolutely do that and then chill it until you're ready to use it the next day or within the next couple of days. But, this recipe doesn't require chilling.
- These cookies stay super soft the following day, but I think pretty much all chocolate chip cookies lose a lot of their goodness in texture & flavor by Day 3. So, if you're wanting to make these ahead of time, just make the dough ahead of time and store it in the fridge, and then bake the day of or the day before you're wanting to eat them! Nothing yells "DELICIOUS!" like a fresh chocolate chip cookie!
- Yep, you can freeze the dough! Standard for cookie dough is up to 3 months. If you do want to freeze it, roll it out into dough balls first, then freeze. If you're baking them from frozen, add 1-2 minutes of bake time.
- You probably noticed I don't add the M&Ms into the dough when I mix it. I add them after so you can actually see them. If you add them into the dough and mix it, they often get hidden in the mix, and then they're kind of pointless. 😜 So, I just take that extra step to press them into the dough balls before I bake them.