How to Make Easy Homemade Whipped Cream
Get the 3-ingredient recipe for how to make easy homemade whipped cream from scratch – perfect for whipped cake topping, serving with pies, or eating as a light fruit dip!
Welcome to Day 11 of the 12 Days of Christmas Baking Tips! I can’t wait to share this one with ya!
This is one of the most useful dessert-related tips in my kitchen. Once you learn how EASY it is to make homemade whipped cream from scratch, you’ll never go back to store-bought again! The flavor and creaminess of the homemade stuff just can’t be beat. 🙂
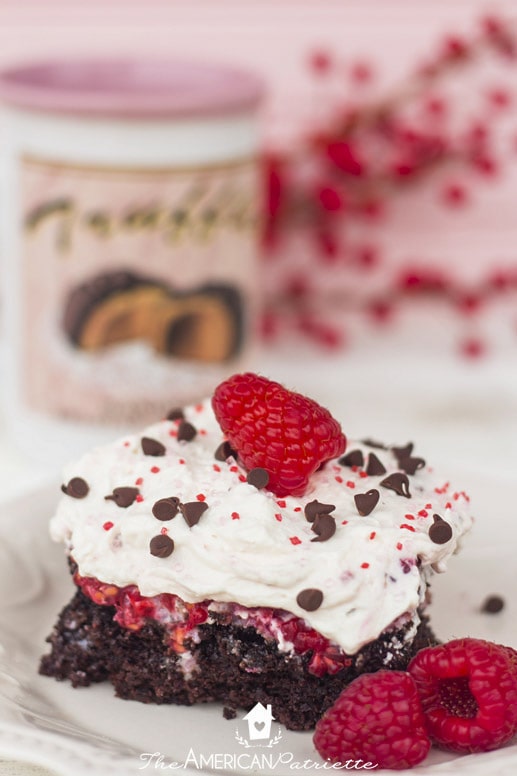
Homemade whipped cream is perfect for cakes that call for a lighter whipped topping vs. a heavy frosting: i.e. all of my poke cakes.
The light whipped cream is such a perfect balance to the rich, dense, and amazingly sweet cake.
It’s also perfect to serve up in dollops with warm pie, to top off some hot cocoa, or to serve as a light dip with fresh fruit.
And don’t forget ice cream sundaes & banana splits!

Overall, homemade whipped cream is very easy to, well, whip up. 🙂 You only need 3 ingredients, and, if you have a stand mixer, the hands-on time for making it is all but a few seconds: just pouring in the ingredients and turning the mixer on!
However, there are a couple of important tips I want to point out before we dive into making it, just to make sure you get the perfect batch the first time (and every time).
Important tips for making homemade whipped cream from scratch:
- You do NOT want to over-mix/over-beat the cream. While the hands-on time is minimal, after you’ve allowed the ingredients to mix together in your mixer for a few minutes, you’ll want to keep your eye on the cream as it continues to thicken. If you don’t stop mixing it at the right point, it’ll loose its creaminess and get lumpy. Still tastes good, but it won’t have that divinely smooth consistency we all want in whipped cream!
- Use powdered sugar, not granulated sugar. Now, if you’re *really* in a pinch (like I have been the last 2x I’ve made whipped cream ?), you can use granulated sugar as long as you “turn it into” powdered sugar before you use it, but powdered sugar is always preferable. I’ve made whipped cream twice in the last week or so, and I had forgotten both times that I was out of powered sugar. I had remembered I made a quick reference to this substitution on my holiday kitchen cheat sheets (true story!), so I went to look, and you can make somewhat of a powdered sugar by blending 1 cup of granulated sugar with 1 tsp of cornstarch. So, I did that both times, and while my whipped cream still came out just fine, that homemade powdered sugar is still heavier than regular confectioners sugar, so some of it sunk to the bottom of the bowl while mixing. The whipped cream still had a great texture and flavor, it just missed out on a little more of the sweetness since not all of the sugar got mixed in. So, use powdered sugar. But, if you really have to, you can use your own homemade concoction of powdered sugar and it’ll be ok.
Other important tips to consider for homemade whipped cream:
- Make sure the bowl you’re using to whip the ingredients is at room temperature (or lower) – I’ve learned my lesson the hard way to not use my mixing bowl immediately after I washed it with really hot water. With the bowl still hot when I poured the ingredients into it, I just couldn’t get the consistency correct. Lesson learned!
- If you’re using this as an icing for cake and you’re planning to sprinkle toppings over the whipped cream (like mini chocolate chips, spices, sprinkles, etc.), wait until close to the time you serve the cake to add the toppings. This is another lesson I’ve learned the hard way. That whipped topping really soaks up what you put on top of it, so especially if you’re adding colorful sprinkles, spices, M&Ms, chopped fruit, or crushed candy canes, after an hour or so, you’re going to notice that the whipped cream is soaking up the toppings AND the colors in whatever you’ve added on top. The cake is beautiful with toppings! So, just wait to add them until you’re close to serving the cake.
- If you’re icing a cake, you’ll want to ice the cake soon after you’ve made the whipped cream. While you can make whipped cream ahead of time, store it in the fridge, and use it later, if you’re using it as topping for a cake, you’ll want to aim to frost the cake soon after you’ve made the whipped cream, just so you can spread the cream while it still has that amazingly velvety smooth consistency. Once it goes in the fridge, it’ll get a little stiffer. So, just plan your baking time out so that you’re able to top the cake soon after you’ve made the whipped cream.
- Make sure the cake isn’t hot (or even warm) when you’re adding the whipped cream. And, speaking of cakes + whipped cream, just make sure the cake you’re spreading the cream on is either at room temperature or cooler. The whipped cream will melt in a jiffy if it touches something that’s warm. So, just make sure that cake is cool!
This post contains affiliate links for your convenience. You can read my full disclosure policy here.
Ok, enough with the tips! Let’s get onto making this yummy stuff!
Here are the 3 ingredients you’ll need for making the whipped cream:
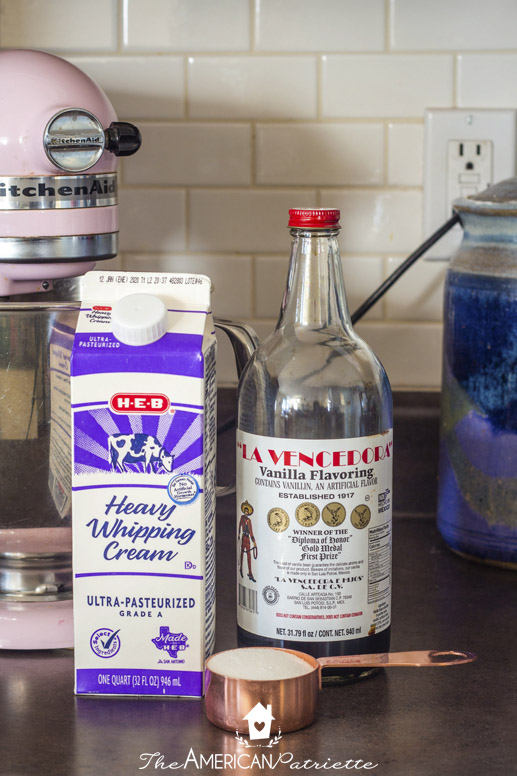
Really basic ingredients, right? Here’s all you need:
- Heavy whipping cream (when I’m making a batch, I always use 2 cups)
- Powdered sugar (1/3 of a cup per 2 c of whipped cream)
- Vanilla (and I always use that Mexican vanilla – it’s just out of this world good!)
How to make Homemade Whipped Cream
Step 1: Pour all of your ingredients into your mixing bowl
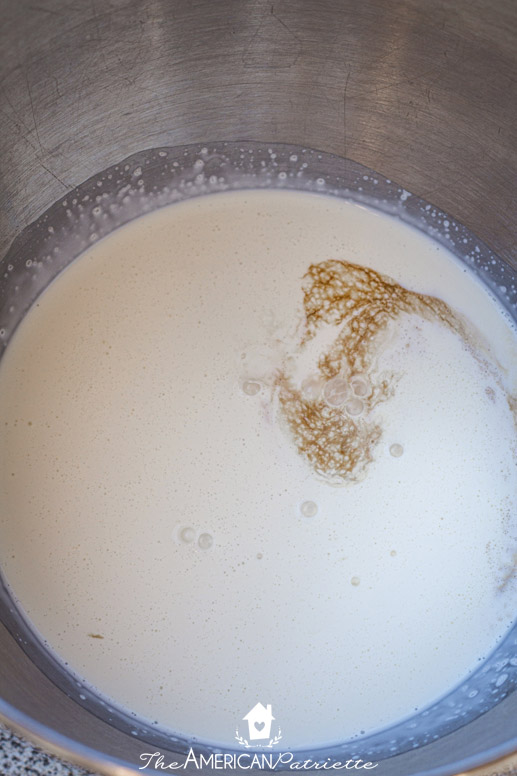
That’s it! Just pour ’em in!
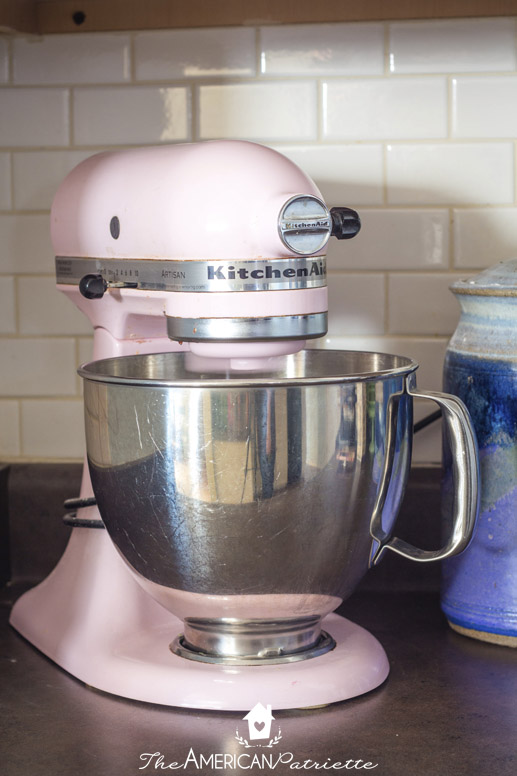
Step 2: Turn your mixer onto medium speed & let the mixer do the work!
Make sure you’re using the whisk attachment, and then turn your mixer on. (By the way, my KitchenAid mixer is like an old friend at this point. She’s been with me for over 12 years now, and she’s still going strong!)
When I make my whipped cream, I typically turn my machine onto level 4 (which is about medium speed, but it still seems pretty fast). The speed at which you mix the cream will affect how long you mix it, so just know that! If you mix it on a higher speed, it’ll likely take less time to whip up, but I like keeping it at level 4 because it gives me more wiggle room to check on it and make sure I don’t whip it for too long.
Like I mentioned before, if you over-mix the cream, it’ll lose that soft creaminess and get clumpy. And, once the cream starts to thicken up, the transformation from thick and smooth to thick and clumpy happens quick! So, I play it safe by still mixing it on a relatively quick speed, but not so high that it’s too hard for me to miss that window of creamy perfection. 🙂
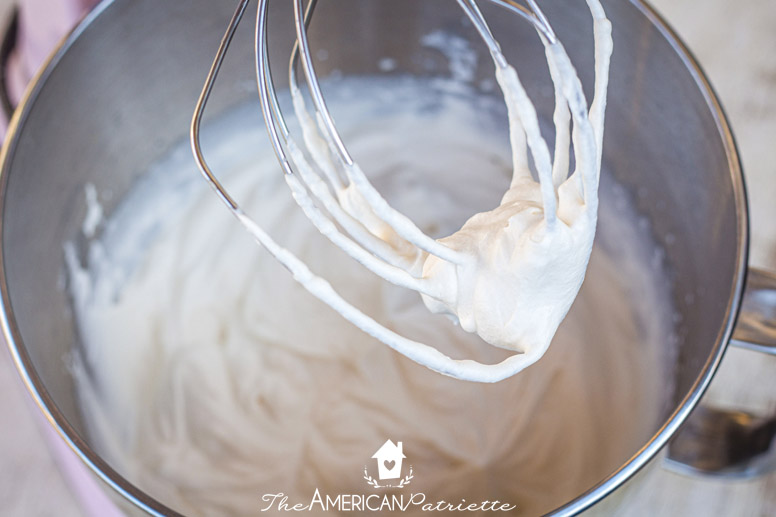
Mixing on a speed of 4 in my mixer, it was at the 5 minute mark that I noticed the cream get quite a bit thicker and start to move from a runny liquid into a cream that would hold more of a shape & form some peaks.
At 7 minutes, I really started paying attention to the cream, and it was right at 8 minutes that I could tell it was perfection.
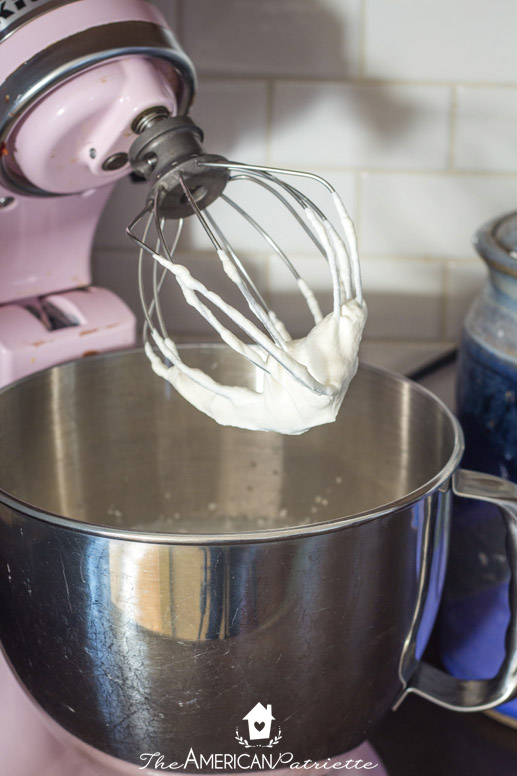
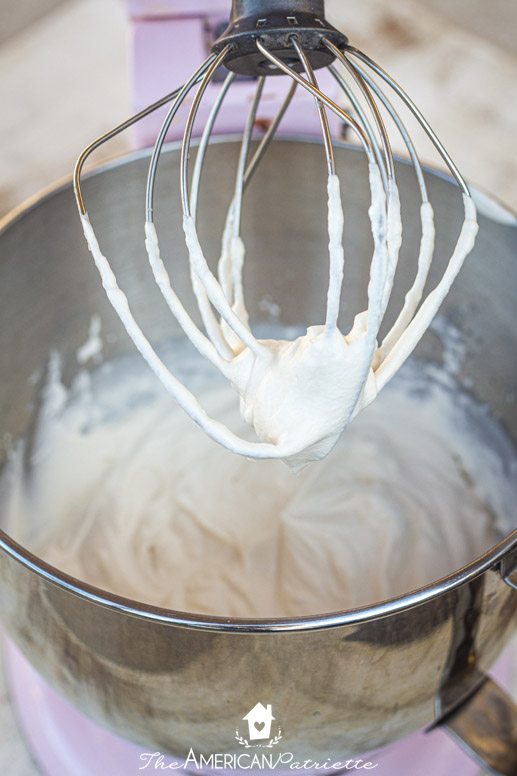
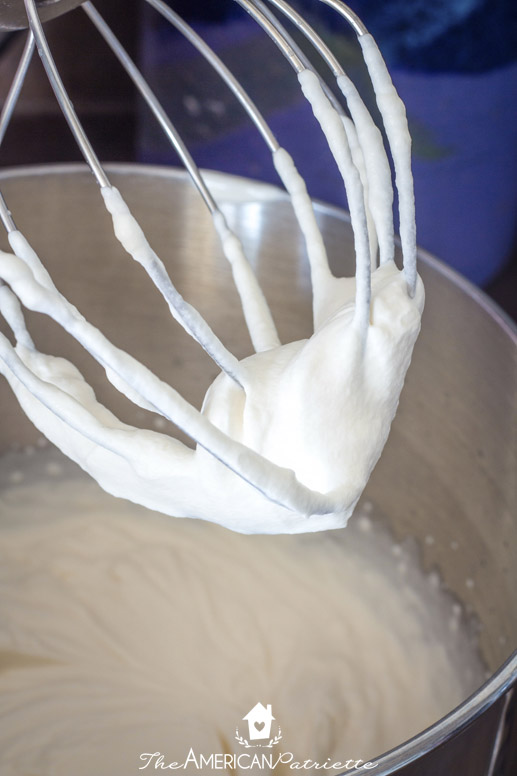
It’s no longer a liquid; the cream sticks to the beater and also forms stiff peaks in the bowl.

See how perfectly creamy it is? That’s why you want to make sure to stop the mixer at the right time – you want to keep it at the perfect level of creaminess before it has a chance to get clumpy!
You’re ready to use it! At this point, go ahead and spread this over your cake if you’re using it as a cake topping, but if not, you can just store it covered in the refrigerator until you’re ready to use it as a dip or as a complement to pie or fruit.
This really is the perfect topping for poke cakes! If you have a hankering for poke cakes, here are some delicious recipes for you!
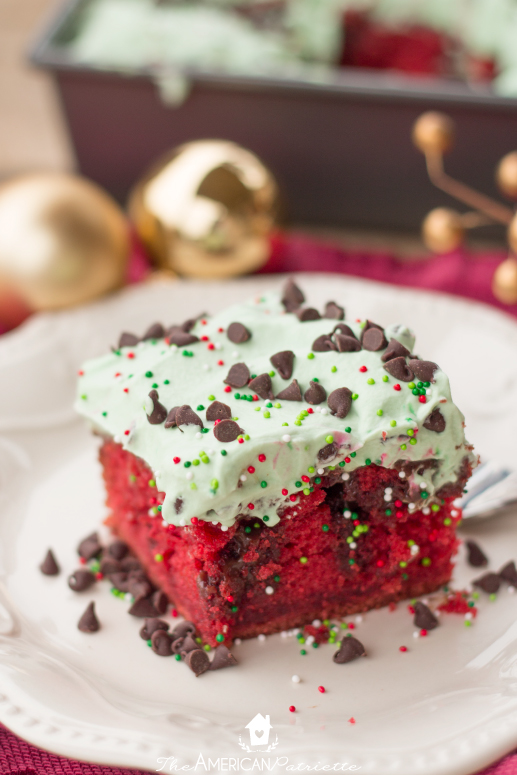
- Christmas red velvet chocolate poke cake
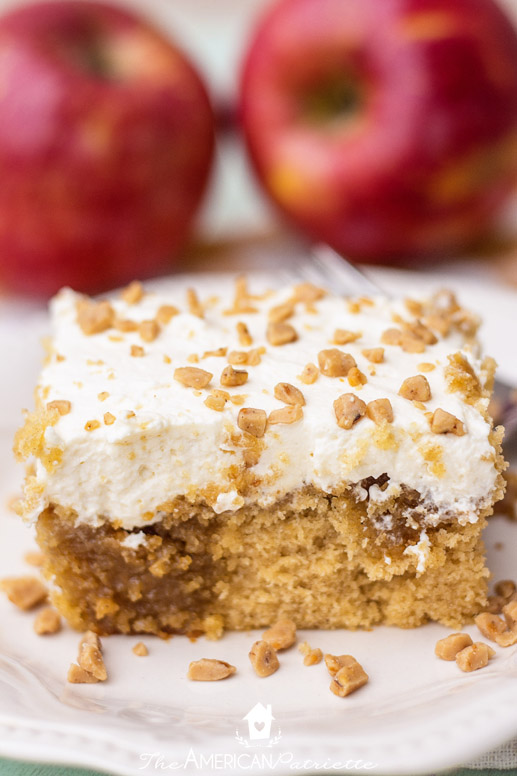
- Apple butter and caramel poke cake
- White chocolate raspberry truffle poke cake
And, since this is such a frequently-used recipe, I put it in my holiday baking cheat sheets that you can hang in your kitchen cabinets for super easy reference. You can snag them for free!
Just fill out the form below & they’ll get sent right to your inbox!
How to Make Easy Homemade Whipped Cream
Equipment
Ingredients
- 2 c heavy whipping cream
- 1/3 c powdered sugar
- 1 tsp vanilla extract
Instructions
- Pour all of your ingredients into a stand mixer and lightly stir together using a spoon or the whisk attachment removed from the mixer.
- Turn your mixer onto a speed of 4 and whip the ingredients together for 8 minutes.* Pay attention to the cream after about 5 minutes of whipping; you'll want to keep your eye on it as it thickens, just so you don't over-mix it and cause the cream to get clumpy.
- If you're using this as a cake topping, go ahead and spread this over your (completely cooled) cake now. If you're using it to serve with pie or fruit, just store covered in the refrigerator until you're ready to serve it.
Video
Notes
- *If you beat yours at a different speed, your whipping time will vary. I've found beating the ingredients at a speed of 4 is perfect - it still whips quickly and gets the air into the cream that you need, but it's not beating so fast that it makes it hard to stop the beater in that small window of when it reaches perfect creaminess and before it gets whipped too much and gets clumpy.
- If you're using this as a cake frosting and adding toppings over the cream (i.e. sprinkles, spices, mini M&Ms, crushed candy canes, chopped fruit, etc.) wait until just before serving to add to the top of the cake. The whipped cream soaks up whatever you top it with, so if you top it too soon, the toppings will dissolve into the cake and the colors will run. So, just wait until closer to serving time to add anything on top!
- This recipe makes enough to generously frost a 9x13 cake. If you need more, just adjust the ingredients as necessary.