Easy Chocolate Christmas Tree Pretzels
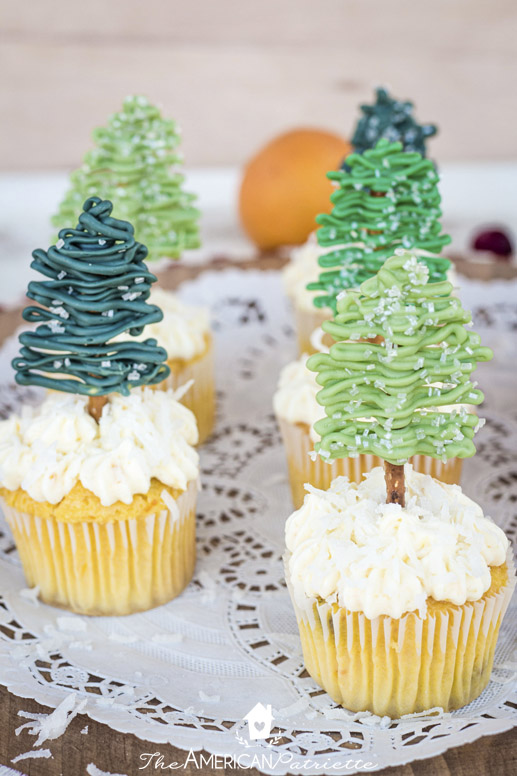
Learn the easy way to make these adorable chocolate Christmas tree pretzels with just a couple of ingredients! These cute evergreen trees, made with candy melts and mini pretzel rods, are perfect toppers for holiday cakes and cupcakes!

Welcome to Day 8 of the 12 Days of Christmas Baking Tips! Today’s tip is a quick and fun one, and while it’s much more Christmas-specific today, I’m giving you some extra tips for using those testy candy melts that sometimes want to work for you and, well, sometimes don’t.
You can use those colored candy melts year-round for different desserts (I use them for all sorts of things, including realistic-looking fall candy leaves & for very realistic-looking candy seashells!), and sometimes they can be a little fussy to work with.
No longer, my friend! You’re going to be a pro after reading through this! I’m giving you my best troubleshooting tips for working with candy melts while I also show you how EASY it is to make these super adorable pretzel rod Christmas trees.
Suuuuch a simple way to really dress up a cake or cupcakes for the holidays!
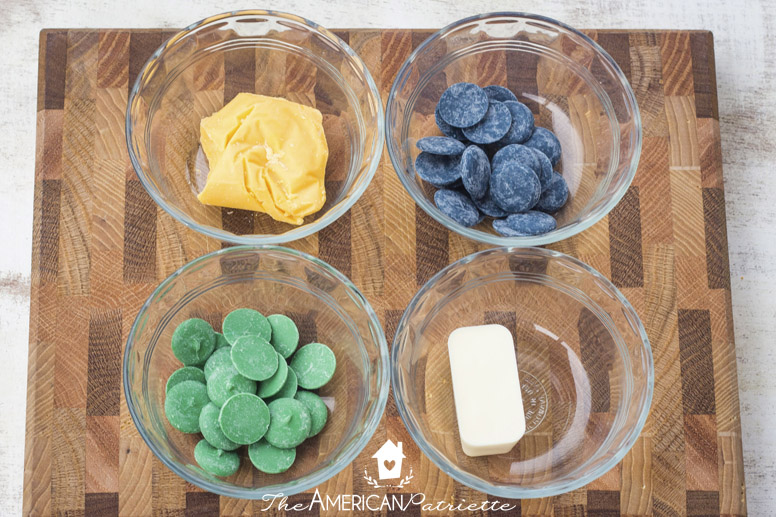
Here’s what you need to make these chocolate Christmas trees:
- Colored candy melts (I used dark blue, yellow, and a primary green & then mixed them together to make different colors)
- White candy coating/candy bark (this is what I always use when I am needing white; I never buy white candy melts)
- Mini pretzel sticks
- At least 4 microwave-safe bowls
- A spoon or two for stirring
- Plastic zipper sandwich bags, preferably freezer bags (they’re a little stronger), but regular will probably do if that’s all you have
- Scissors for cutting a tip out of each bag
- Wax-paper lined baking sheet
- White/”crystal” sprinkles for a snowy effect
Ready to get started?!
How to make chocolate Christmas tree pretzels
The video walks you through exactly how to make these from start to finish, plus I’m able to show you and talk you through a couple of extra tips in the video that I’m not as easily able to talk you through in a written tutorial. So, consider looking at both before you get started!
Step 1: Melt your candy melts
Just FYI: this is where my two biggest tips are going to be for working with those candy melts and helping you troubleshoot so that you don’t encounter that frequent problem of it just not melting well!
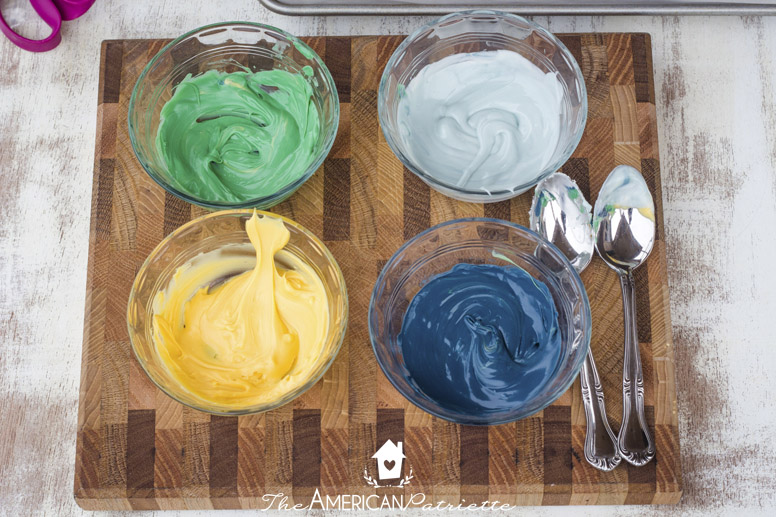
So, start out by separating out your colors in 4 microwave-safe bowls. Sorry about the yellow blob of candy – those were the candy melt pellets at one point, but I melted them down for a different baking creation and used leftovers for this.
(I’ll have another tip for you on saving & storing the melted candy you don’t use! I always save it!)
For microwaving, this is *exactly* what you’re going to want to do, UNLESS your microwave cooks really, really hot and you already know that. Mine is just a normal, run-of-the-mill microwave.
Depending on how big your bowls are, put 1-2 in the microwave, cook the candy melts for 40-45 seconds, remove from the microwave, STIR THEM, and then put them back in for another 30-45 seconds. If after the first round of 40-45 seconds the candy is more than halfway melted, then you can just give it another 30 seconds before removing and stirring again. They may not need the full 40-45 the second-go round.
(And just as a side note: I do always use white candy bark, sometimes called almond bark or candy coating, when I’m using white, which is more often than not. You should be able to buy this at pretty much any grocery store on the baking aisle. For one, it’s less expensive than the colored candy melts, but two, it has GREAT flavor, and it also melts really easily.)
Repeat this same process until you have 4 bowls of melted candy.
Important tips for this process:
- You MUST stir between heating in the microwave. If you heat for longer than 40-45 seconds at a time, the candy will start to form clumps rather than melt smoothly, which is just a total bummer, because it’s not usually redeemable once it starts to clump. I *never* have issues if I stay under 45 seconds, stir, and then repeat the process, so you shouldn’t either!
- Make sure you’re using bowls you know work well in the microwave. I usually use these small Pyrex bowls or use some bigger cereal bowls I have that I always know will work just fine in my microwave. Sometimes certain bowls will cook unevenly, which could also cause the candy to clump instead of melt smoothly. So, this is a big troubleshooting tip for you: if your candy isn’t melting well, I’d consider just switching to different bowls.
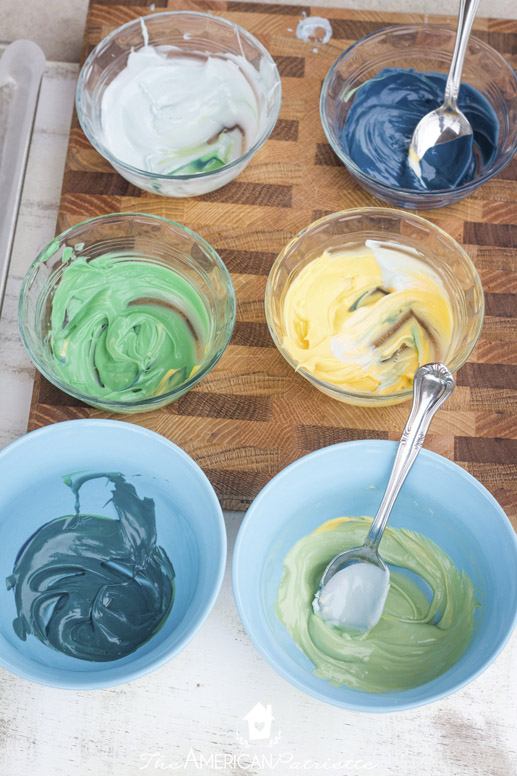
Step 2: Mix your colors
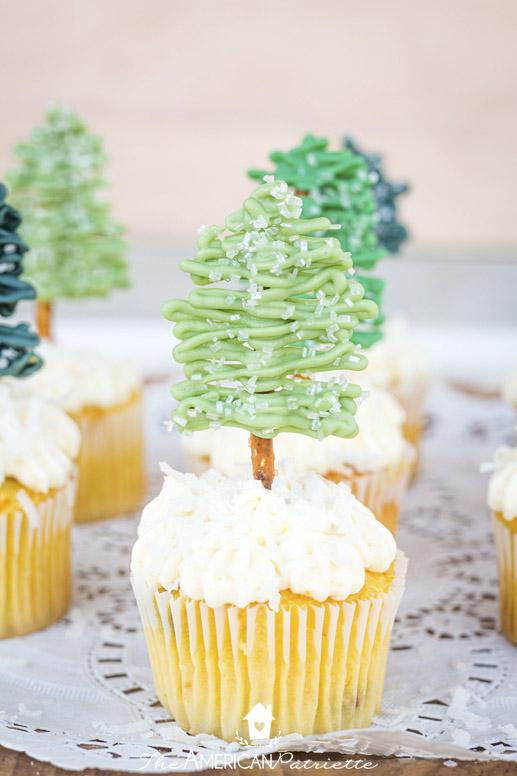
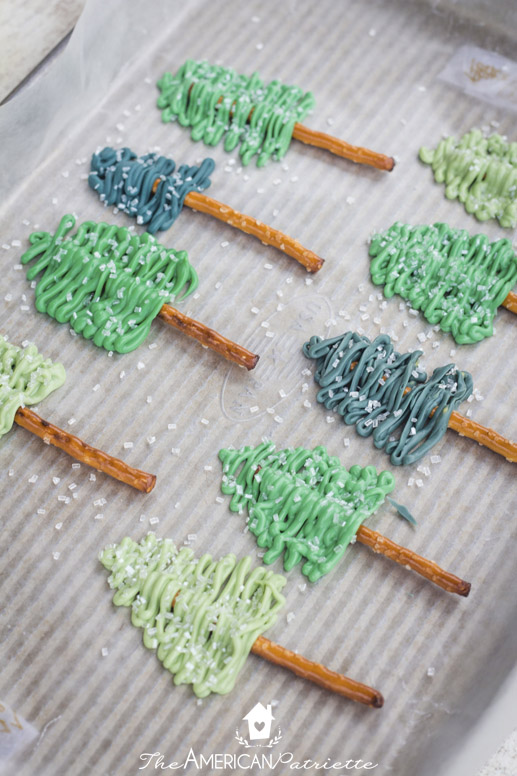
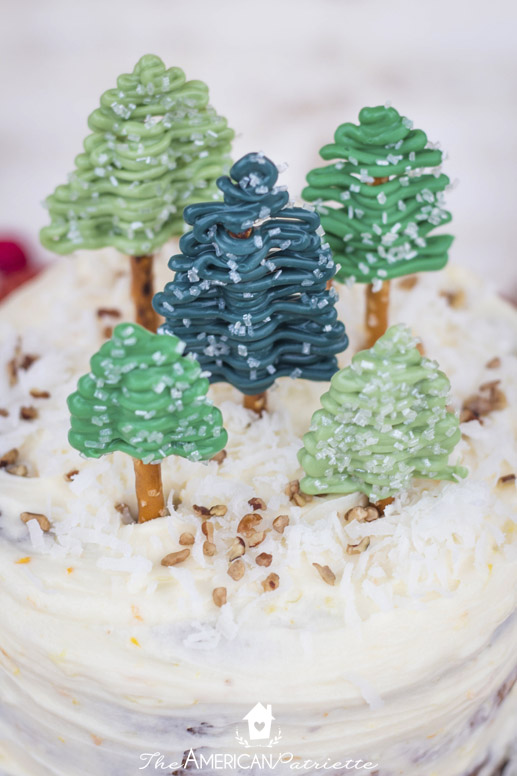
Unlike the melting, this is much more of an art than a science! Because I wanted more of a forest look rather than a uniform look for all my trees, I wanted to make different shades of green.
So, I kept that primary green for some of the trees, but then I also mixed it with the dark blue to make more of a dark turquoise/evergreen color, and then the yellow to make more of a lime green. I added the white to lighten it up, too. Check out the video at the beginning of this tutorial to get more thoughts about mixing colors!
Step 3: Put small amounts of each color in zipper bags
Unless you’re really comfortable with this process, and unless you’re making a BUNCH of trees at once, I would just put a couple of tablespoons in each bag. The bags will be easier to work with if you don’t have way too much melted candy in them.
You can always add more later, but since you’ll want to re-heat it in the bowls if it hardens (which won’t happen for a while – only if your house is really chilly inside and if you’re working at a snail’s pace), I would just work with a bit at a time.
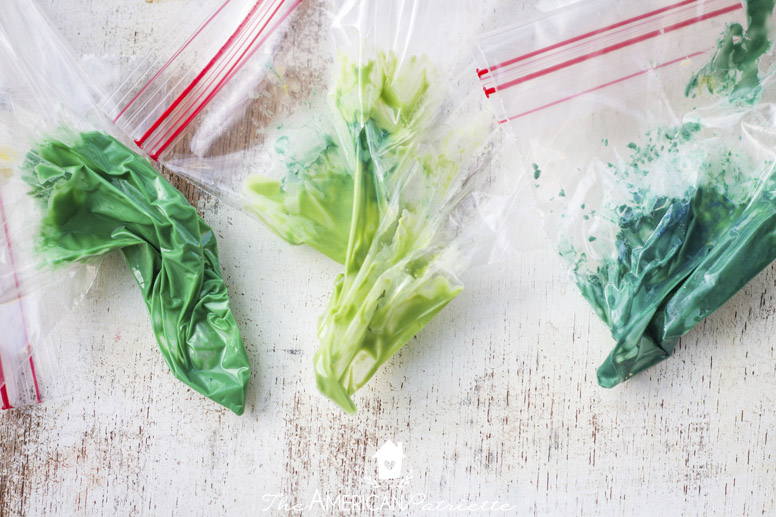
Put one color in each bag, and then cut a tip at the end of each bag – you can always cut it bigger, so start out smaller!

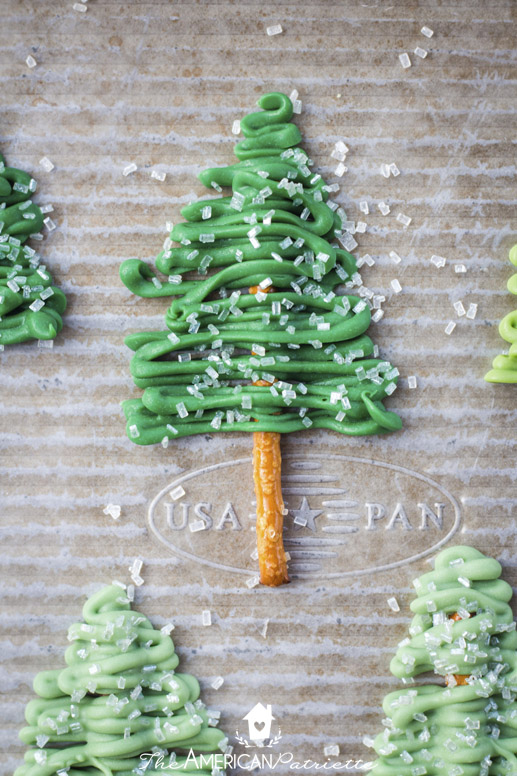
Then on a wax paper-lined baking sheet with your pretzel sticks, you’re just going to gently squeeze out the candy onto each pretzel, moving back and forth from top to bottom, to make a triangle shape.

I will often do one “back and forth” going down the tree, and then go back and do one more to make sure the pretzel is really evenly covered.
Also, you want the candy to be a little thicker so it doesn’t break as easily, so reinforcing it with another layer is a good idea.
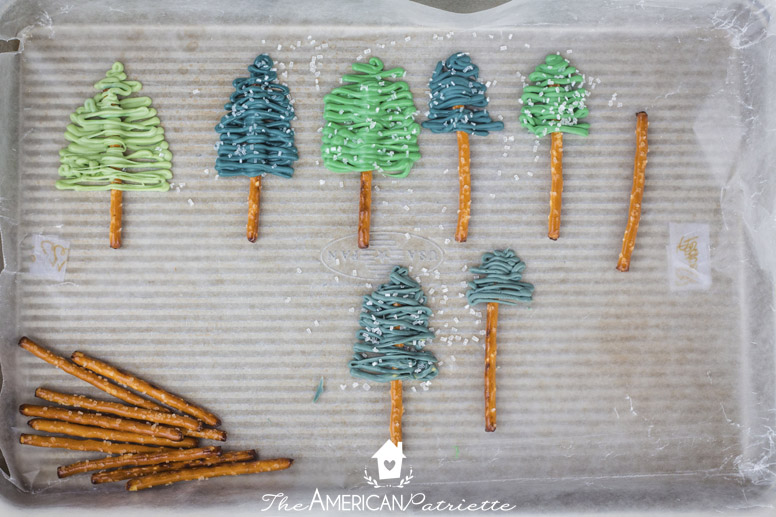
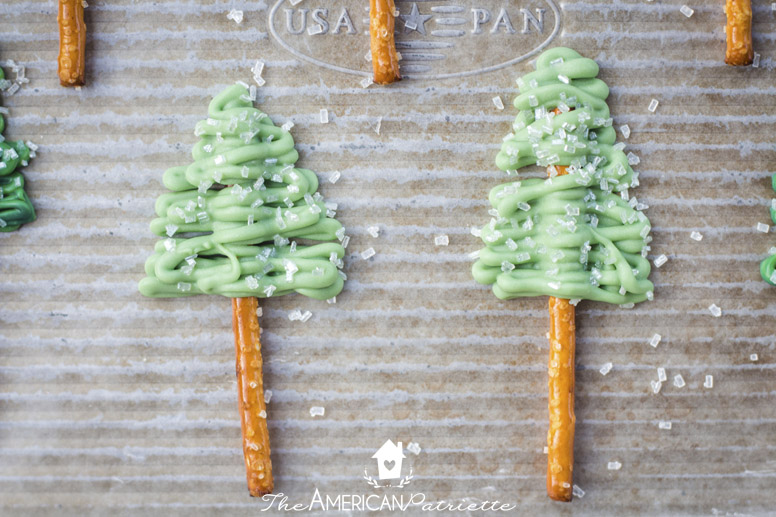
If you’re wanting to add the sprinkled snow effect, go ahead and add the sprinkles after every 2-3 trees you make. You want to make sure the candy doesn’t harden up at all before the sprinkles have a chance to adhere to it.
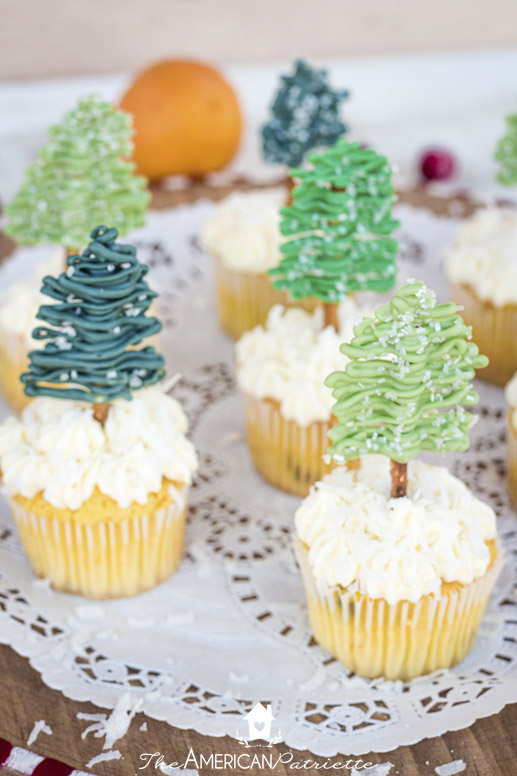
As you can tell, I wasn’t super precise with the tree shapes. Just as with the colors, I wanted different sizes and shapes of trees. Another thing that makes this process easier – since you don’t have to be extremely precise, you can make these a lot more quickly!
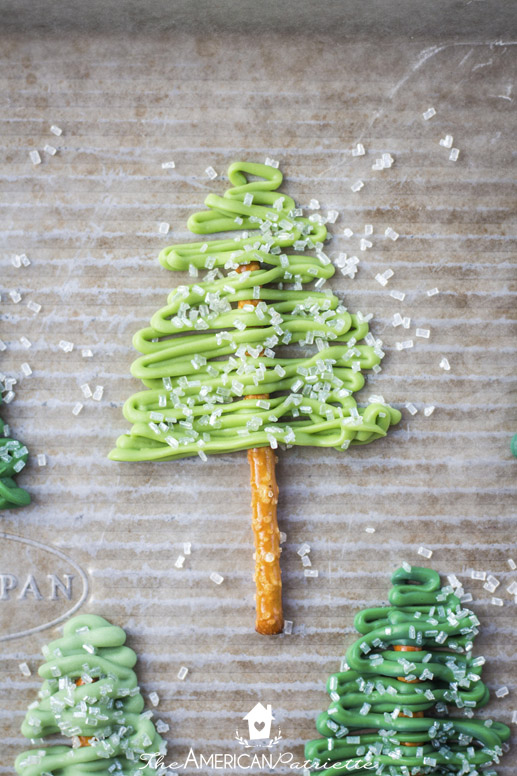
Look how pretty!
Step 4: Refrigerate for about 10-15 minutes to allow the candy to harden
While you can leave these out on your counter to harden, I’d recommend putting the pan in the fridge for about 10-15 minutes, just to help the candy really set.
If you leave it out on the counter, the candy coating will harden eventually, it’ll just take a lot longer.
Once you remove the pan from the fridge and the trees are set, they’ll pop right off the wax paper, but still be somewhat gentle while you’re removing them, just to prevent them from breaking at all.
You can store them at room temperature in your pantry in a sealed container. They’ll last a week or so (the candy will last much longer than that, but you don’t want your pretzel rods to go too stale before using them).
You can stack the trees on top of each other, again, just be careful when you do so, just to prevent the candy from breaking off too much.
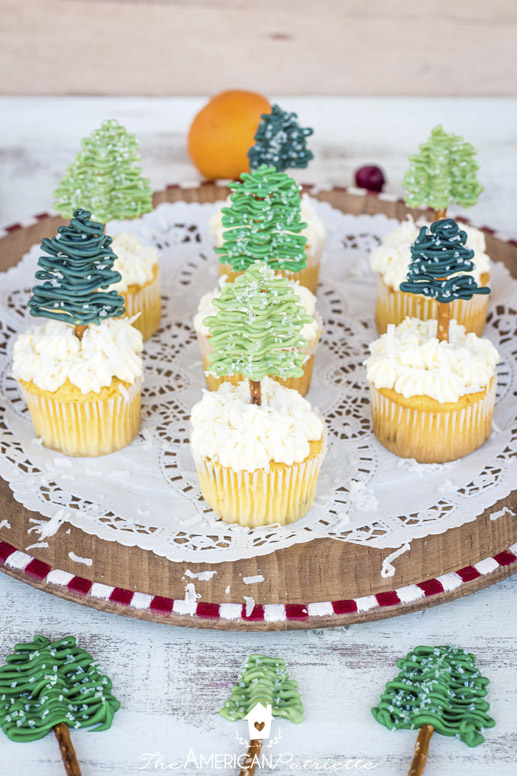
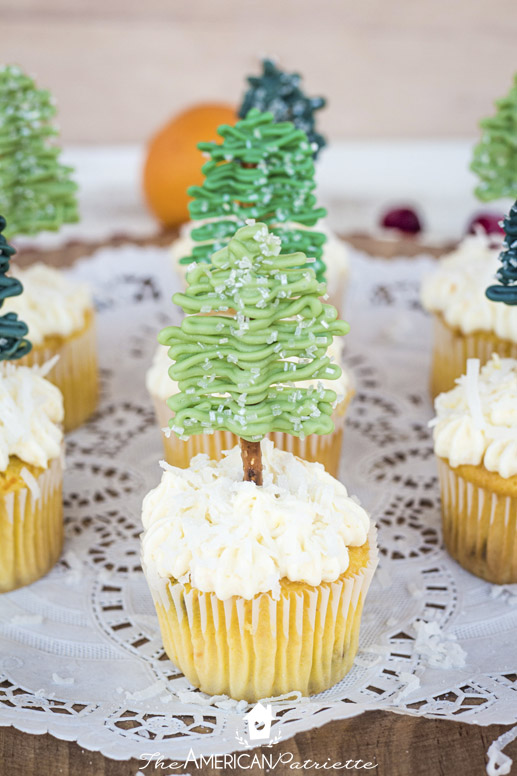
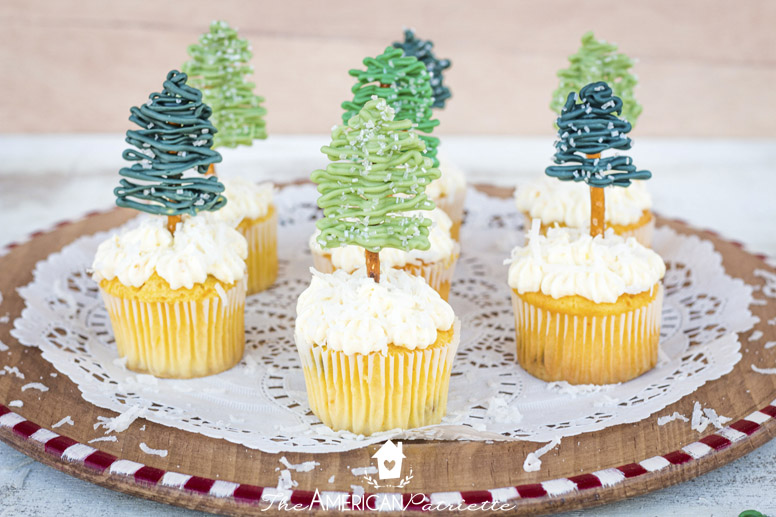
At this point, you’re ready to stick them into your cake or cupcakes and give your dessert a gorgeous winter wonderland feel!
Tips for working with the candy coating:
- Once again, you’ll want to make sure you’re stirring between microwave sessions, and don’t cook in the microwave for longer than about 45 seconds at a time.
- Definitely use microwave-safe bowls, preferably ones you KNOW work well in the microwave and heat evenly.
- Use freezer bags if you can, but if you can’t, sandwich bags will likely work just fine *as long as* they’re not really, really thin. (You’ll know!) I often use sandwich bags, but mine are thick enough that they work fine with the candy coating. I just think the freezer bags will be a little bit more of a barrier between your hand and the hot candy, and could also provide a little more…security? for the melted candy inside the bag.
- You can briefly (for just a couple of seconds) reheat the candy inside the bag if you find that you need to walk away from the project for a while and return to it later, or if you’re working while it’s particularly chilly and the candy hardens quickly in the bag (which is rare, but it’s possible!). When I’ve had to do this, I just place the sandwich bag (with the candy in it) in the microwave for about 3 seconds, and that usually does the trick to loosen up any bits that have hardened, particularly at the tip where you’re squeezing out the candy.
Tips for storing the candy coating:
- When I have leftover melted candy, I’ll often just let it fully harden inside the bag, and then put all the bags with the leftovers into a larger gallon-size bag for storing. When it comes to reusing that candy, I just open the bag, dump out the hardened candy into my microwave-safe bowl, re-melt it the exact same way I already talked you through, and then put it in a fresh bag. I don’t really reuse the same sandwich bags, just because they have the candy “dust” in there after it’s hardened and set.
- Save the remaining melted candy from the bowls! If you have leftover melted candy in the bowls, scoop it out with a spoon, put it in a sandwich bag, and store it for use later. Don’t let it go to waste! This stuff will last in your pantry for a LONG time as long as you keep it stored in zipper bags. If it’s hardened in the bowls, just reheat the bowls long enough to melt the candy enough that you can scoop it out – maybe about 10 seconds – and place into a sandwich bag for storage.
I think that’s it! Go enjoy making these adorable chocolate Christmas tree pretzels! They’re going to make your Christmas cakes so gorgeous! 🙂
Love great baking tips?! Be sure to snag these FREE baking cheat sheets that you can hang inside your kitchen cabinet for easy reference! Just fill out the form below and they’ll fly to your inbox.