How to Make Chocolate Spoons (Quick & Easy Recipe!)
This quick & easy tutorial will show you how to make chocolate spoons for stirring hot cocoa & coffee. Pair them with a jar of some homemade cocoa mix, and they make perfect Christmas gifts for teachers, coworkers, and neighbors!

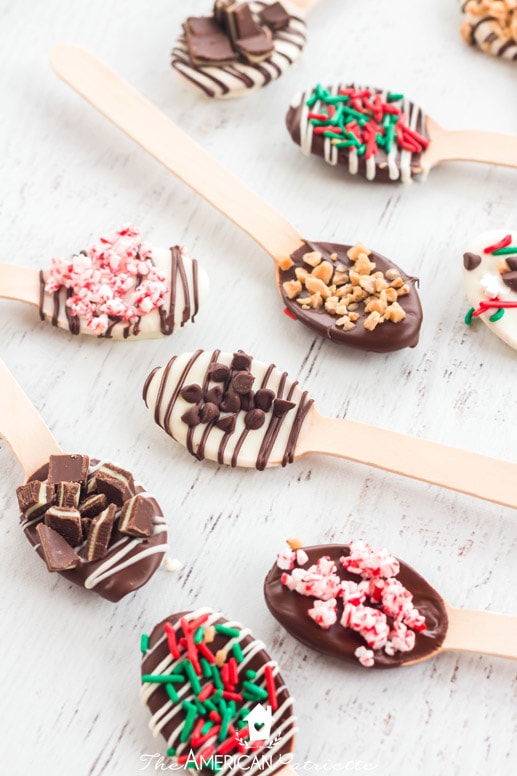
These homemade chocolate-dipped spoons are SO easy to make! The varieties are almost endless, and you can make a big batch at once without any extra effort.
They make such great little Christmas gifts!
All you need are a few basic ingredients that you can find on the baking aisle at the grocery store, some spoons (I use wooden ones to make them look/feel a little nicer), and if you’re wrapping them up, some little cellophane baggies and ribbon or raffia to tie them off.

Package them up and they make a perfect little Christmas gift or stocking stuffer for all ages!
Let me show you how easy it is to make these beauts!

This post contains affiliate links for your convenience. You can read my full disclosure policy here.
How to Make Chocolate Spoons
Here’s what you’ll need:
- Wooden spoons (you can use other spoons, but I like wooden better because they look nicer!) – I bought packs of 12 from Hobby Lobby for $1/pack, but you can also buy them on Amazon
- Wax paper
- Baking sheet (preferably one with a rim to keep the toppings contained when you sprinkle them on the spoons – these are the baking pans I use for 100% of all my baked treats!)
- Semisweet chocolate chips (you can also use milk chocolate, but I think the semisweet adds a richer chocolate flavor when stirred into cocoa)
- White baking bark/almond bark (this melts much better and more smoothly than white chocolate chips, so I prefer to use it instead!)
- Assortment of toppings: Christmas sprinkles, crushed candy canes, toffee bits, mini chocolate chips, chopped Andes mints (other ideas: dark chocolate chips, white chocolate chips, tiny marshmallows)
- Sandwich baggies for drizzling melted chocolate on spoons
- Small cellophane baggies – I bought mine at Hobby Lobby, but again, you can get them on Amazon
- Some kind of ribbon or raffia for tying the bags closed
Step 1: Set out your ingredients; melt the semisweet chocolate chips & white almond bark in the microwave

Here are some quick tips for melting the semisweet chocolate chips & the almond bark:
- If you have glass Pyrex bowls (or something very similar), use those. I always, always, always use my Pyrex bowls or Pyrex glass measuring cup when I’m melting chocolate/candy in the microwave because it always evenly melts everything. I’ve been making things with melted candy coating/chocolate chips for years (well over a decade), and the times I’ve had the most trouble is when I used something else – perhaps a ceramic bowl or mug – that said microwave-safe, but isn’t really intended for that kind of heat. Glass bowls – ones that are really intended for heat – are the best to use!
- Microwave them in brief increments & be sure to stir – I start out with microwaving each bowl for 30 seconds, then stirring, and then another 20-30 seconds. You shouldn’t need more than 2-3 rounds in the microwave, but be sure to stir between heating sessions. You really don’t need the chocolate to be hot – it’ll easily melt with just being warm.
- You can melt these with the double-boiler method on the stovetop, but it’s really not necessary if you can melt them using Pyrex bowls in the microwave!

Once again, you’ll just melt each bowl in the microwave in 30-second increments, probably just 2x, stirring each time, and then you’ll be ready to go!

Step 2: Dip each spoon & drizzle with melted chocolate

This is kind of 2 steps in one, but they’re easy enough to follow together!
Dip the wooden spoon into the melted chocolate, ensuring it’s covered on both the back and the front of the spoon. Give the spoon a little shake to get off the excess, and then set it on wax paper.
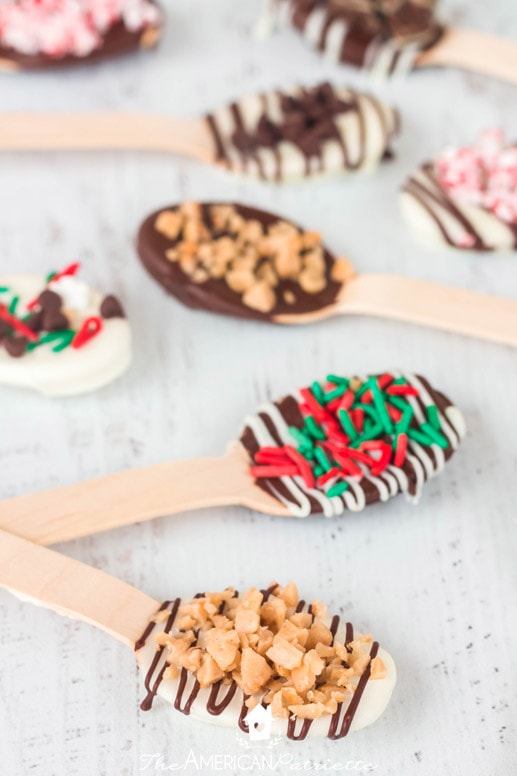
If you want to drizzle melted chocolate on the spoons, the easiest way to do this is by spooning a little bit of the melted chocolate into a sandwich baggie, cut a small tip out of the corner of the bag, and then drizzle over the chocolate-covered spoon.

I find you’ll get a much more even drizzle by using the bags rather than trying to use a fork to dip into the melted chocolate and shaking it over the spoons! Trust me on this!

Step 3: Add toppings

Have fun adding toppings to each spoon! You can use such a variety of toppings – options are almost endless!
Some ideas might include:
- Different kinds of Christmas sprinkles
- Toffee bits
- Mini chocolate chips
- Dark chocolate chips
- White chocolate chips
- Mini marshmallows
- Chopped Andes mints
- Crushed candy canes
- Instant coffee crystals
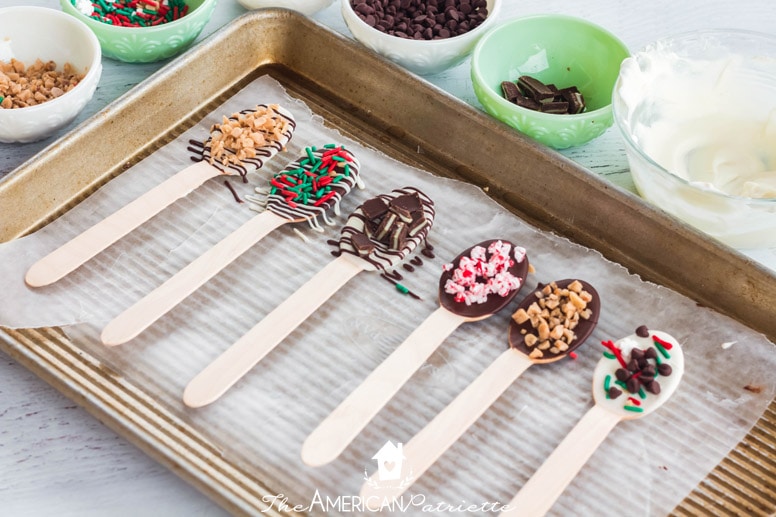
Tip for adding the toppings: After dipping 6-8 spoons in chocolate & drizzling them (if you’re wanting to drizzle them), go ahead and add the toppings and then continue with dipping more spoons. You want the chocolate on the spoons to still be really melted when you add the toppings to ensure they stick well.

Step 4: Chill for 5-10 minutes in the fridge

They don’t need much – just 5-10 minutes in the fridge to let the chocolate completely set.
Step 5: Enjoy with cocoa/coffee or package up to gift to others!
Such a fun gift to give, especially since they’re SO pretty and since you can make so many at one time!

Once you’ve made them all, you can package them up nicely in small cellophane bags with a ribbon and give with some homemade hot cocoa mix!

Happy making!!


How to Make Chocolate Spoons (Quick & Easy Recipe!)
Equipment
Ingredients
- 1 c semisweet chocolate chips
- 1 c white almond bark
- Disposable wooden spoons*
- Assorted toppings
Instructions
- The recipe quantities make about 12 wooden spoons, but you can very easily multiply the quantities to make a much bigger batch!
- Using glass microwave-safe bowls**, place a bowl of semisweet chocolate chips and a bowl of almond bark chunks in the microwave for 30 seconds. (My microwave is always on medium-high heat.)
- Remove from microwave, stir, and place back in for another 20-30 seconds.
- Remove and stir again. If they're still not fully melted, add back into microwave for another 20 seconds. (The melted chocolate/almond bark don't need to be hot; they just need to be melted enough that they're nice and smooth!)
- Begin dipping wooden spoons in melted chocolate, making sure to cover the front and back of the spoon. Lightly shake the spoon over the bowl to shake off excess, then place the spoon on a pan lined with wax paper. Repeat with additional spoons.
- If you want to drizzle melted chocolate/almond bark on the spoons, the easiest way to do this is to spoon a little bit of each into sandwich bags, cut out the tip (start smaller!) of each bag, and then lightly drizzle over the spoons. This will help ensure an even drizzle.
- After covering/drizzling 6-8 spoons, sprinkle on your toppings of choice. (You don't want your chocolate to cool/set too much before adding the toppings.) Continue making spoons until your pan is full, and then place in fridge for 5-10 minutes or until chocolate is completely set. It doesn't take long.
- Remove from fridge and either package up spoons in individual cellophane bags or store in an air-tight container at room temperature.
- Enjoy giving these as gifts with homemade cocoa mix or with your family and friends in cups of cocoa or coffee!