Homemade Christmas Pizookie
Wow your family with a homemade Christmas Pizookie! Basically a holiday-themed chocolate chip cookie cake, and it’s delightfully delicious!
Homemade Christmas Pizookie = easiest way to make chocolate chip cookies. Whip up the dough, press into the skillet, and bake!
Let me walk you through the simple steps!
How to make a Homemade Christmas Pizookie
These steps are pretty much exactly the same as making a batch of chocolate chip cookie dough. Easy peasy!
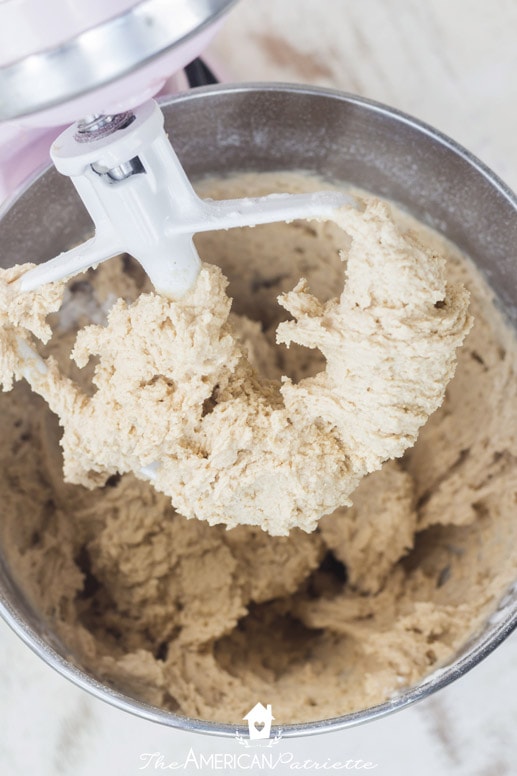
Step 1: Cream butter and sugars together
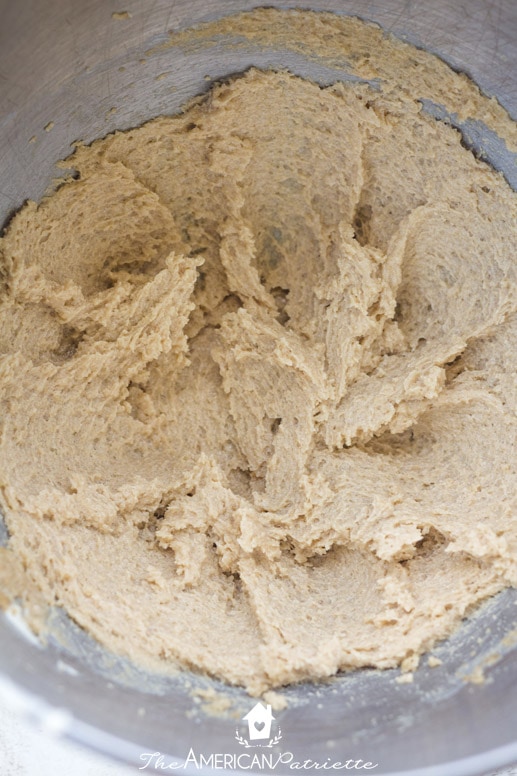
Send your softened butter & sugars for a spin around your mixer for about 2-3 minutes. Creaming helps to produce a soft and chewy cookie.
Step 2: Mix in vanilla & eggs
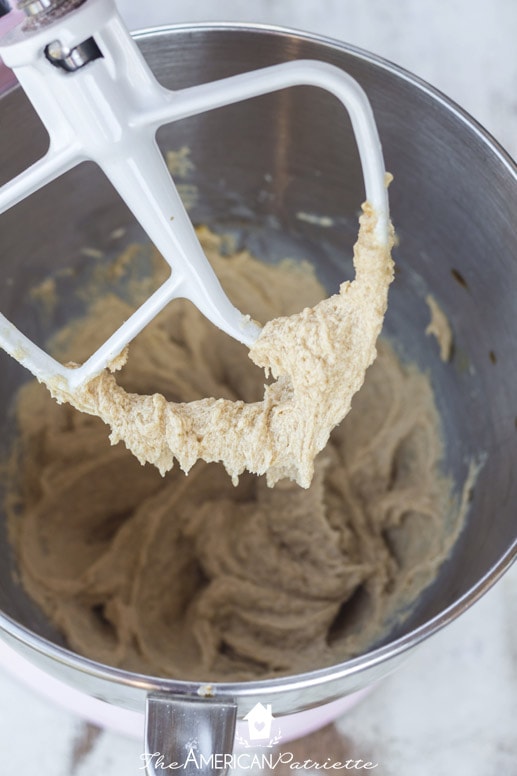
Just until combined – you don’t want to over mix!
Step 3: Mix in dry ingredients (flour, baking powder, salt)
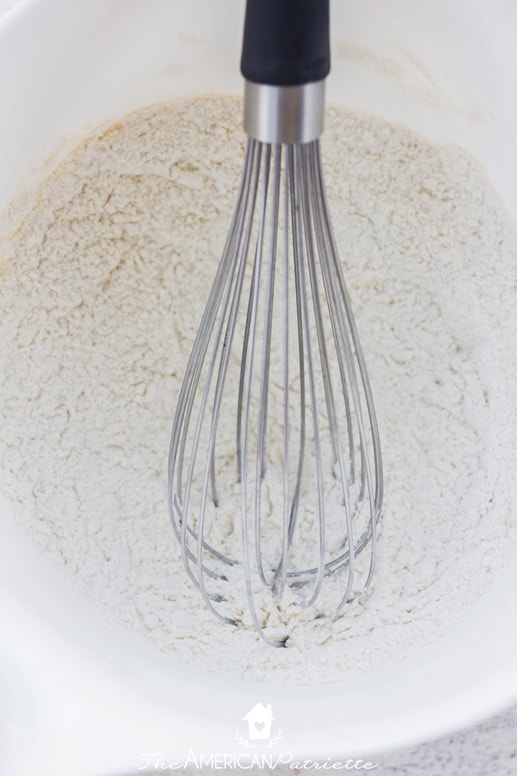
I whisk together the dry ingredients in a separate bowl, and then gradually pour them into the wet ingredients while my mixer is on low.
Once again, you don’t want to over mix. Blend until everything is just combined, making sure to scrape the sides of the bowl to make sure everything gets evenly mixed.
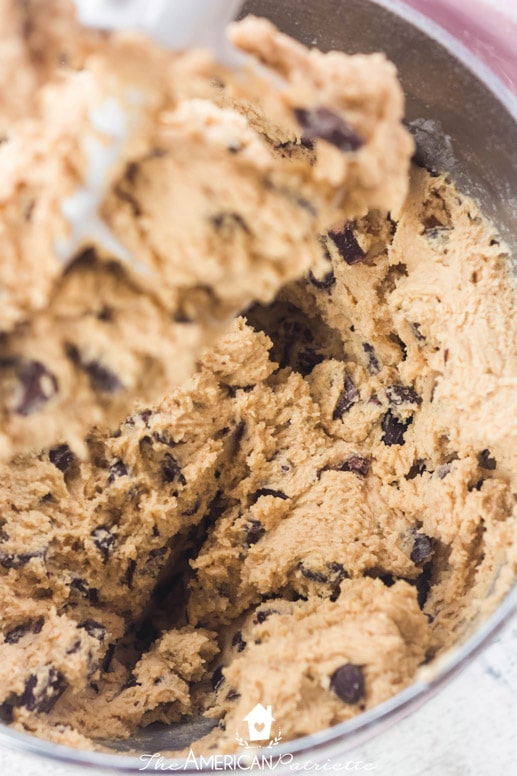
Step 4: Fold in chocolate chunks & chocolate chips
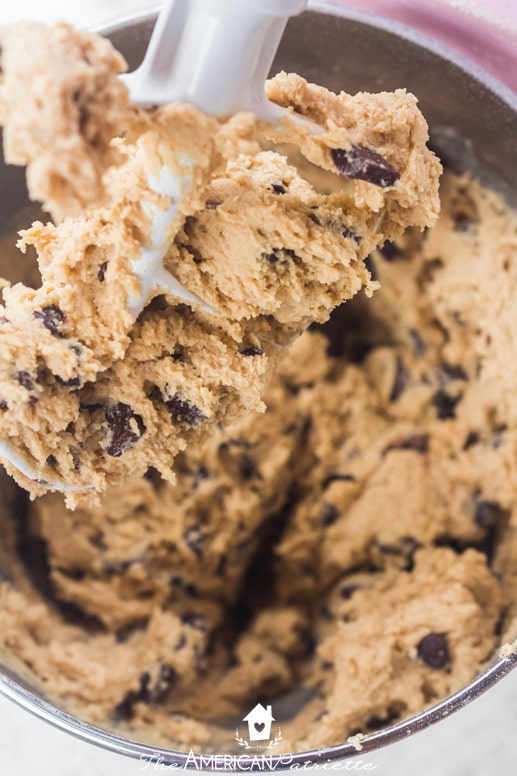
I know, already looks so tasty, doesn’t it?!
In my chocolate chip cookie recipe, I use 2 cups of semisweet chocolate chips, which is pretty typical for a lot of chocolate chip cookie recipes that make 2 dozen cookies.
However, I wanted to use chocolate chunks in this Pizookie recipe, and while they’re bigger and thus offer thicker, meltier goodness, you’re naturally not going to have as many of them spread out in the dough, so I added in an additional cup of semisweet chocolate chips.
I mean, did anyone ever complain about too many chocolate chips in a chocolate chip cookie recipe?
Step 5: Chill the dough for 30 minutes to an hour

My regular chocolate chip cookie recipe doesn’t require you to chill the dough, and you probably don’t HAVE to in this recipe either, but, chilling the dough does often help with giving the flavor a little boost.
Cover the dough with plastic wrap, set in the fridge for just a bit, and then you’re ready to bake it!
Step 6: Press dough into buttered 12″ cast iron skillet
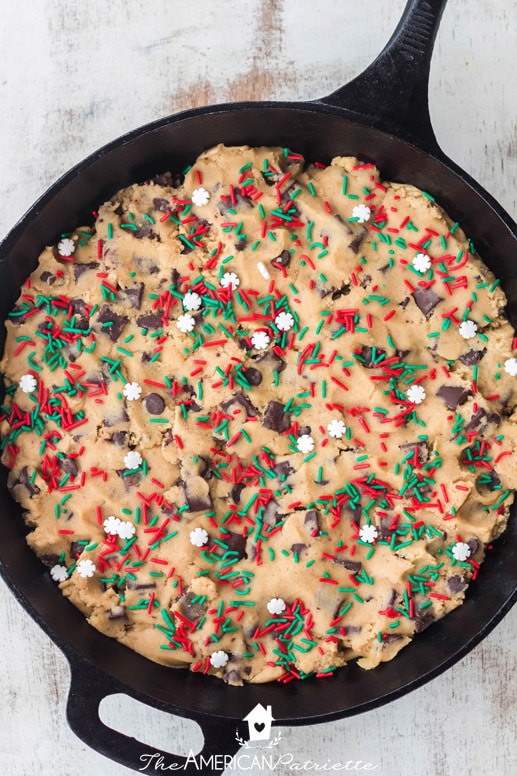
I ran the top of a stick of butter down the bottom and around the sides of the cast iron to give the cookie a little layer of protection, but if you have a well-seasoned cast iron skillet, your Pizookie shouldn’t stick too much.
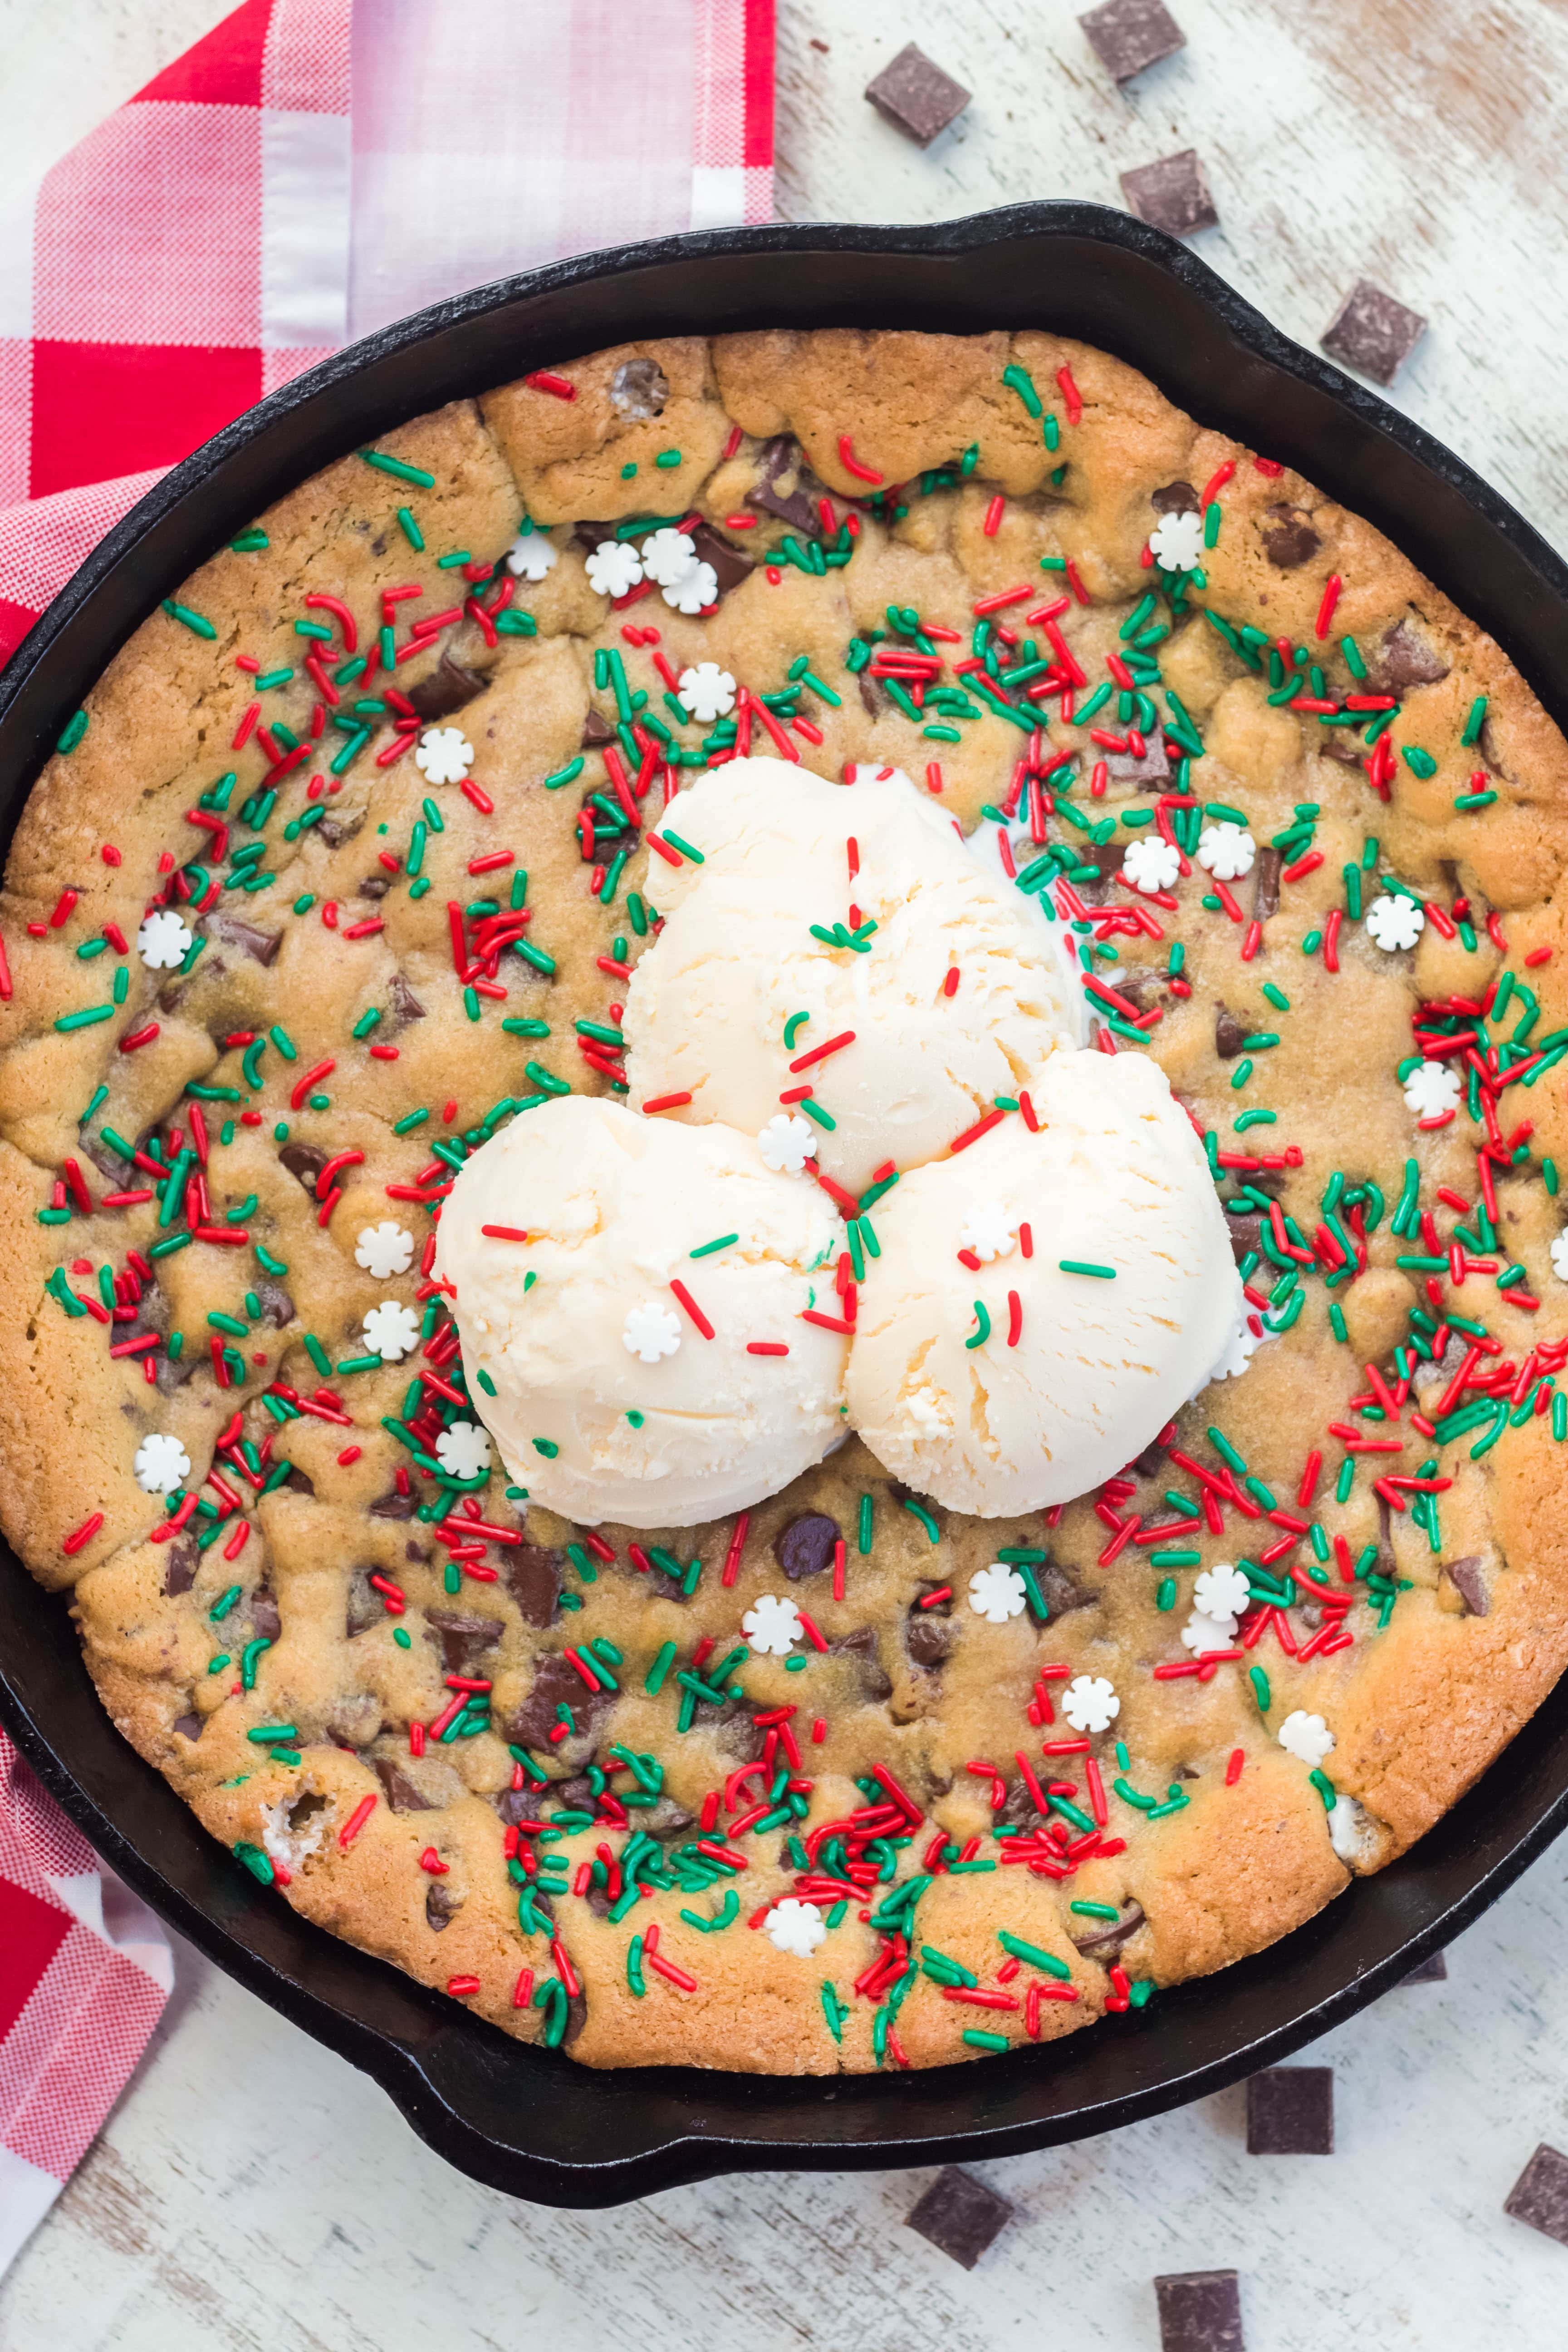
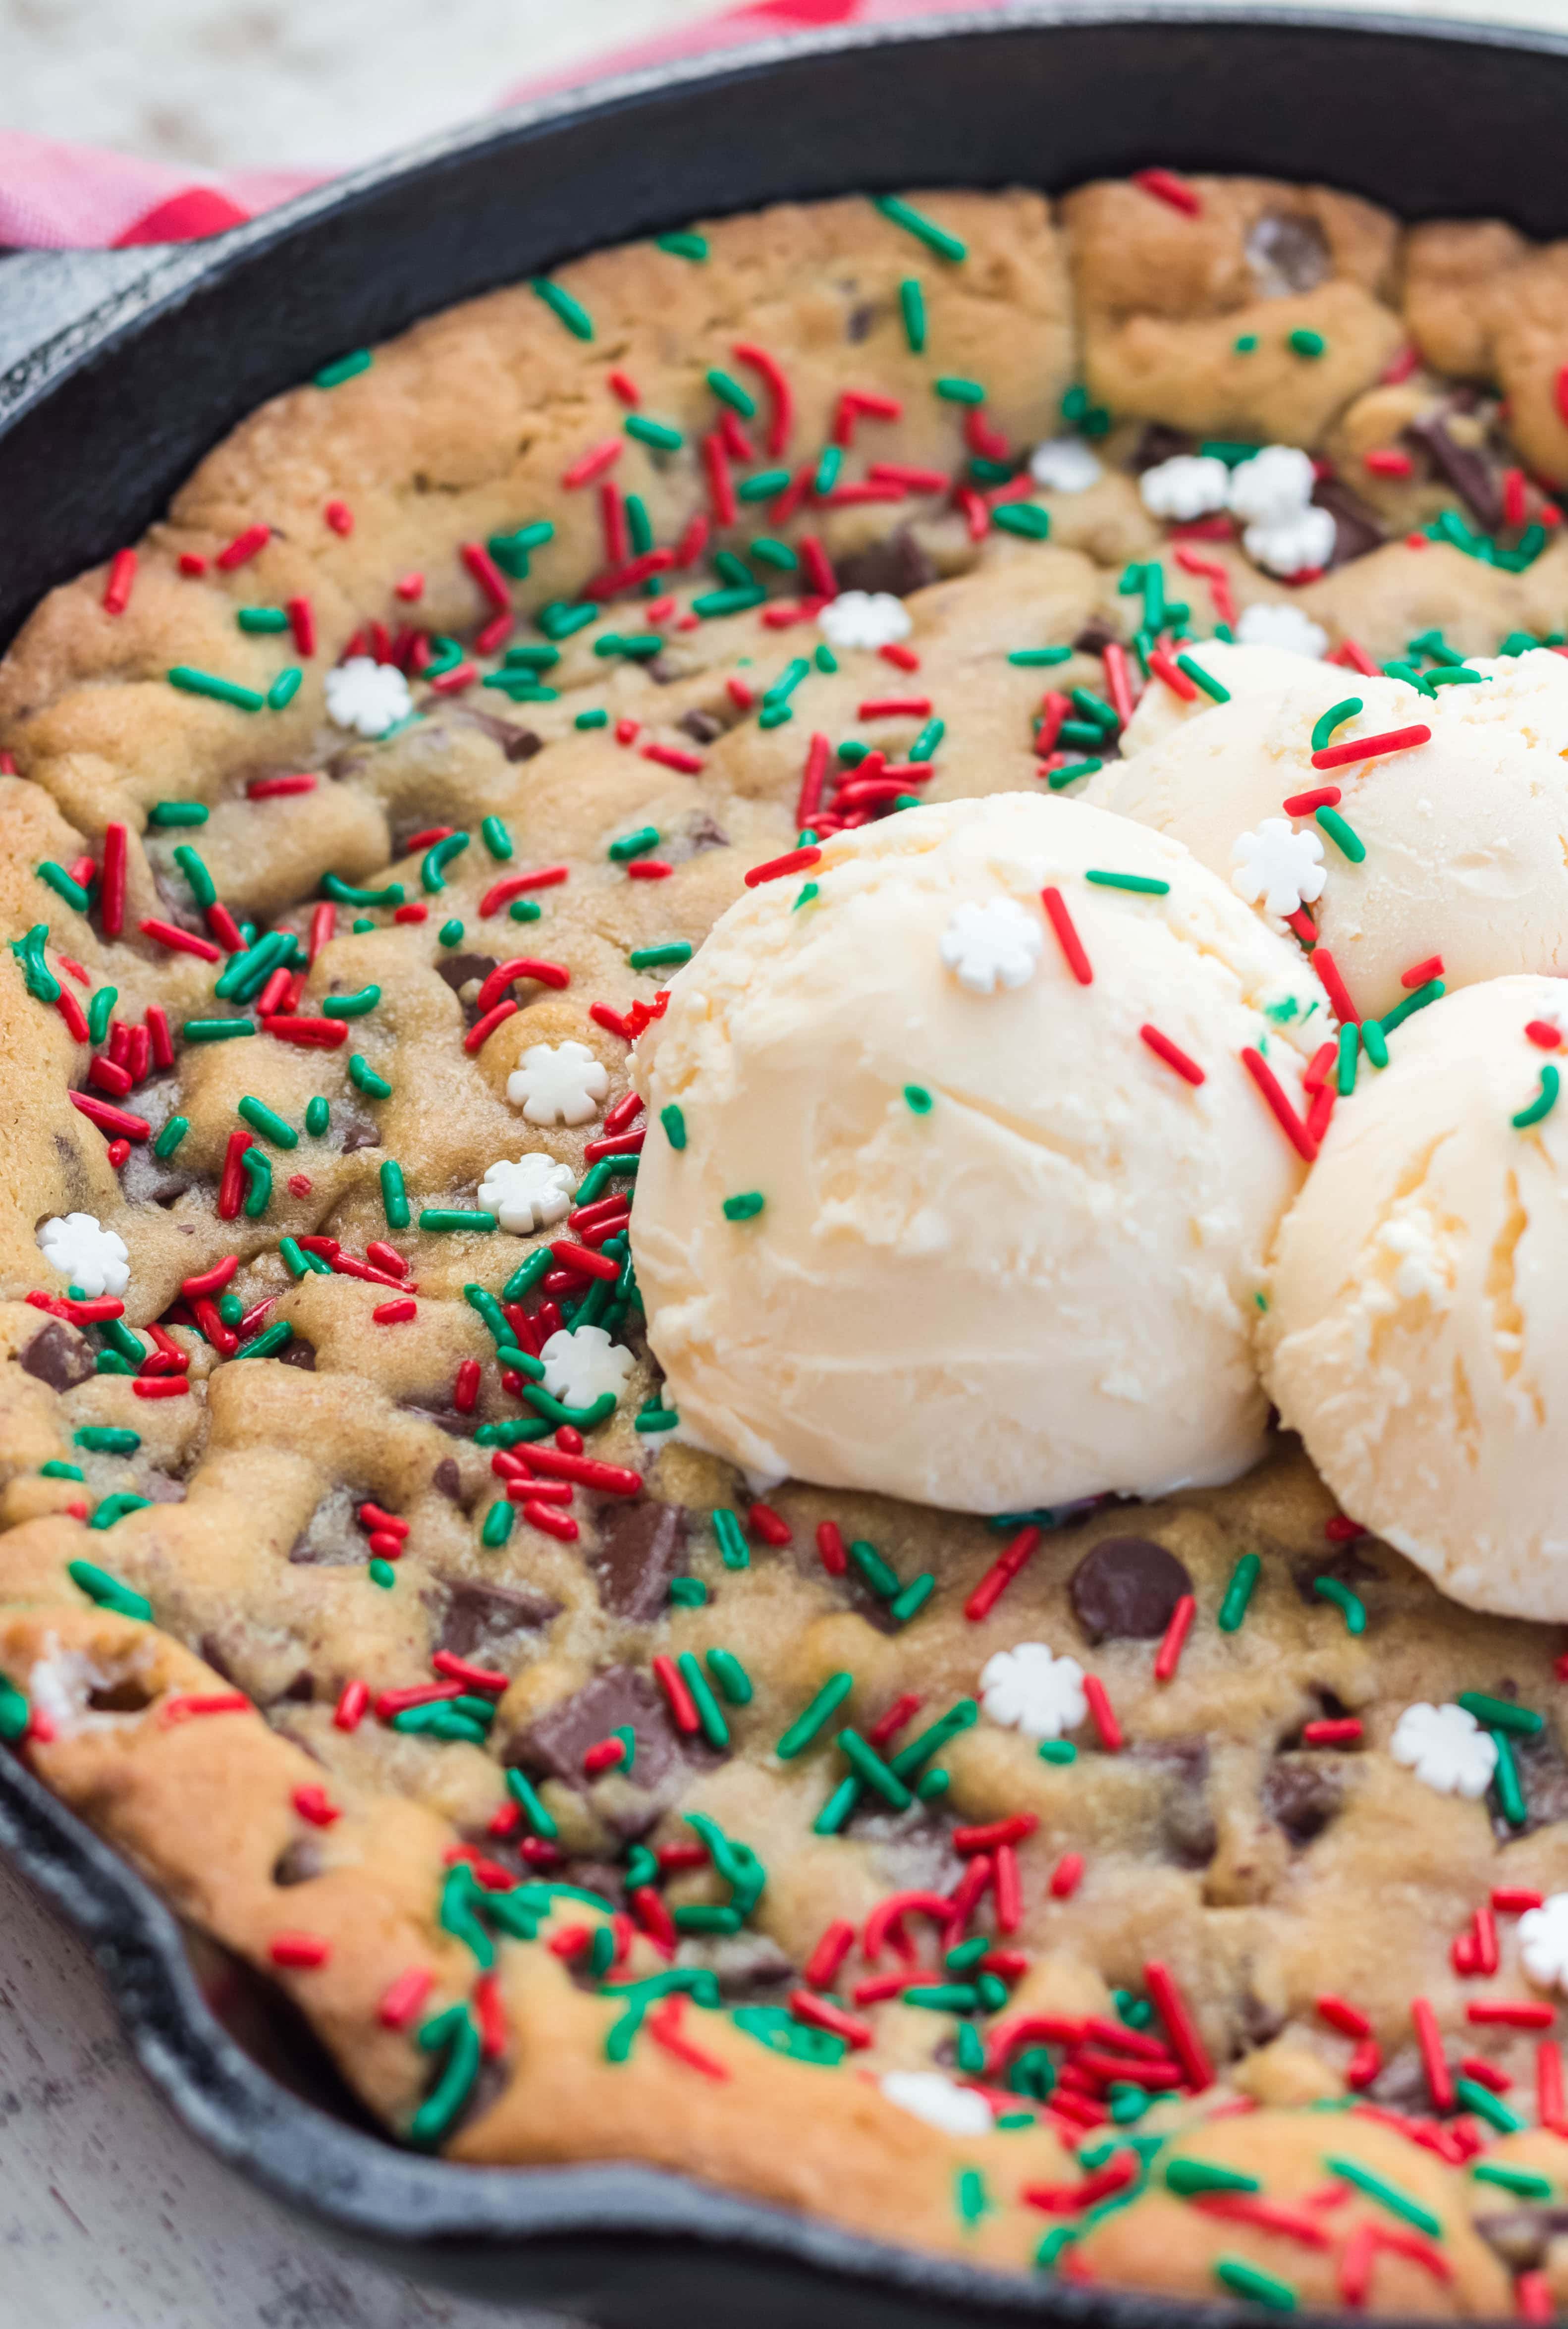
As you can tell, I added some Christmas sprinkles across the top of the dough to make it festive. 🙂
Step 7: Bake for 20 minutes at 350

The middle is still going to be quite melty and chewy, but you don’t want to bake it for too long because you don’t want those edges to get too crispy.
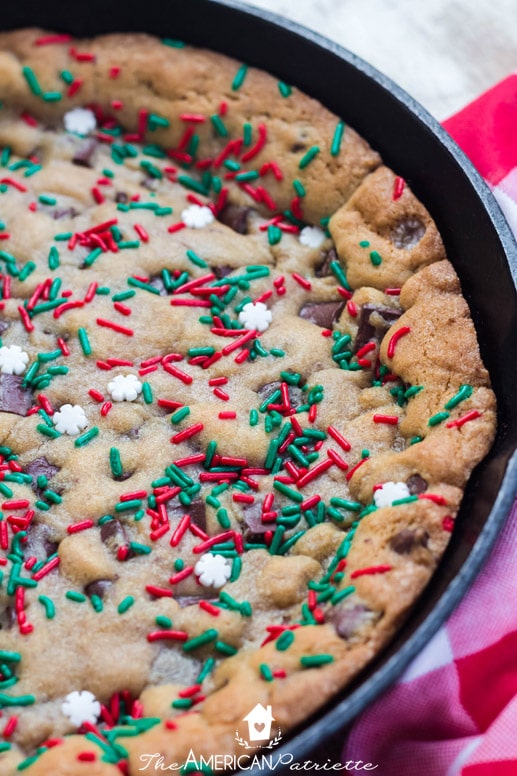
If you want to serve it soon after you get it out of the oven, know that it probably won’t maintain its shape as you portion it out of the skillet, but it will be DELICIOUS.
When I made this particular Pizookie in the pictures, I made it earlier in the day (around lunchtime) and we served it up at a Christmas party that evening. Even though the middle was still nice and soft and melty, the pizza-shaped slices came out pretty clean from the cast iron.

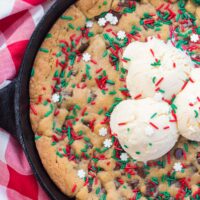
And, of course, a bit of vanilla ice cream with chocolate chip cookie makes a bite even more delightful!
Here are some tips for making this homemade Christmas Pizookie:
Make sure your oven temperature is correct. I never, ever, ever trust my oven to tell me the temperature inside of it. I always refer to my oven thermometer that hangs inside the oven on the rack. It’s just a run-of-the-mill thermometer, but no matter where I’ve lived, I’ve learned I have to rely on the thermometer to make sure the oven temp is correct before I put anything inside!
You don’t have to use a cast iron skillet, you just need to make sure you use a pan that’s at least 12″ in diameter and is oven-safe. You can also use this same exact recipe and press it onto a pizza pan instead. If your pizza pan has holes in it, however, you’ll want to cover it with foil first. And, if you bake it on a typical-sized pizza pan vs. the cast iron, you’ll want to decrease the bake time by a few minutes since it’ll be more spread out and thus cook a little more quickly.
Make it ahead of time if you want the slices to come out clean. If you care about getting pizza-esque slices out of it, plan to make it at least a few hours before serving it so that the cookie has time to set before you slice it. You can get it warm again by placing it in your oven at a low temperature for 15-20 minutes before you serve it.

Have fun sharing this with others for Christmas!
Equipment
- Legend Cast Iron Skillet with Lid | Large 12” Frying Pan with Glass Lid & Silicone Handle for Oven, Induction, Cooking, Pizza, Sautéing & Grilling | Lightly Pre-Seasoned Cookware Gets Better with Use
Ingredients
- 2 sticks unsalted butter softened (room temp)
- 1 1/2 c packed brown sugar
- 1/2 c granulated sugar
- 2 eggs room temperature
- 3 tsp vanilla extract
- 3 c all-purpose flour
- 1 tsp baking soda
- 1 tsp salt I use sea salt, but regular table salt is fine
- 2 c semisweet chocolate chunks
- 1 c semisweet chocolate chips
- Christmas sprinkles
Instructions
- Using a stand or a hand mixer, cream together the butter & sugars for 2-3 minutes.
- If you're using a stand mixer and your hands are free, you can whisk together the dry ingredients (flour, baking soda, salt) in a separate mixing bowl and set aside.
- Add the vanilla & egg to the creamed butter/sugar & mix briefly - just until the egg is blended in. Scrape the sides of the bowl to make sure everything is evenly mixed.
- Gently add in the flour mixture and mix just until blended.
- Fold in the chocolate chunks & chips.
- Cover the dough with plastic wrap, and set bowl in the fridge to chill for 30-60 minutes.
- Remove dough from fridge & preheat oven to 350.
- Lightly butter a 12" cast iron skillet (see notes in post about using a pizza pan if you don't have a cast iron) and press dough evenly across the pan.
- Sprinkle Christmas sprinkles across the top.
- Bake dough in skillet for 20 minutes at 350.
- Remove from oven, and set aside to cool and set before serving.