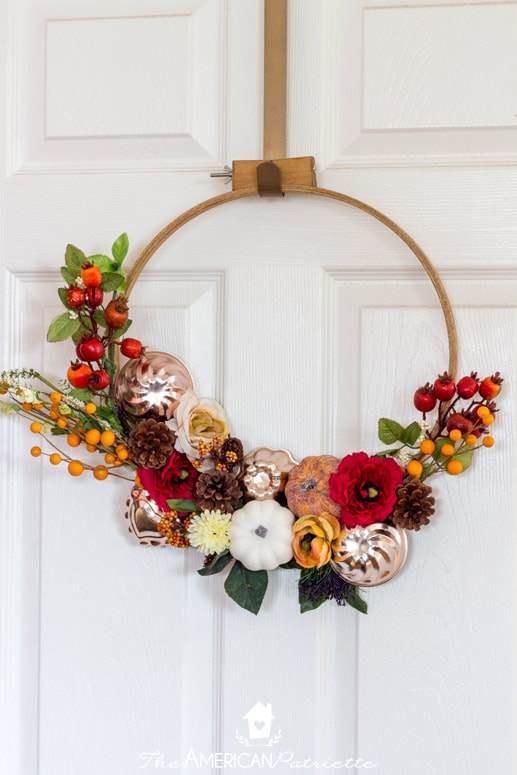
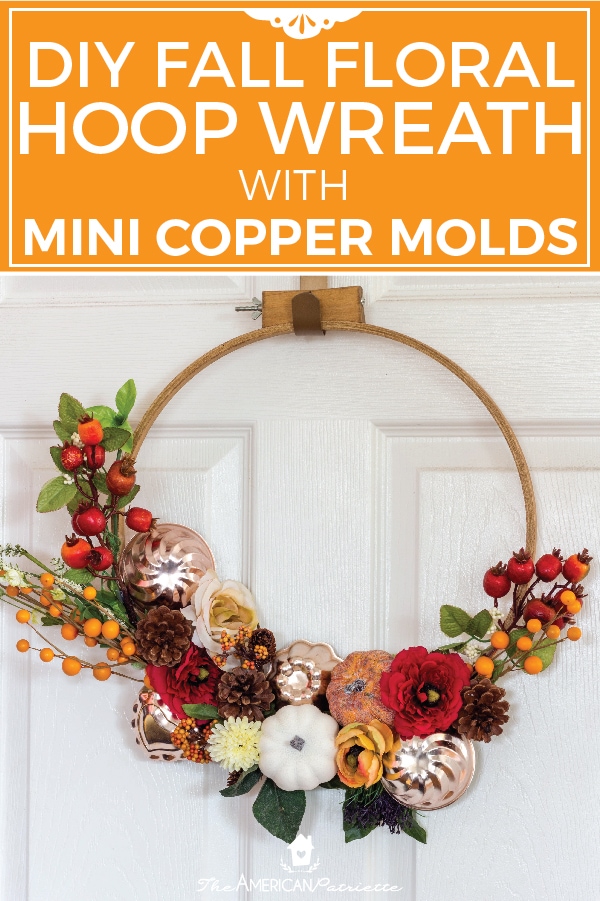
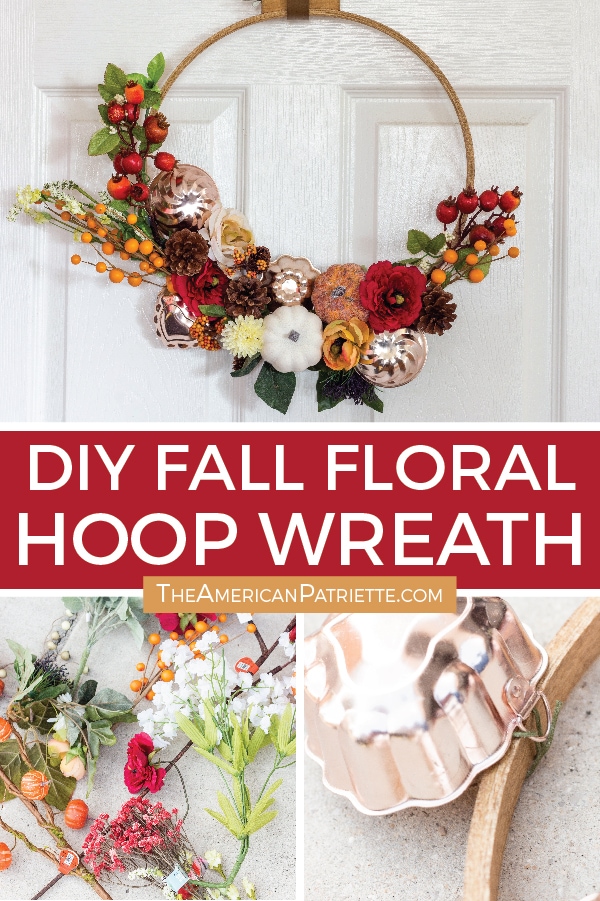
DIY Fall Floral Embroidery Hoop Wreath (perfect for your kitchen!)
This gorgeous DIY fall floral embroidery hoop wreath, complete with the copper molds, is a perfect piece of fall decor for your kitchen! If you’re looking for a fun faux floral project to add some autumn color and spruce up your pantry door, this gorgeous indoor wreath is an easy and gorgeous option!
I love indoor wreaths. They’re such a great way to add color, bring in a little bit of nature (I know, I know, faux florals – but we can pretend, can’t we?), and have gorgeous decor that isn’t taking up much-needed counter space or shelf space.
Ya know?

This gorgeous, colorful, fun faux fall floral wreath was inspired by a couple of wreaths that the Lolly Jane gals posted on their blog (their adorable embroidery hoop wreaths and the beaaaautiful fall wheel wreath with the bold colors!). I saw those wreaths and was totally smitten. A friend of mine gave me those adorable mini copper molds years ago, and I’ve just been itching to figure out how to use them in a project. Turns out this was the perfect one!
Ready for me to walk you through the few steps it requires to make this beaut?!
This post contains affiliate links for your convenience. You can read my full disclosure policy here.
Materials you need:
- 14″ embroidery hoop
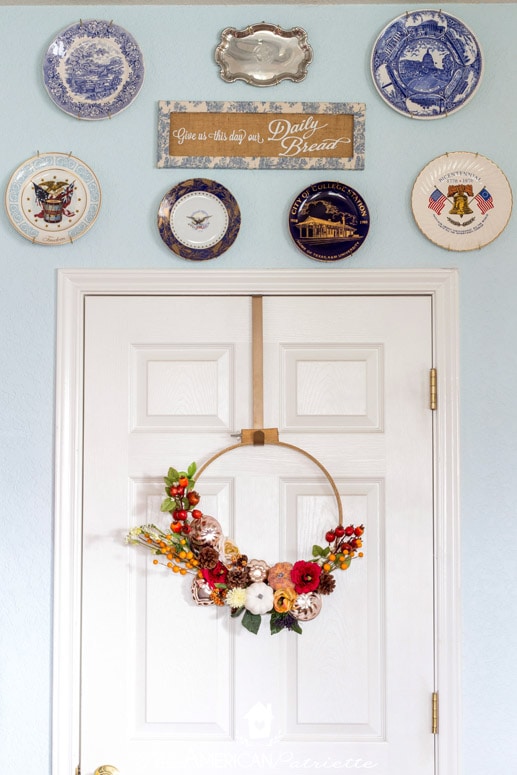
- Wood stain (optional – I wanted the wooden hoop to coordinate with a sign it was going to be hanging close to in my kitchen, so I went ahead and stained mine to give it a richer, deeper hue. Totally up to you if you want to do that or not. I used Puritan Pine by Minwax.)
- Paintbrush or rag (to apply stain if you use it)
- Fall floral elements (I got mine at Hobby Lobby and Home Goods)
- Mini faux pumpkins
- Pine cones
- Mini copper molds (I got mine from a friend, but you can find some on Etsy)
- Floral wire
- Scissors (strong enough for cutting through the wire in floral elements)
- Hot glue gun
- Hot glue sticks
Yay! Let’s get started!
Step 1 (Optional): Stain wreath
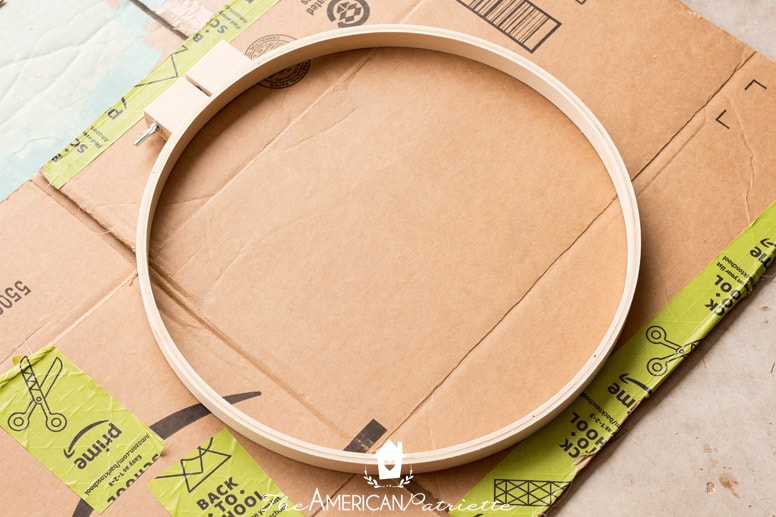
Apparently I forgot to take a picture of this step, but you already know how to do this! Easy peasy. I just used an old sock, wiped the stain onto the wood, and then let it dry for about 30-45 minutes before getting back to work. You may need to adjust your dry time depending on your weather when you make yours (it was hot – 90+ degrees – and sunny when I worked on mine).
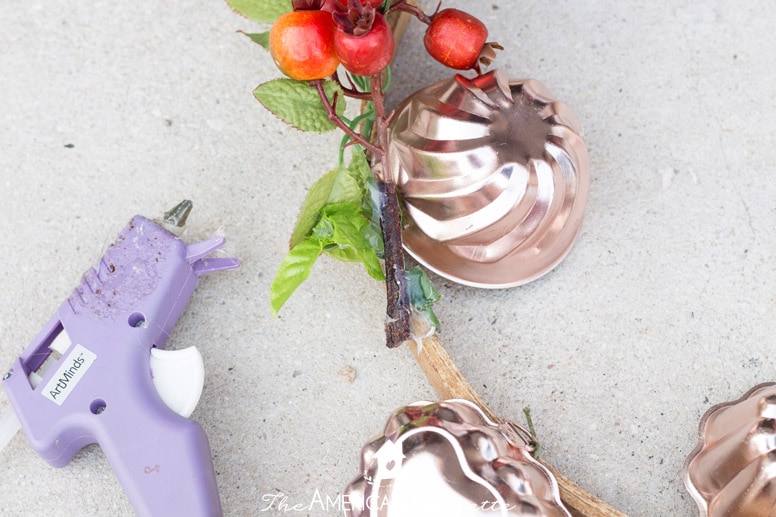
Step 2: Start laying out your materials
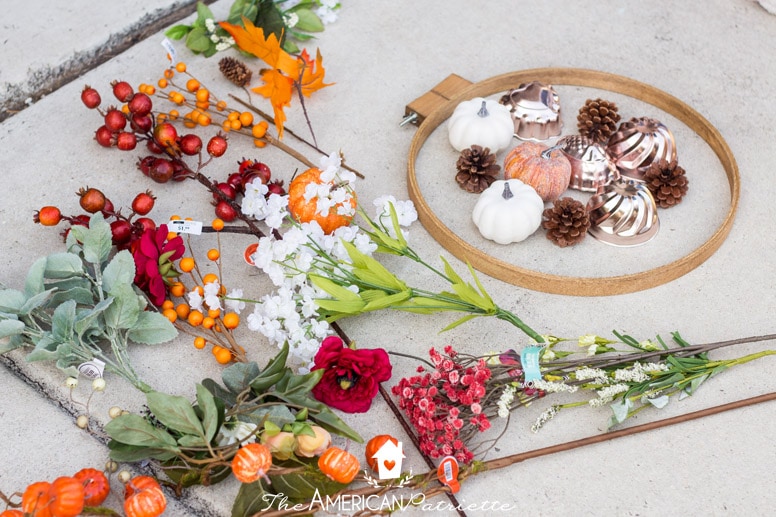
This process was far more art than science. At this point, I wasn’t sure what all I was going to use to make the wreath. I just knew I wanted lots of color and texture, and to be able to fit those copper molds on there somehow.
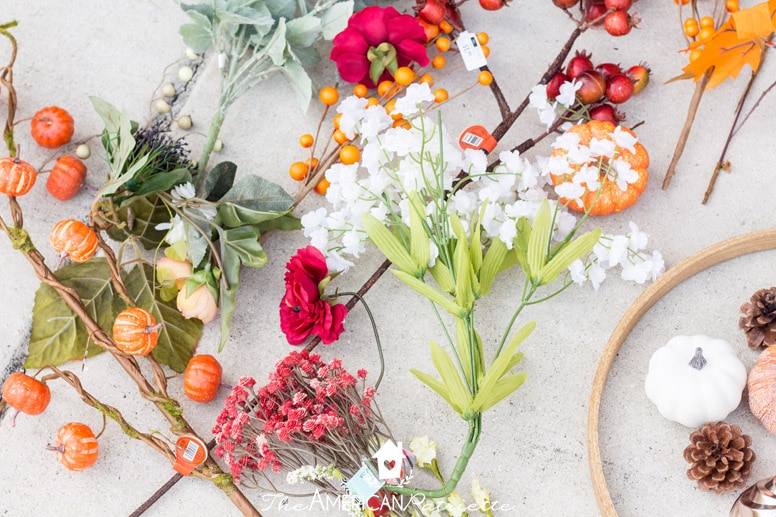
I just began laying out all of the floral elements I had, and then started figuring out how I’d want to actually break them up and use them on the wreath. You can tell from these materials that I didn’t end up using everything I bought. I made a bunch of returns on florals I didn’t end up using! Since these were the bigger elements, I decided to make somewhat of a plan for these first, and then figure out how to fit the florals around them.
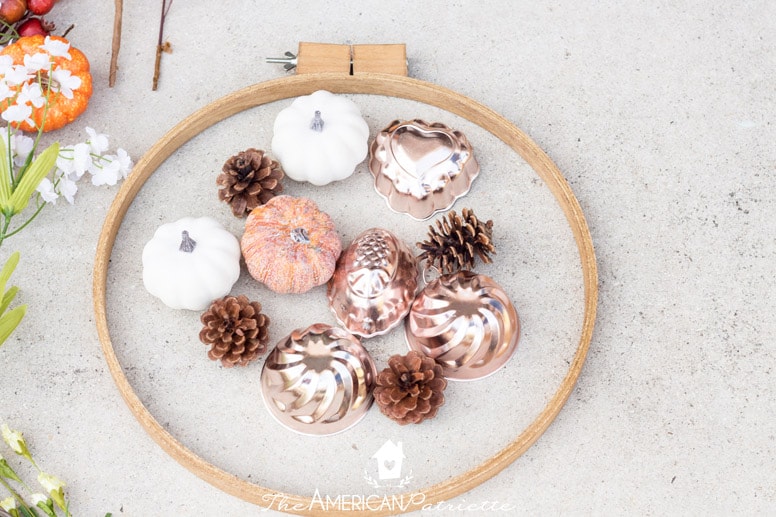
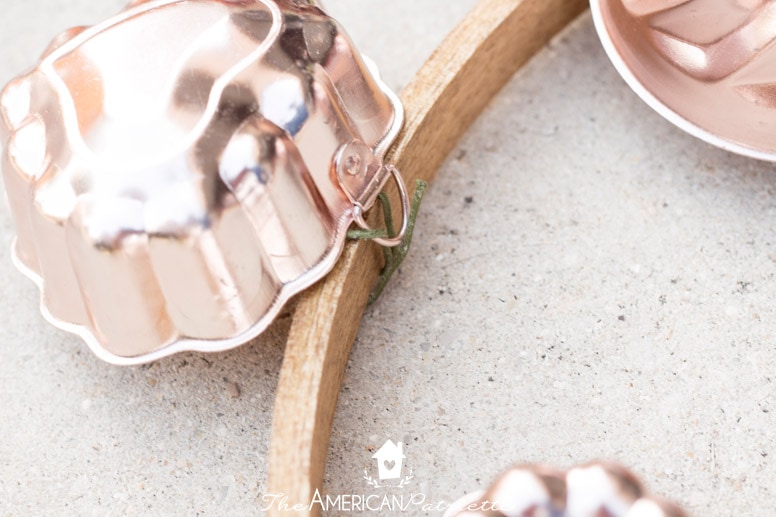
Step 3: Lay out copper molds & attach them to the wreath
I’d say this part is also more art than science, but considering gravity is at play here, you’re at least dealing with a little bit of science. 🙂
I laid out the copper molds how I wanted them, and even though I knew that some of them might bend back down if I fixed them like this, I knew I could use the florals to back them up and support them. And, if nothing else, I could bring in some hot glue for some reinforcement.
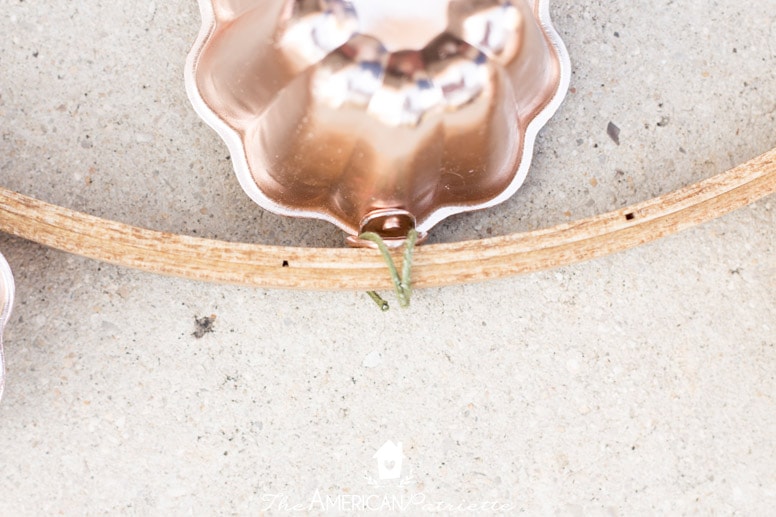
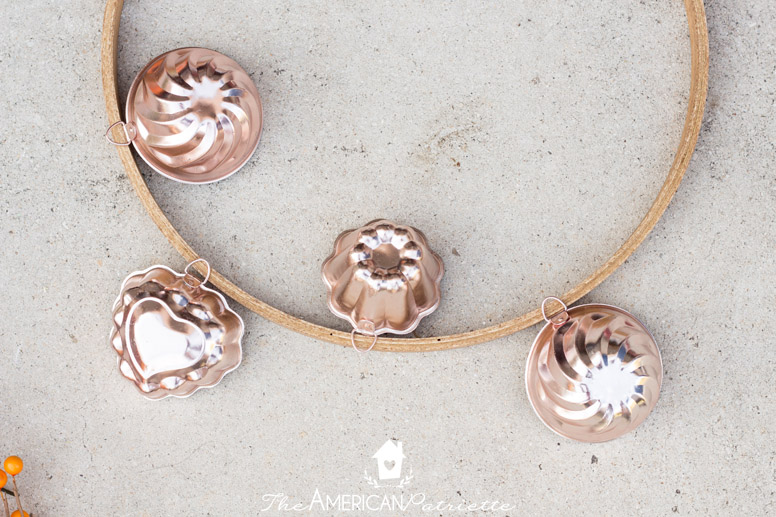
I used the floral wire to attach the molds to the hoop, trying to secure them as best I could, but again, I wasn’t overly concerned with the direction they were facing, just because I knew I could make those fixes later. What I focused on was making sure they were snug in the location I wanted them on the hoop.
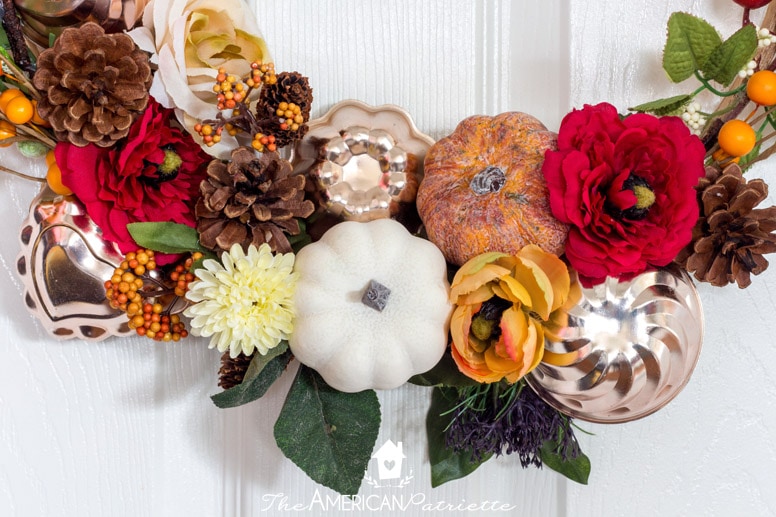
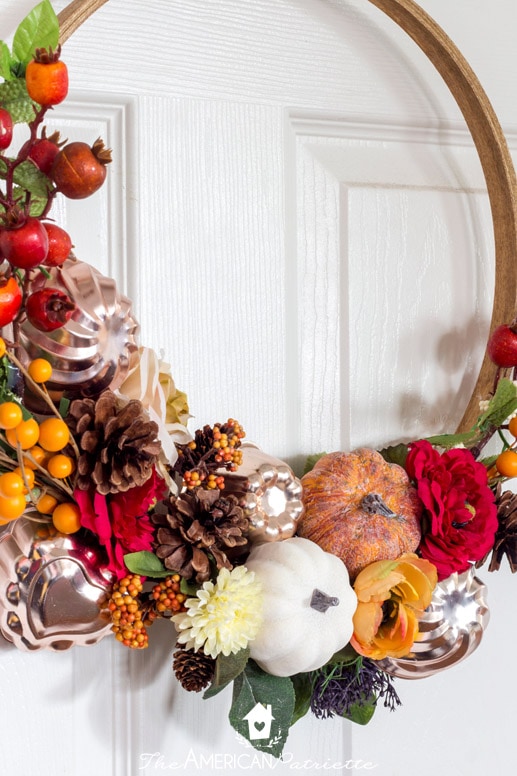
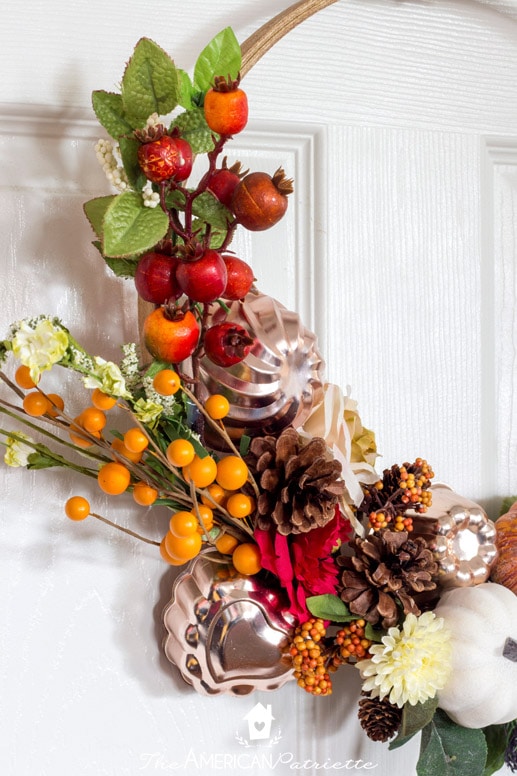
Step 4: Lay out flowers, pumpkins, and pine cones & glue onto wreath
Laying out the flowers is where I spent the majority of my time in making this wreath. It took me a bit to figure out a spread that I thought made sense and brought in the color I wanted. I probably spent a good 20 minutes mixing and matching floral pieces and figuring out how to display them along with the pumpkins and the pine cones.
Once I laid everything out, I got to work with my glue gun and secured everything in place.
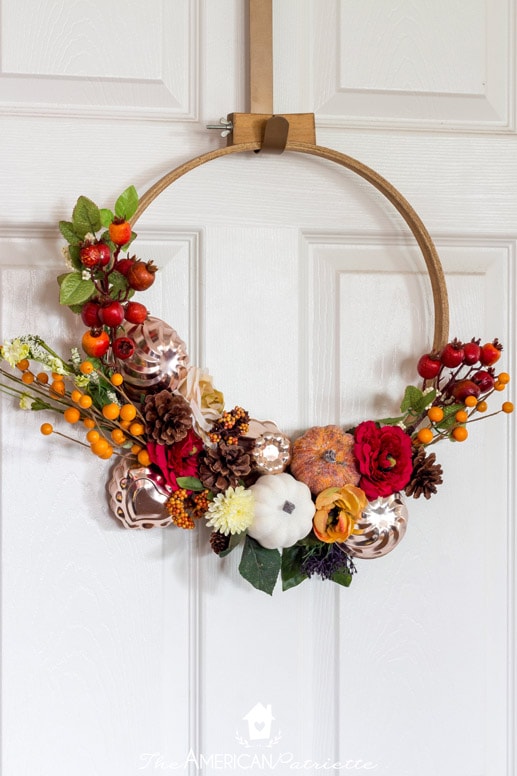
And friends, that’s about it! I hung it up on my pantry door for display, and I’m just loving it! I’m considering adding a ribbon to the top of it – maybe a red buffalo check one.
I didn’t want to make it even busier with the bow, but it might be a cute touch. Who knows?! I’m constantly revamping things, so I wouldn’t be surprised if this cute wreath donned a big bow on top next fall, but for now, I’ll probably leave it as is.
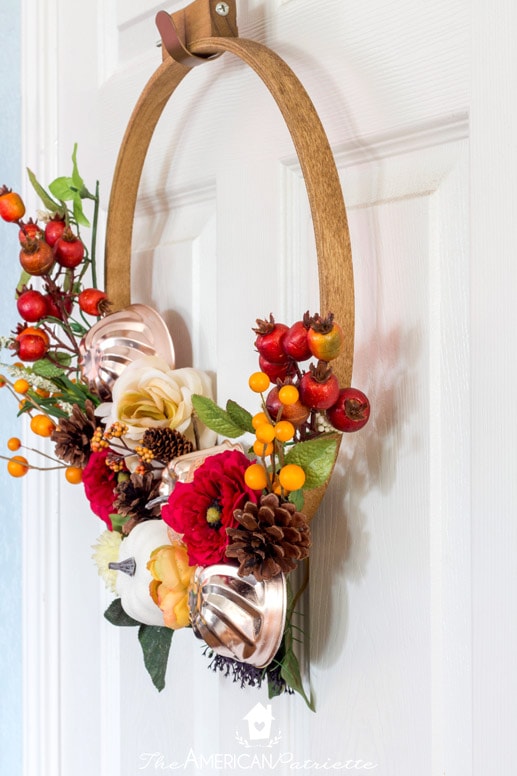
I love using kitchen items to actually decorate my kitchen, especially when they’re vintage-y! These copper molds make this wreath ultra chic, cottage-esque, and adorable! Go make one for your kitchen!
Love this idea and want to remember it for later? Be sure to save this to your favorite board on Pinterest!

Mauri,
What a gorgeous wreath and absolutely beautiful photos! I have some copper molds as well and this would be such a cute way to display them:)!
Stephanie
Thank you! I KNOW! They’re just so pretty! Since they’re so small, I knew they’d need to be part of a larger collage/display on a wall in order to not get swallowed, but we only have a tiny bit of wall space in our kitchen since it’s so open. Our cabinets take up the vast majority of any wall space we have. I thought this was a great way to display them! I may have to make a Christmas wreath with them too!! 🙂