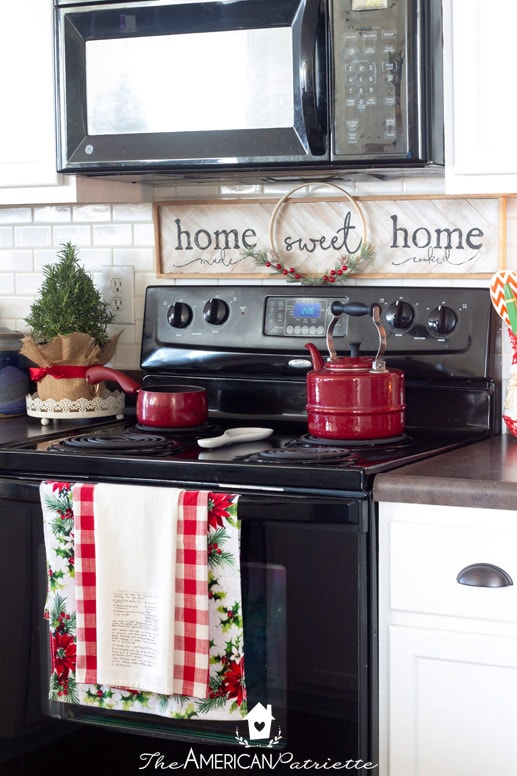
Easy DIY Handwritten Recipe on Christmas Flour Sack Towel
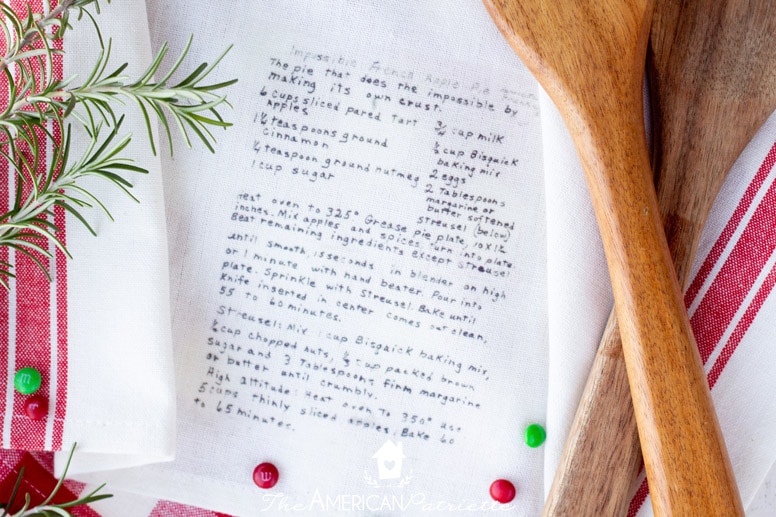
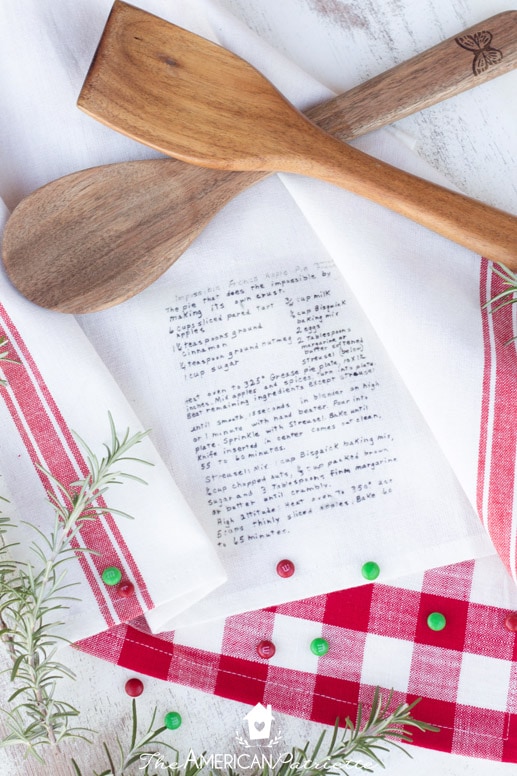
These easy DIY handwritten recipe flour sack towels are such a great inexpensive, handmade sentimental Christmas gift. The iron-on transfers make this a quick and simple homemade project for the holidays.
This fun DIY Christmas craft projects makes for a perfect Christmas gift for family members. Preserve sweet memories by transferring a handwritten recipe to a towel that others can display in their kitchen.
You can make these towels for less than $10 (if you’re making several of them, you really could probably make them for only $3-5 a piece), and they take less than 10 minutes to make. Super easy and cheap DIY Christmas gift idea!
Find a handwritten heirloom recipe – perhaps one that brings back particular memories of a family tradition, family gatherings, or special holidays – and use it for this project.
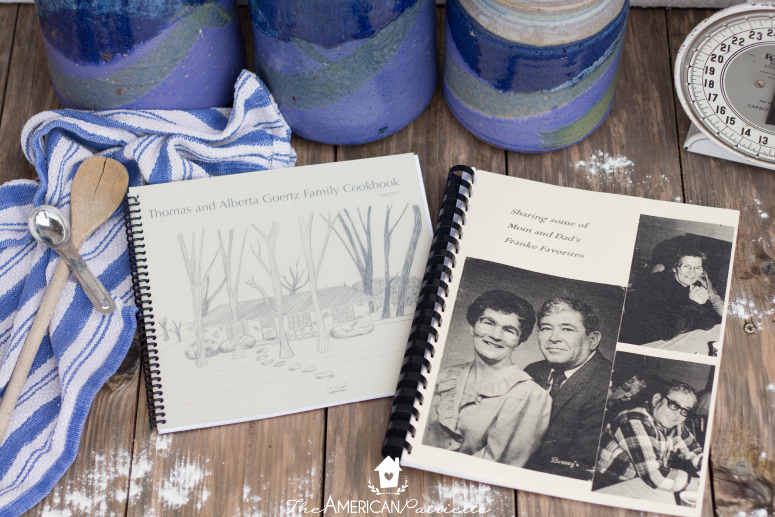
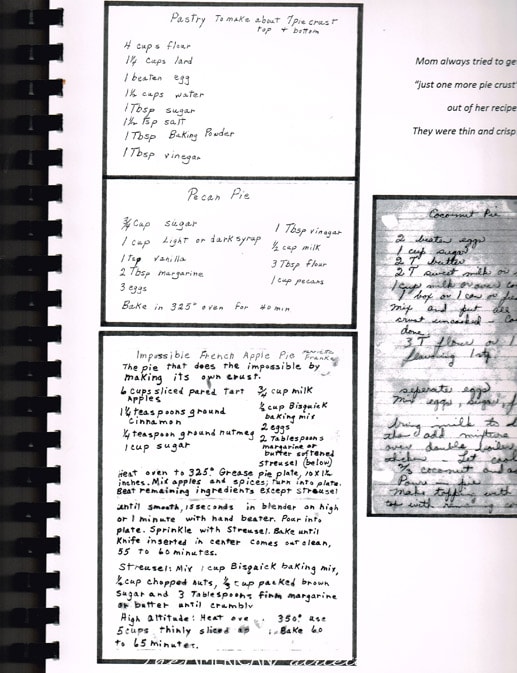
When I made my flour sack towel, I chose a recipe from a cookbook my aunt assembled of a lot of my Granny’s handwritten recipes.
I wanted to make this particular towel for Christmas, so I was looking for a specifically “Christmas-y” recipe, but I also wanted to find a really clearly written recipe – one that would transfer well onto the towel.
So, I chose this apple pie recipe – it was one of the more clearly written/copied recipes from that book, and I figure apple pie can be somewhat Christmas-ish.
I’ll walk you through the materials and the few steps it takes to make these yourself! You don’t need much time or many materials to do this project. You’re going to have so much fun and people are going to love receiving this as a gift!
This post contains affiliate links for your convenience. You can read my full disclosure policy here.
Materials You’ll Need:
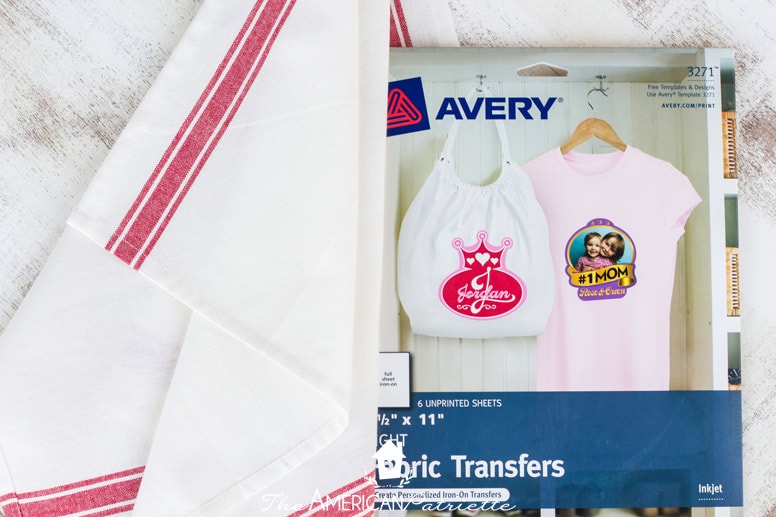
- Iron-on transfer paper
- Printer
- Scissors or paper trimmer (I love my straight-edge paper trimmer…I use it ALL the time. It’s been one of the most useful $10 tools I’ve ever owned!)
- Flour sack towel (I got mine from Hobby Lobby, but you can find them in bulk on Amazon)
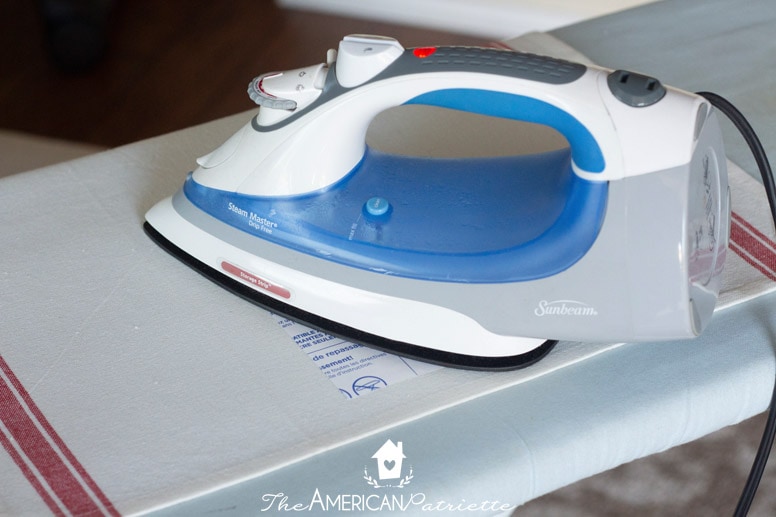
- Iron
Ok, friend! Let’s get crafting!
Step 1: Choose your recipe & scan it to your computer
Once you decide on your recipe – perhaps from a recipe card or from a cookbook – scan it into your computer. If you’re transferring it from a recipe card that has writing on the front and back, make sure you scan both the front and back of the recipe.
This will be a bit of a different process for everyone since we all have different computers and scanners, but hopefully this is a simple process for you. It definitely was for me.
Tips for choosing the recipe:
- Find one with clear, bold handwriting – if the handwriting is really faint or smudged, it’s not going to transfer as well.
- Try to choose a handwritten recipe that doesn’t have a bunch of other stuff around it (i.e. try to choose one that doesn’t have a really decorated recipe card).
- If the person whose handwriting you want to capture is still around, consider having them clearly write the recipe on a blank piece of printer paper. You can then transfer that handwritten recipe instead of one from a recipe card or booklet.
- Bonus – choose a recipe that has a story behind it! ?
Step 2: Make a mirror image of the recipe & crop
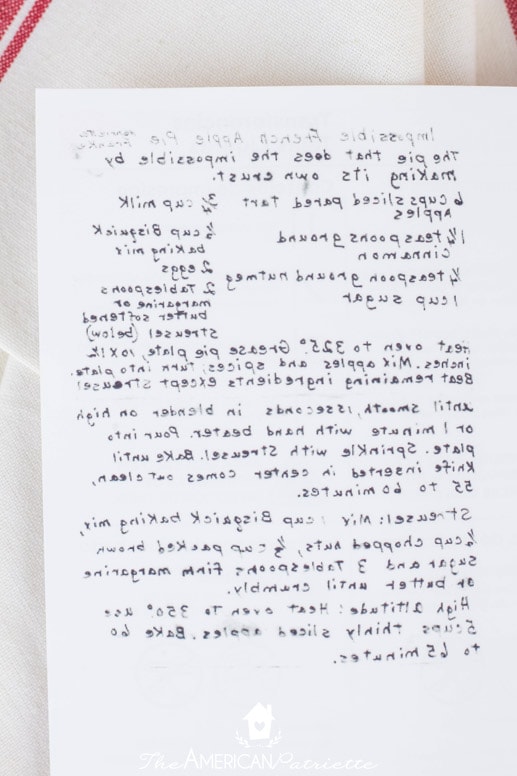
First, use a basic computer program – perhaps the photo editing program that’s build into your computer – to help you make a mirror image of the recipe. In order for it to transfer the correct way onto the towel, you’ll need to print it out backwards from the computer.
Then, you’ll want to crop around the edges so the computer only prints the recipe (or the part of the recipe that you actually want to transfer onto the towel).
If you’re having trouble figuring this out on your computer, you can always try using Canva. You can access the basic tools in Canva for free, and it’s a pretty easy-to-use editing program online.
Step 3: Print the recipe on the transfer paper & cut it out
Print out the recipe on the transfer paper, following the printing instructions on the transfer paper package. Make sure you print it on the correct side – every printer is a little different, so just figure out the way you need to insert the transfer paper into the printer in order for it to print correctly.
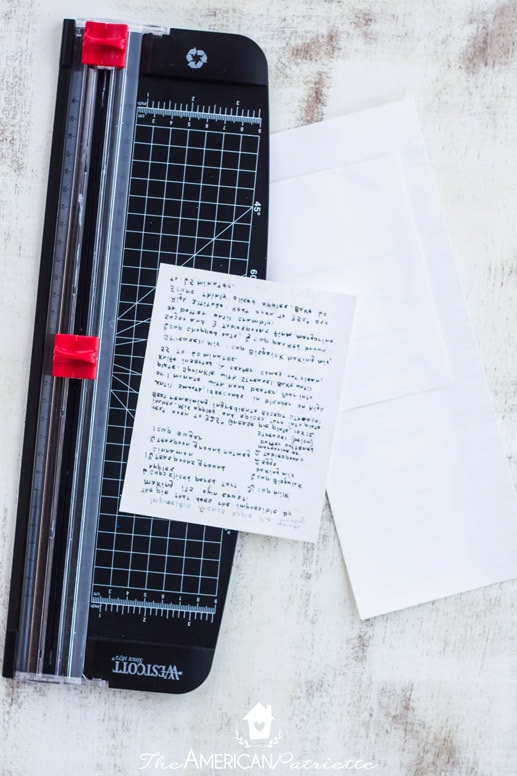
Once you print it, cut around the recipe to remove any excess borders. This is where a straight edge paper trimmer really comes in handy!
Step 4: Center the recipe on the flour sack towel
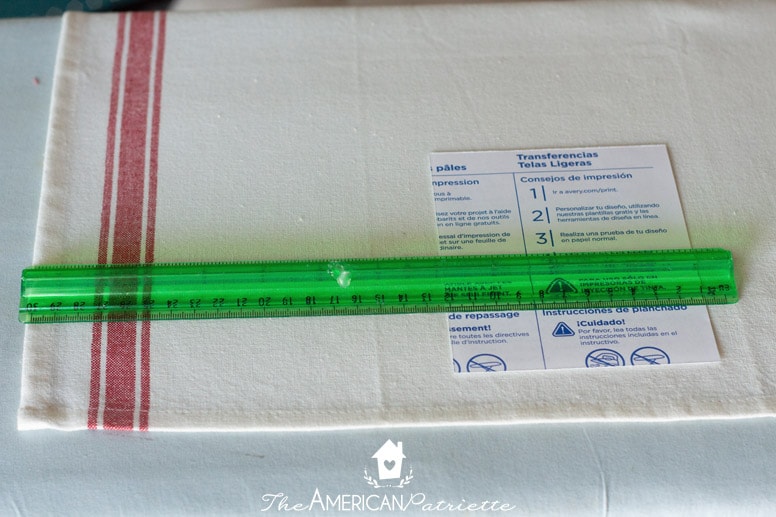
You can eyeball this or measure it, but just make sure your recipe is centered on the towel where you want to iron it on.
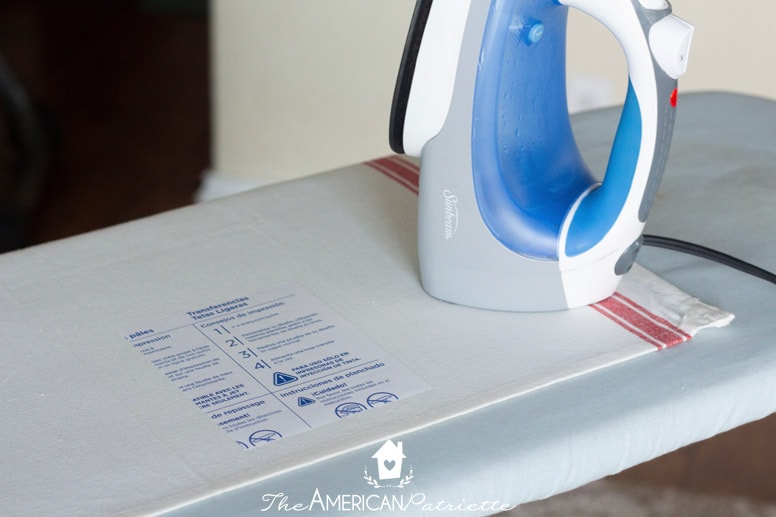
Step 5: Iron on the image
Follow the instructions on the transfer paper package. (Although, I tell you that – I didn’t totally follow the instructions. The package said NOT to use an ironing board, but I couldn’t figure out any rhyme or reason why that would be a bad idea, so I did it anyway. #rebel. I’ve used these iron-on transfers so many times, and I’ve always used my ironing board.)
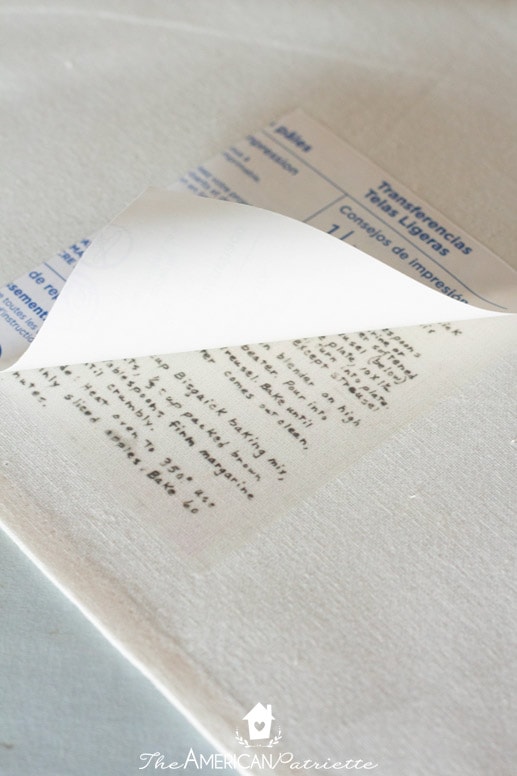
For me, I just made sure my iron was set on medium heat without any steam. I gently pressed on the transfer paper back and forth and in circular motions for about 45 seconds. Then, I removed the iron, allowed the paper to cool for a few seconds, and then I gently tried peeling up one corner of the transfer paper to make sure it transferred cleanly onto the towel.
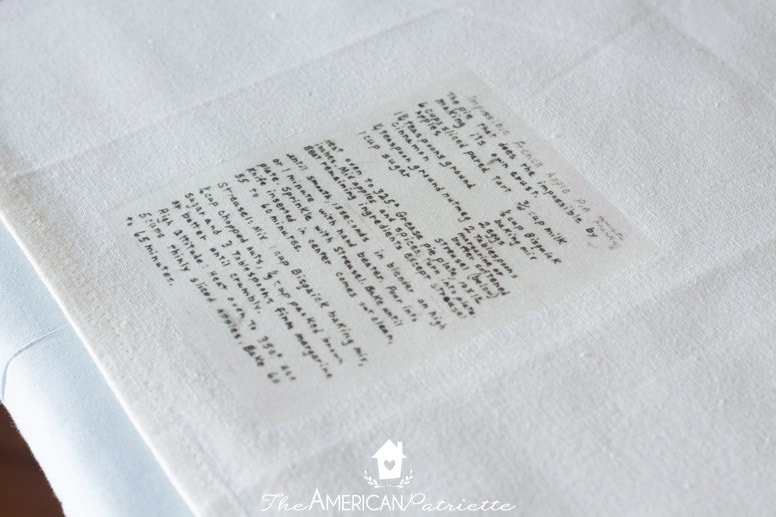
Once you’re certain you’ve got a clean iron-on transfer on the towel, and once the transfer paper is completely cooled, peel up the paper, and you’re all done!
You could easily dress these towels up by adding some ruffles or trim to the end of the towel. I decided to keep mine simple and just “dress it up” a bit by displaying it on another towel in the background.
Such a fun DIY Christmas gift – I bet so many people would love an heirloom recipe displayed like this in their kitchen! Have fun crafting and reminiscing this holiday season!

