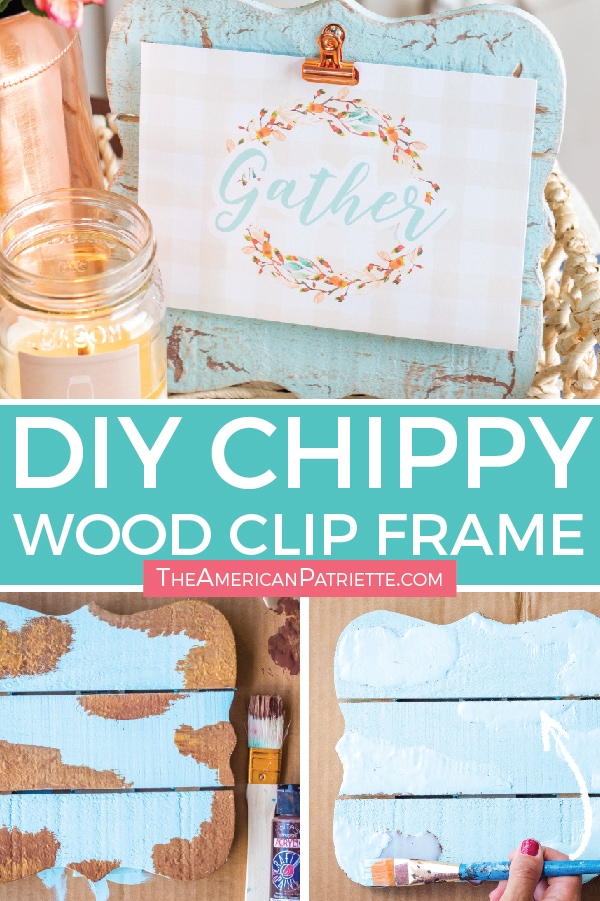
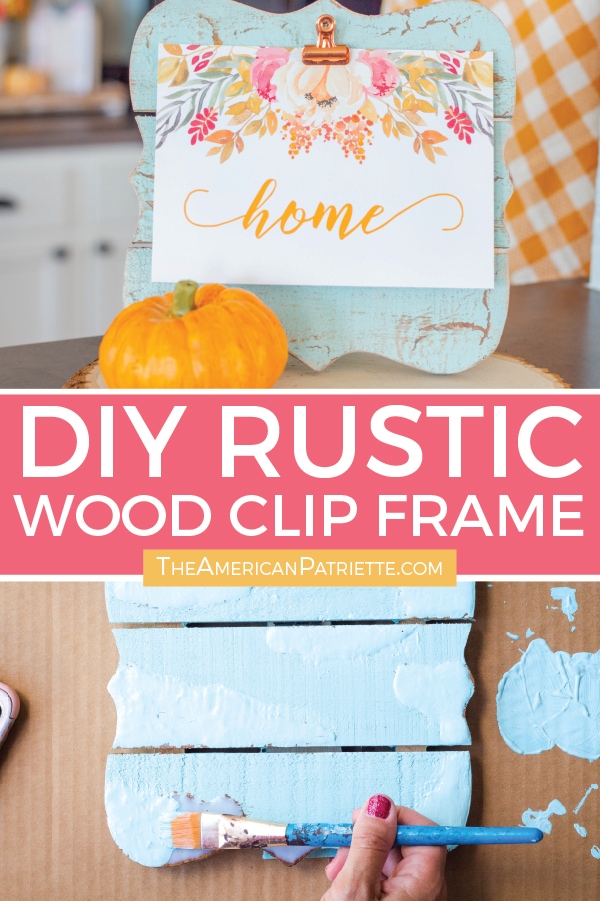
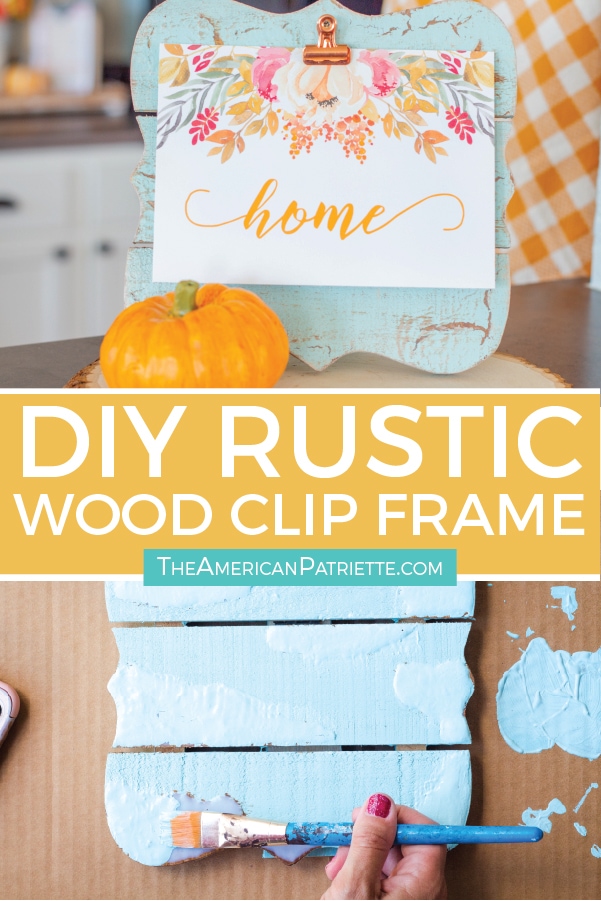
DIY Rustic Chippy Wood Clip Frame
Turn a wood frame into an elegant country farmhouse-style clipboard frame! Super easy homemade distressed frame to display printables!
I am just itching for you to make one of these gorgeous & rustic chippy wood clip frames! This DIY tutorial is SUPER easy, and you can customize this frame by using whatever paint color you want.
I’ve been wanting to create an elegant, country-style clipboard frame to display the seasonal printables I use for decorating my house – I just absolutely love the way it turned out. This is going to look beautiful in your home!

When I was thinking through ideas for this homemade frame, I decided I wanted to see if I could do the exact same distressed paint technique (again, super easy) that I did when I gave this laminate bookshelf a makeover:

Turns out it worked amazingly well! Let’s dive into the how-to so you can make this beautiful clip frame! What a great piece of home decor or a great gift idea for someone!
How to Make a Rustic Chippy Wooden Clip Frame
First, here are the materials you’ll need:
- A wooden pallet-style frame (I got mine for cheap at Hobby Lobby)
- A bottle of acrylic paint – whatever color you want to use as the main color of your frame
- A few other bottles of acrylic paint: dark brown, gold, copper, and white or ivory (if you’d rather have your crackles have different colors than mine, though, choose whatever paint colors you want!)
- 3 paint brushes (Take a look at the type of paintbrushes I use for the different parts in these photos – that’ll help you determine what you need)
- Elmer’s or basic school glue (I usually prefer to recommend Elmer’s for this crackle project, just because I can’t vouch for whether other brands/off-brands will work for this, but I used an off brand here because it was what I already had, and it worked fine)
- A metal clip (I got mine in a package at Hobby Lobby)
- A screw to screw in the clip to the frame
- A drill (or a screwdriver, but a power drill is way easier!) to attach the clip to the frame
Yay! Let’s get started!
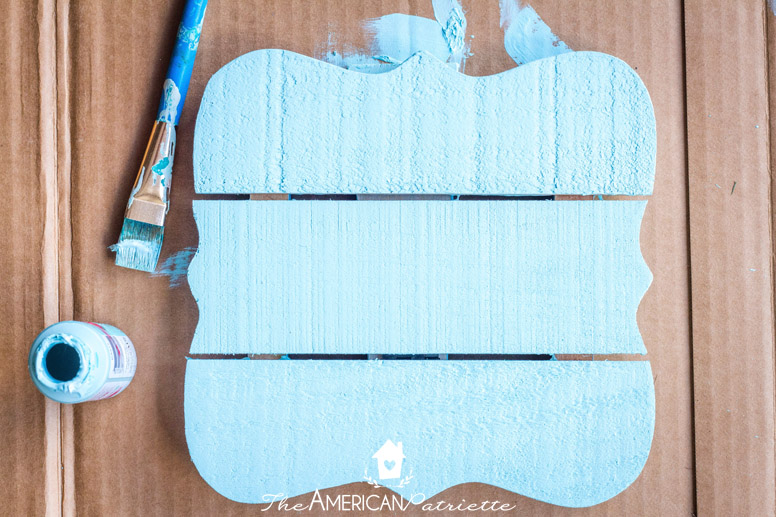
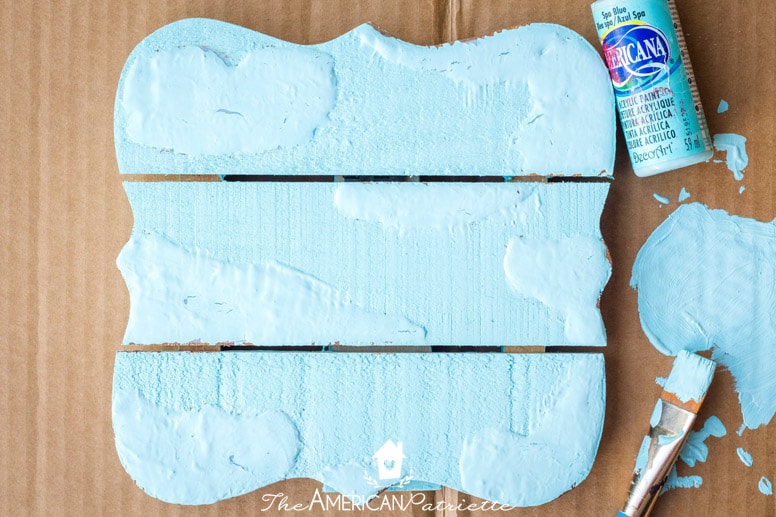
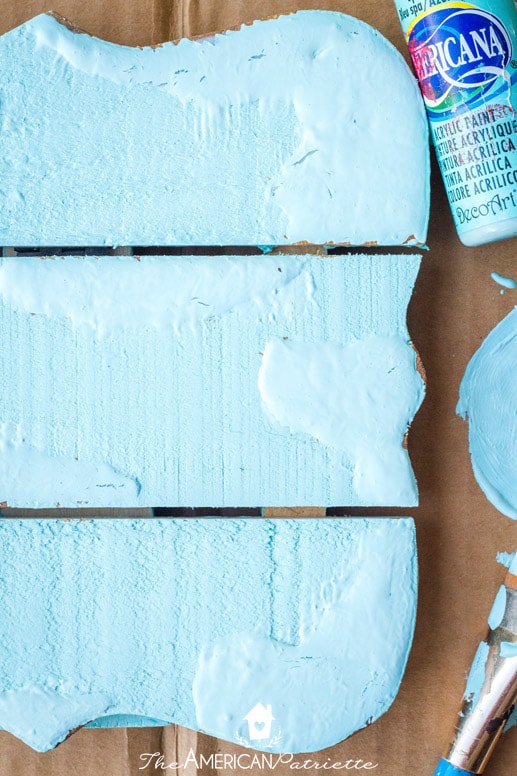
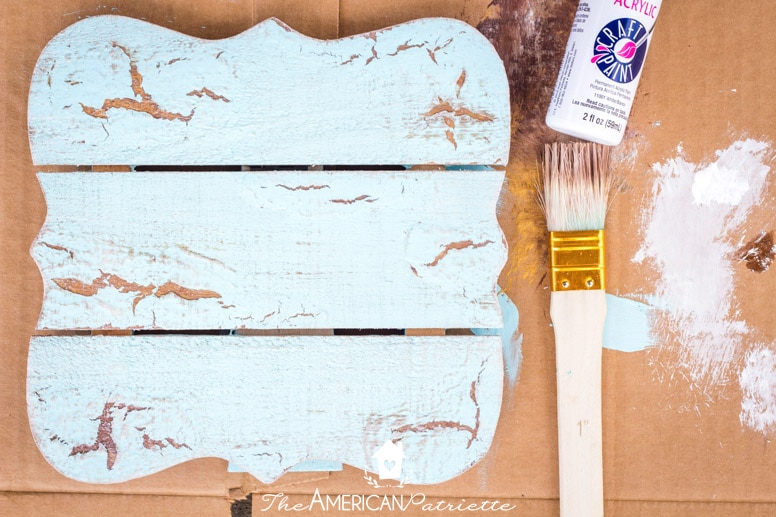
Step 1: Give your frame a thorough coat of the main color of acrylic paint
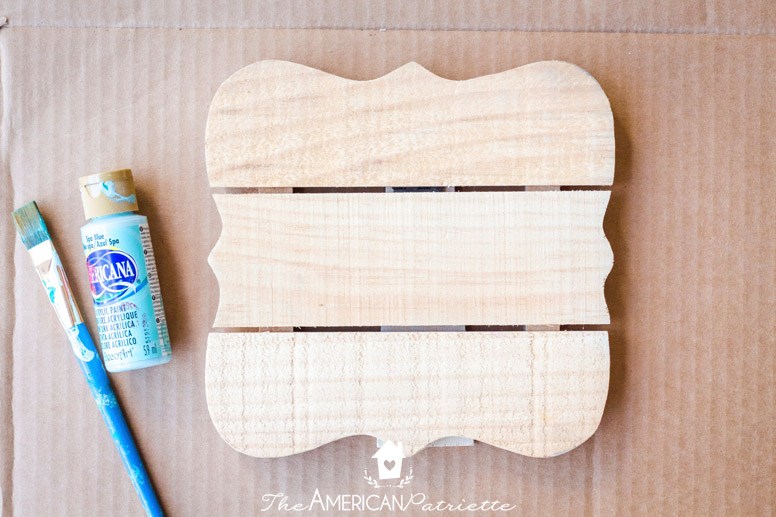
I only gave this one coat on the front and back – it was all it needed. The frame took the paint well. Go ahead and give yours a 2nd coat if it needs it!
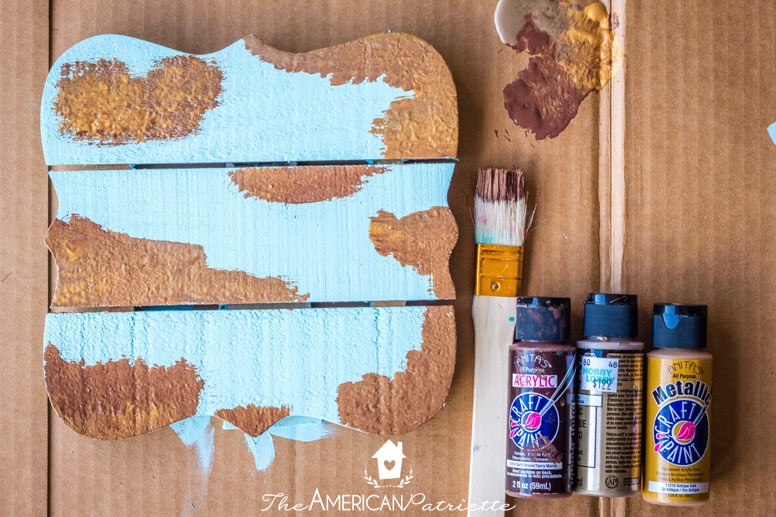
Step 2: Paint the “crackle” splotches
Once the frame is completely dry, you’re going to start painting the splotches on there that are going to help make the crackles.
Again, you just use regular ‘ole acrylic paint for this. I prefer to get that distressed look with the brown/gold hue in the background, but if you’d rather have your crackles be a different color, by all means – go for it!
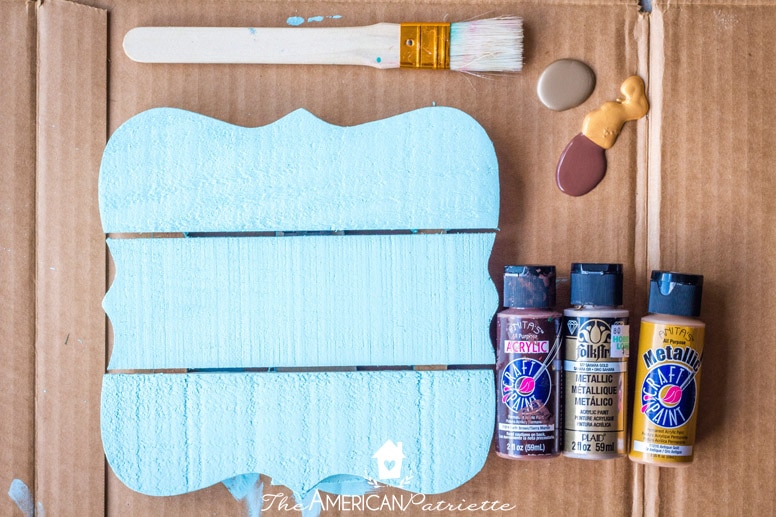
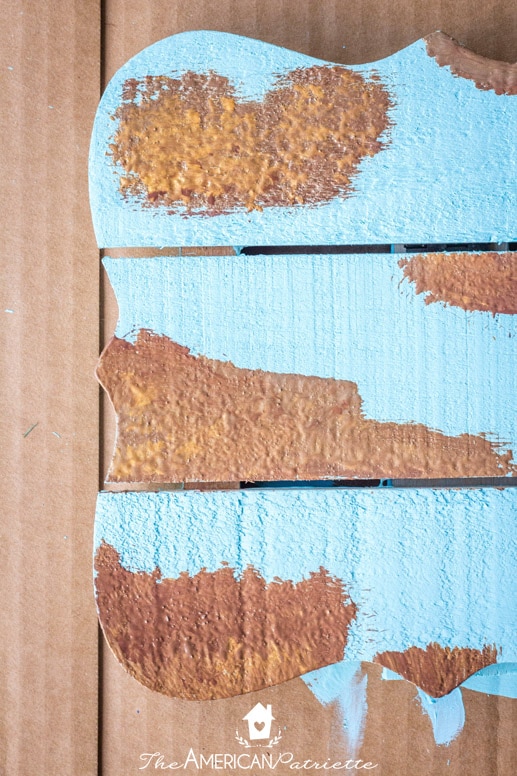
You can see I squirted some of each color out, and then used a paint brush to dab it on into random areas of the frame. If your frame ends up looking dalmation-like, you’re in good shape. 🙂
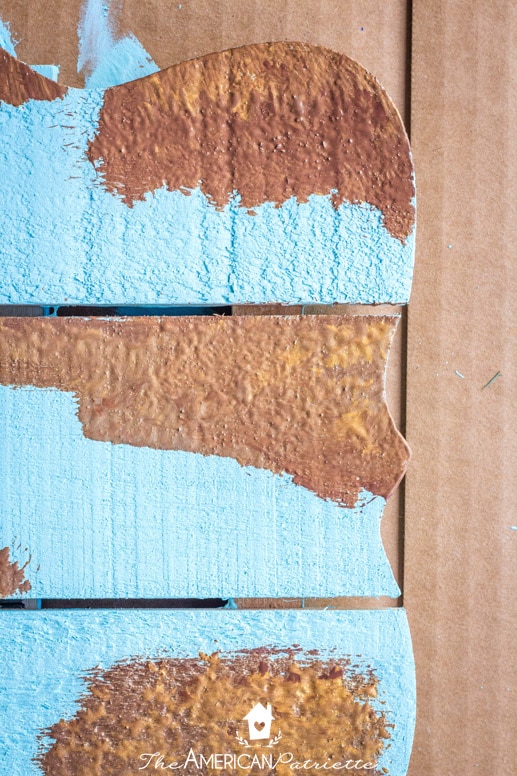
No need to get this perfect – you just want to make sure you have splotches in several different places unless you don’t want to have very many crackles. You’ll see why in just a minute.
Step 3: Generously add the glue to the splotches
Super important: the paint on the frame needs to be COMPLETELY dry for this. Just trust me on this one! With as quickly as acrylic paint takes to dry, you’re not going to have to wait a long time, but you do want to make sure it’s totally dry before moving onto this part.
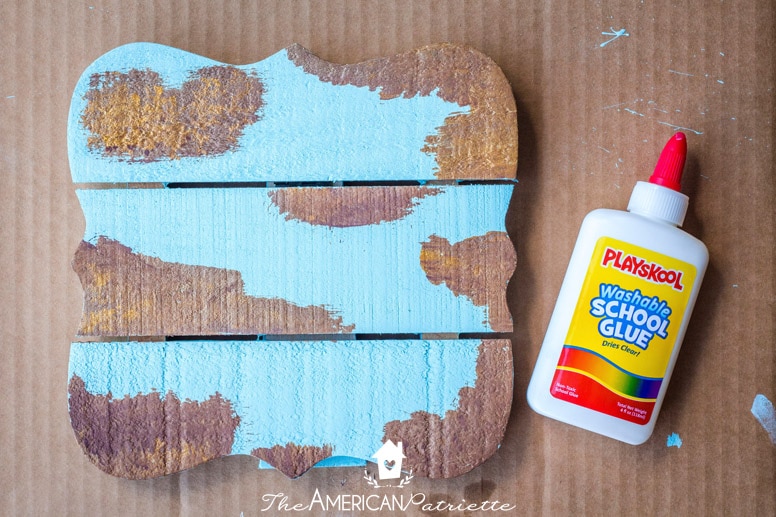
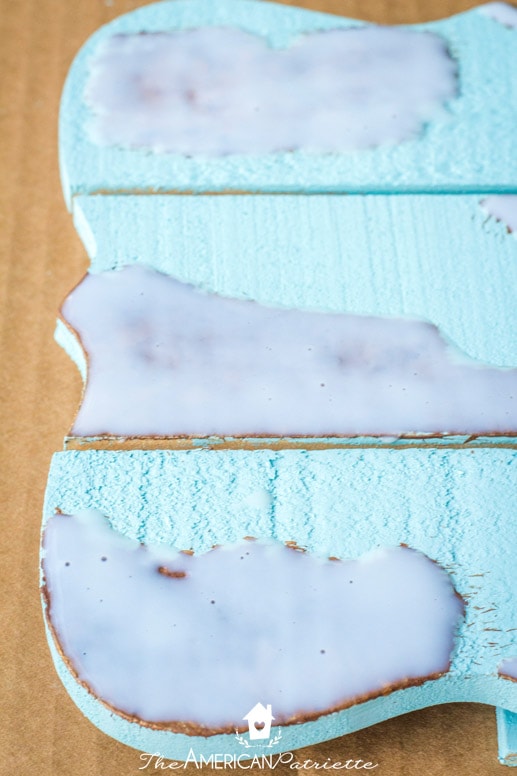
So, when you’re ready to add the glue, you’re going to generously use it to cover all of the brown paint splotches like so:
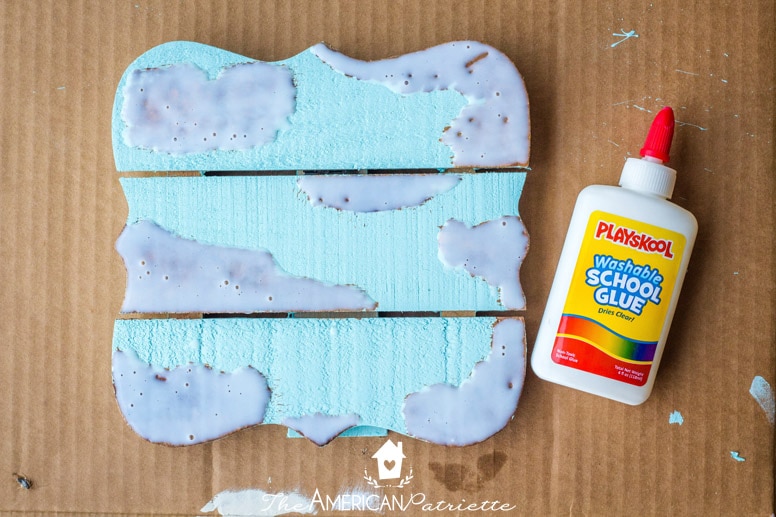
No need to go overboard, but you’re essentially creating shallow glue puddles on this frame.
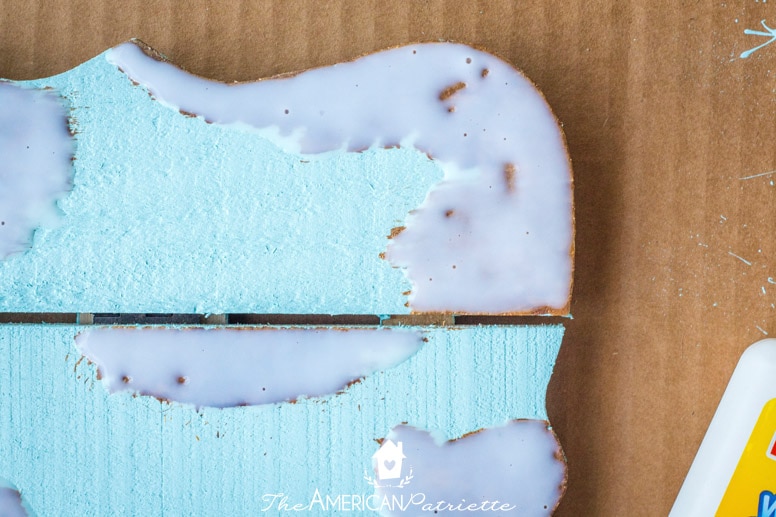
If you notice a bunch of air bubbles in the glue, just use the tip of the glue to work them out. Shouldn’t take long. I had several on mine, but I just went back around and dabbed most of the air bubbles out.
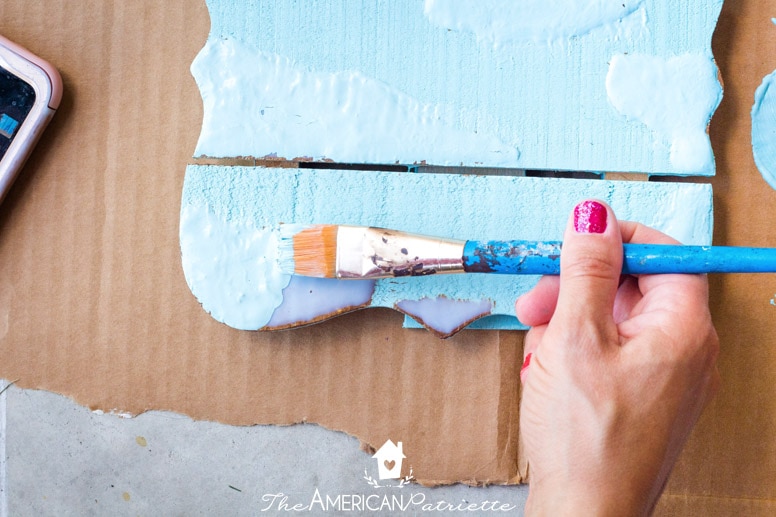
Step 4: Paint over the glue puddles
So, remember how I told you in the last step that it was super important for you to wait until the brown paint splotches were dry before you moved onto adding the glue?
Well, I’m telling you the opposite here: you do NOT want to wait too long before you do this step! You do want to give your glue a little bit of time to settle – maybe about 20 minutes – but you still want it tacky to the touch when you begin this part.
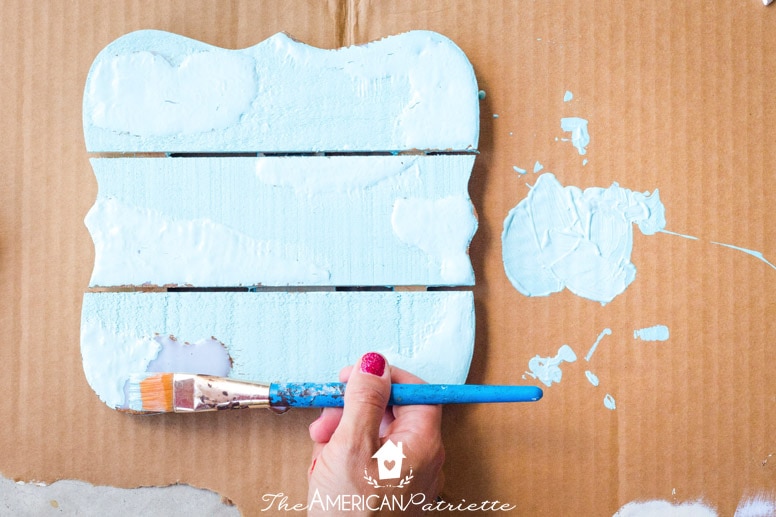
Squeeze out a blob of the same color paint you used as your main color for the frame, and then dip your paintbrush generously into the paint. Gently dab the paint over the glue puddles.

You can see I basically paint with a big side angle – I don’t paint with the brush up and down. This helps give more coverage, but it also helps to prevent from disturbing the glue too much.
You don’t want to disturb the glue and make it cranky. 😉
When you paint, you’re going to thoroughly cover all of the glue and any leftover brown spots. Don’t be afraid to use too much paint. It’s not going to look pretty yet, but I promise, it’ll look a lot better in a little bit!
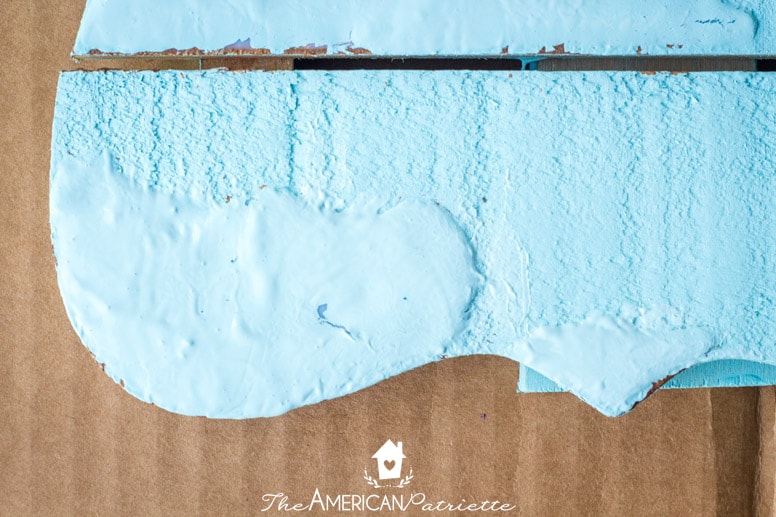
Once you’ve covered all the splotches, set it aside to dry – this will take a while. I’d go ahead and just let it dry overnight. That’s a lot of glue and paint!
But, if you want to have fun with it, take some sneak peaks every 20-30 minutes and you can see it start to crackle.
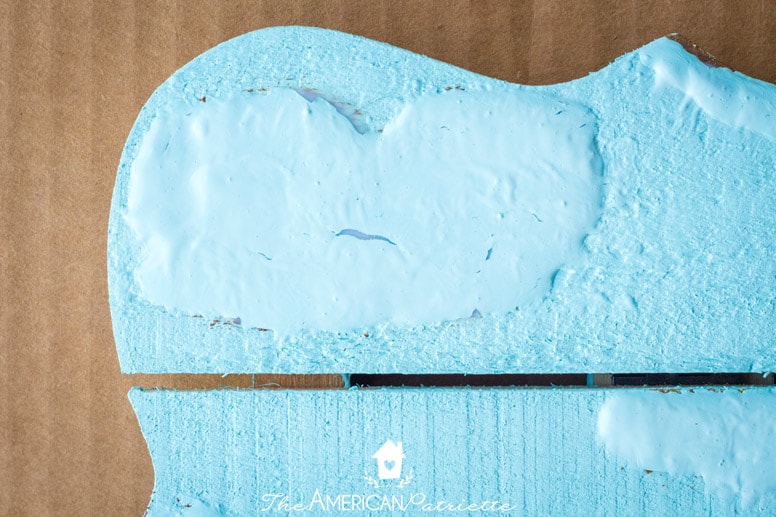
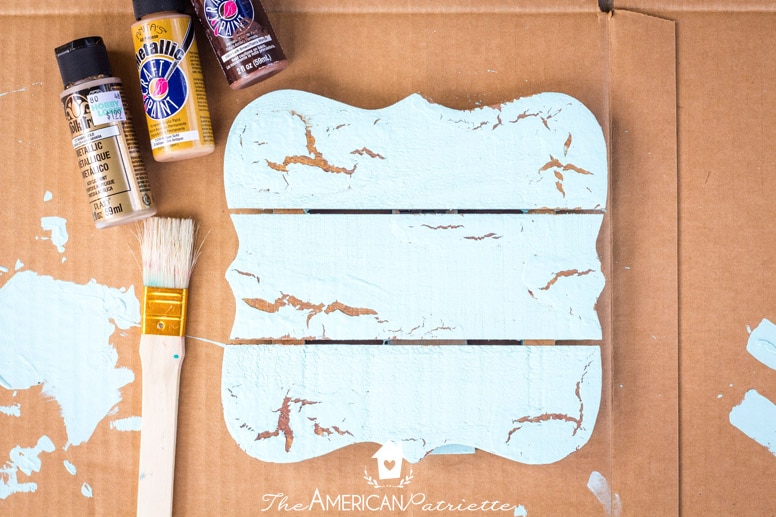
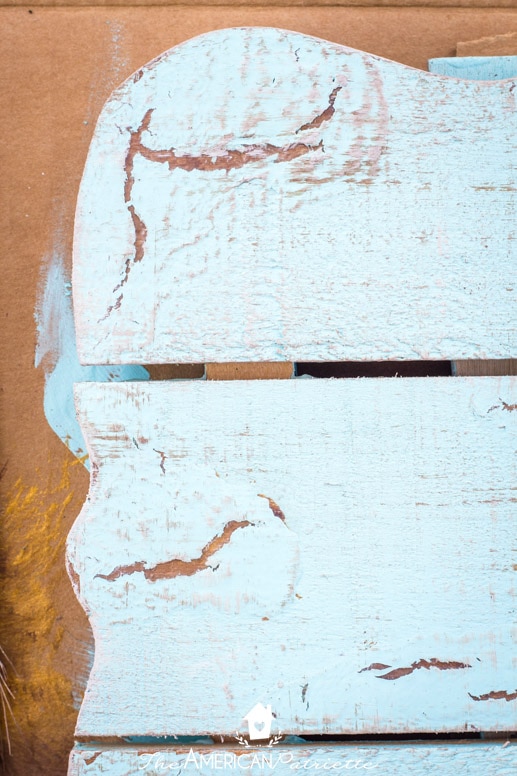
Step 5: Add some distressing
Ta-da! See how it crackled?! Isn’t that so cool?! So, now we’re going to add a little more distressing to the frame with a technique I call “dry brushing.”
I have no idea if that’s an official technique name, but that’s what I’ve always called it, so there ya go. I think this added touch helps give the frame a little bit more character, and it also helps camouflage the bumps the puddles of glue made.
Which, really aren’t a big deal – again, we’re going for a rustic, chippy look! Thick-looking paint is part of that!
To dry brush, here’s whatcha do: squirt out a LITTLE bit of the same paints you used to do the crackle. Then, take a rougher paint brush and very gently dab it into the paint. Then, brush the paintbrush on the cardboard/paper/whatever you’re using as your protective surface so you can get almost all of the paint off.
Believe me: less is more. You can ALWAYS add more paint. But, if you add too much, it’s hard to correct. So, start with less.
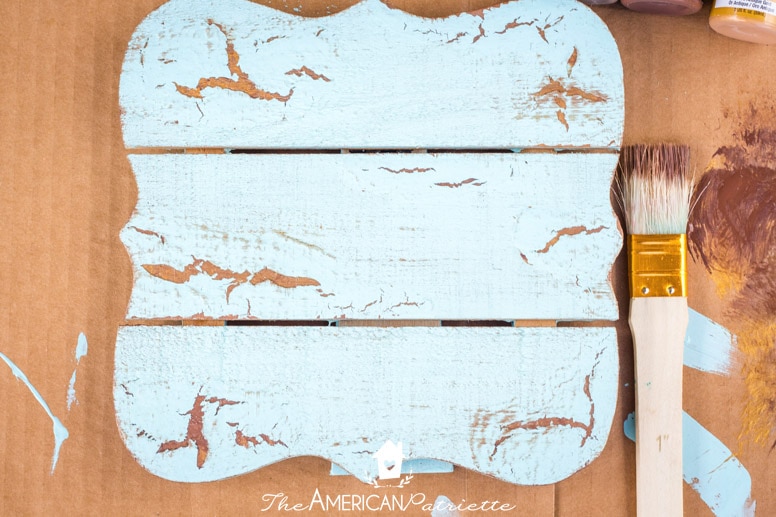
You’ll take the brush and run it back and forth on the frame in both directions – up and down and side to side.
See how there’s just the smallest amount of “distressing” on the frame with the extra paint? You can notice it more on the edges – helps really give it that defined rustic look.

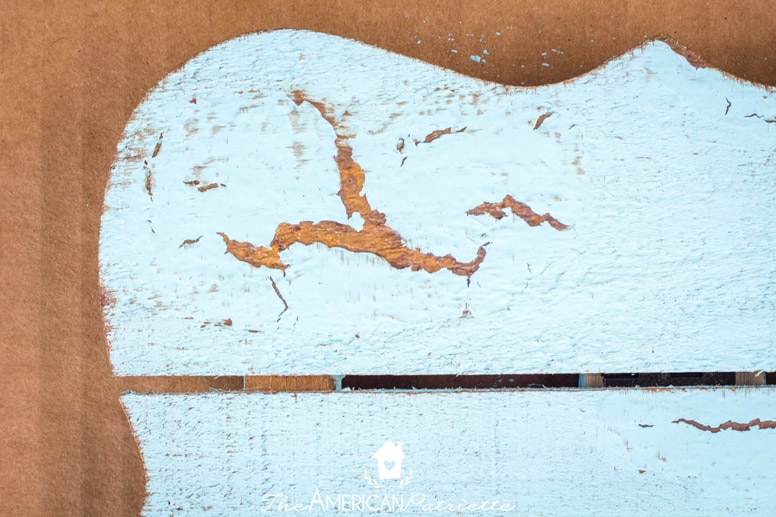
Step 6: Add some distressing with white paint
This step is optional, but I usually choose to do it when I distress wooden pieces, just because it helps soften them up a little bit. I’ve just noticed it makes a difference.
You’re going to do the exact same thing with the white paint that you just did with the brown/gold paint: dab the smallest amount on your brush, rub most of it off, and then go back and forth, up and down on the frame with the brush.
Can you tell how it softens up the distressed look a little? It might be hard to tell in the photos, but I think in person, you’ll notice a difference!
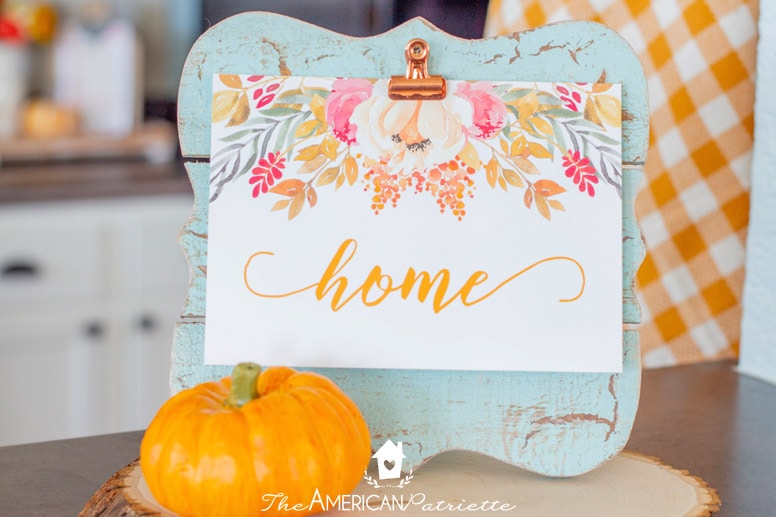
Step 7: Add the clip to the frame
Once the frame is completely dry, it’s time to add the finishing touch: the clip! I LOVE these copper clips that I got from Hobby Lobby – they add such a clean but still vintage look to the frame. And, adds a little pop of color, too!
Now all you have to do is add a gorgeous home decor printable to your frame, and it’s ready to display!
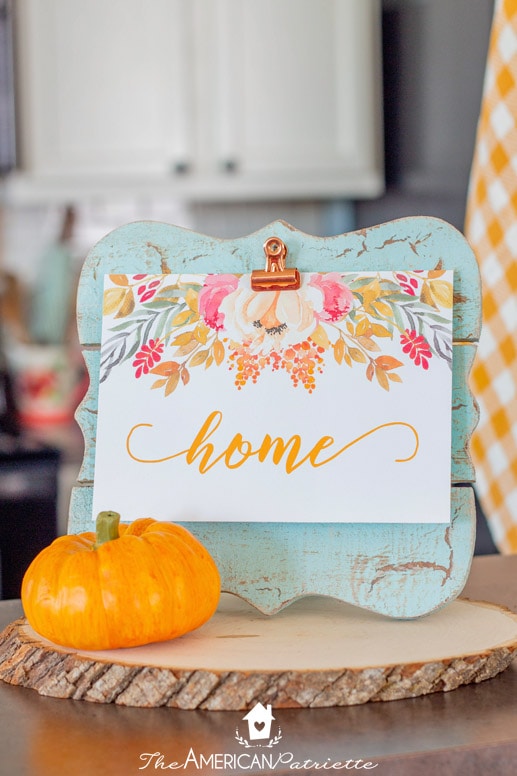
Change out the printable for each season for a super easy way to decorate for holidays! 🙂
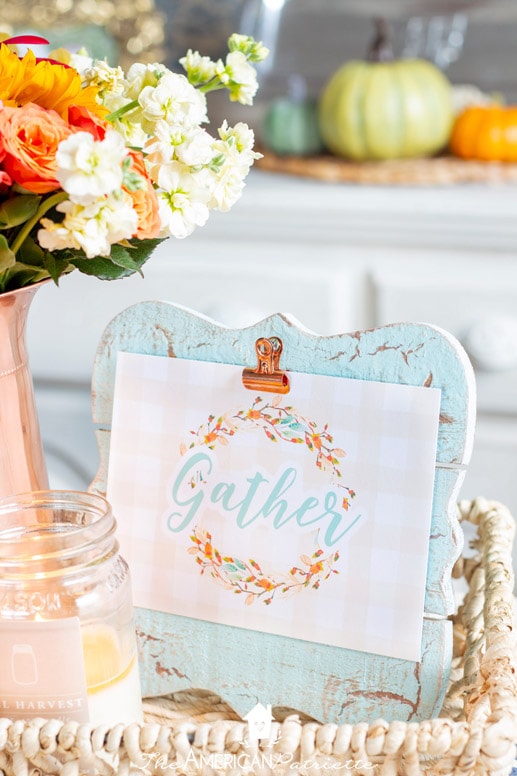
Happy crafting and decorating your house! That frame is going to look just gorgeous in it!
Love this idea and want to be sure to remember it later? Save it to your favorite Pinterest board!